
Maintaining a home often feels like a never-ending series of small tasks. While major renovations or structural issues require professional intervention, many everyday nuisances can be resolved with basic tools and a bit of patience. Taking the time to handle minor repairs not only saves on service fees but also prevents small problems from escalating into costly damage.
This guide provides step-by-step instructions for seven common home repairs that are perfect for beginners. These projects are designed to be completed in a single weekend, requiring only a few standard tools and materials found at any local hardware store. For those looking to expand their household knowledge further, the Paris Wheel blog offers a variety of practical lifestyle resources.
1. Fixing a Leaky Faucet
A dripping faucet is more than just an annoying sound; it can waste hundreds of gallons of water over time. Most modern faucets use a cartridge or a series of rubber washers that eventually wear out. Replacing these components is a straightforward process that restores the seal and stops the drip.
What You’ll Need
- Adjustable wrench or pliers
- Screwdriver (Phillips and flat-head)
- Replacement cartridge or O-rings (specific to the faucet model)
- Plumber’s grease (silicone-based)
- Old towel or rag
Step-by-Step Instructions
- Shut Off the Water: Locate the shut-off valves under the sink. Turn them clockwise until they are fully closed. If the sink lacks individual valves, turn off the main water supply to the house.
- Plug the Drain: Place a towel or the sink stopper over the drain. This prevents small screws or parts from falling into the plumbing.
- Remove the Handle: Use a flat-head screwdriver to gently pry off any decorative caps on the handle. Unscrew the screw underneath and pull the handle straight up and off.
- Extract the Cartridge: Use an adjustable wrench to loosen the retaining nut or remove the metal clip holding the cartridge in place. Pull the cartridge out. It may require a bit of force if mineral deposits have built up.
- Inspect and Clean: Check the O-rings and seals for cracks or thinning. Clean any mineral buildup inside the faucet body with a cloth soaked in vinegar.
- Install New Parts: Apply a small amount of plumber’s grease to the new O-rings or the new cartridge. Insert it into the faucet body, ensuring it aligns with any notches.
- Reassemble and Test: Replace the retaining nut and handle. Slowly turn the water valves back on and check for leaks.

2. Patching Small Holes in Drywall
Nail holes from old pictures or small scuffs from moving furniture are common in every home. Patching these areas creates a smooth surface for painting and keeps the walls looking fresh.
What You’ll Need
- Small container of lightweight spackle
- Putty knife (2-inch or 3-inch)
- Fine-grit sandpaper (220-grit)
- Matching wall paint and a small brush
Step-by-Step Instructions
- Clean the Area: Use the edge of the putty knife to scrape away any loose paint or drywall paper around the hole. Ensure the surface is dry and free of dust.
- Apply the Spackle: Scoop a small amount of spackle onto the putty knife. Press it into the hole firmly.
- Smooth the Surface: Hold the putty knife at a 45-degree angle and swipe across the hole to remove excess material. The goal is to leave the spackle slightly higher than the wall surface, as it may shrink slightly as it dries.
- Dry and Sand: Allow the spackle to dry according to the manufacturer’s instructions (usually 30 minutes to 2 hours). Once dry, lightly sand the area until it is perfectly flush with the wall.
- Touch Up Paint: Wipe away sanding dust with a damp cloth. Apply a thin coat of matching paint. For larger patches, a primer may be necessary to prevent the spackle from absorbing the paint unevenly.

3. Silencing Squeaky Doors and Tightening Hinges
A squeaky door is usually the result of metal-on-metal friction within the hinge, often caused by a lack of lubrication or accumulated dust. In other cases, the door may sag or scrape against the frame because the hinge screws have loosened over time.
Fixing the Squeak
To stop the noise, apply a lubricant to the hinge pin. While WD-40 is a common choice, a silicone spray or white lithium grease often lasts longer. Open and close the door several times to distribute the lubricant. If the squeak persists, remove the hinge pin entirely by tapping it up with a hammer and a nail, wipe it clean, coat it with a thin layer of petroleum jelly, and reinstall it.
Tightening Loose Hinges
- Inspect the Screws: Open the door and check if the screws holding the hinge to the door and the frame are tight.
- Tighten by Hand: Use a manual screwdriver rather than a power drill to avoid stripping the wood.
- Fix Stripped Holes: If a screw spins without tightening, the wood inside the hole is likely stripped. Remove the screw. Dip a few wooden toothpicks in wood glue and jam them into the hole. Snap off the excess wood so they are flush with the surface. Once the glue sets, drive the screw back in; the toothpicks provide “new” wood for the screw to grip.

4. Unclogging Slow Drains Naturally
Before reaching for harsh chemical cleaners that can damage older pipes, try natural or mechanical methods to clear slow-moving drains. Most bathroom clogs are caused by a combination of hair and soap scum.
The Baking Soda and Vinegar Method
This classic reaction can help break down organic material and grease buildup.
- Remove Debris: Use a pair of tweezers or a plastic “zip-it” tool to pull hair out of the drain opening.
- Pour Baking Soda: Pour about half a cup of baking soda down the drain.
- Add Vinegar: Follow with half a cup of white vinegar. Cover the drain with a stopper or a wet cloth to keep the fizzing action inside the pipes.
- Wait and Flush: Let it sit for 15 to 20 minutes. Flush the drain with a kettle of boiling water (or very hot tap water if you have PVC pipes).
Using a Plunger
If the drain is completely blocked, a small sink plunger can often dislodge the clog. For bathroom sinks, be sure to cover the overflow hole with a damp rag to create an airtight seal, then plunge firmly 10 to 15 times.
5. Replacing Old Caulk in the Bathroom
Caulk is the waterproof seal that keeps moisture from seeping behind tiles and into the walls. Over time, caulk can crack, peel, or develop mold. Replacing it is a high-impact project that improves both the appearance and the integrity of the bathroom.
What You’ll Need
- Caulk remover tool or utility knife
- 100% silicone caulk (mold and mildew resistant)
- Caulk gun
- Painter’s tape
- Rubbing alcohol and a rag
Step-by-Step Instructions
- Remove the Old Caulk: Use a utility knife or a specialized scraping tool to carefully slice away the old bead of caulk. Take care not to scratch the bathtub or tile.
- Clean the Joint: Wipe the area with rubbing alcohol to remove any remaining residue or soap scum. The area must be completely dry before applying new caulk.
- Apply Tape (The Pro Secret): For a perfectly straight line, apply painter’s tape about 1/8 inch above and below the joint.
- Apply the Bead: Cut the tip of the caulk tube at a 45-degree angle. Place the tip in the joint and apply steady pressure to the caulk gun, moving at a consistent speed.
- Smooth the Bead: Wet your finger with a little water or use a caulk finishing tool to smooth the bead.
- Remove Tape: Pull the tape off while the caulk is still wet. This leaves a crisp, clean edge. Allow it to cure for at least 24 hours before using the shower or tub.

6. Updating Switch Plates and Outlet Covers
Changing out old, yellowed, or painted-over switch plates is one of the easiest ways to modernize a room. It requires almost no technical skill and makes a surprising difference in the aesthetic of the home.
Step-by-Step Instructions
- Unscrew the Old Plate: Use a flat-head screwdriver to remove the two small screws holding the cover in place.
- Clean the Area: If there is paint buildup around the edges, use a utility knife to gently score around the plate so it doesn’t pull the wall paint off when removed.
- Position the New Plate: Align the new plate over the switch or outlet.
- Secure the Screws: Tighten the screws until the plate is snug against the wall. Avoid over-tightening, as plastic plates can crack easily. Many professional installers align the screw slots vertically for a uniform look.

7. Replacing a Light Switch
If a switch feels “mushy,” makes a crackling sound, or no longer operates the light, it needs to be replaced. While this involves electrical components, a standard single-pole switch replacement is a very manageable DIY task if safety protocols are followed strictly. For more complex household questions, visiting the Paris Wheel FAQ section can provide additional clarity on home maintenance.
Safety First
Always turn off the power at the main circuit breaker before starting. Do not rely on the light switch itself to cut the power. Verify the power is off using a non-contact voltage tester.
Step-by-Step Instructions
- Remove the Cover Plate and Switch: Unscrew the plate and the two screws holding the switch to the electrical box. Gently pull the switch out so the wires are exposed.
- Document the Wires: Take a photo of how the wires are connected. On a standard switch, there are usually two black (hot) wires and a bare copper or green (ground) wire.
- Disconnect the Wires: Loosen the terminal screws and remove the wires.
- Connect the New Switch: Create a small “U” shape at the end of each wire with pliers. Hook the ground wire around the green screw and tighten. Hook the other two wires around the brass screws on the side. It does not matter which black wire goes to which brass screw on a simple single-pole switch.
- Reinstall: Gently fold the wires back into the box and screw the switch into place. Reattach the cover plate and restore power at the breaker.
Essential Tool Kit for Beginners
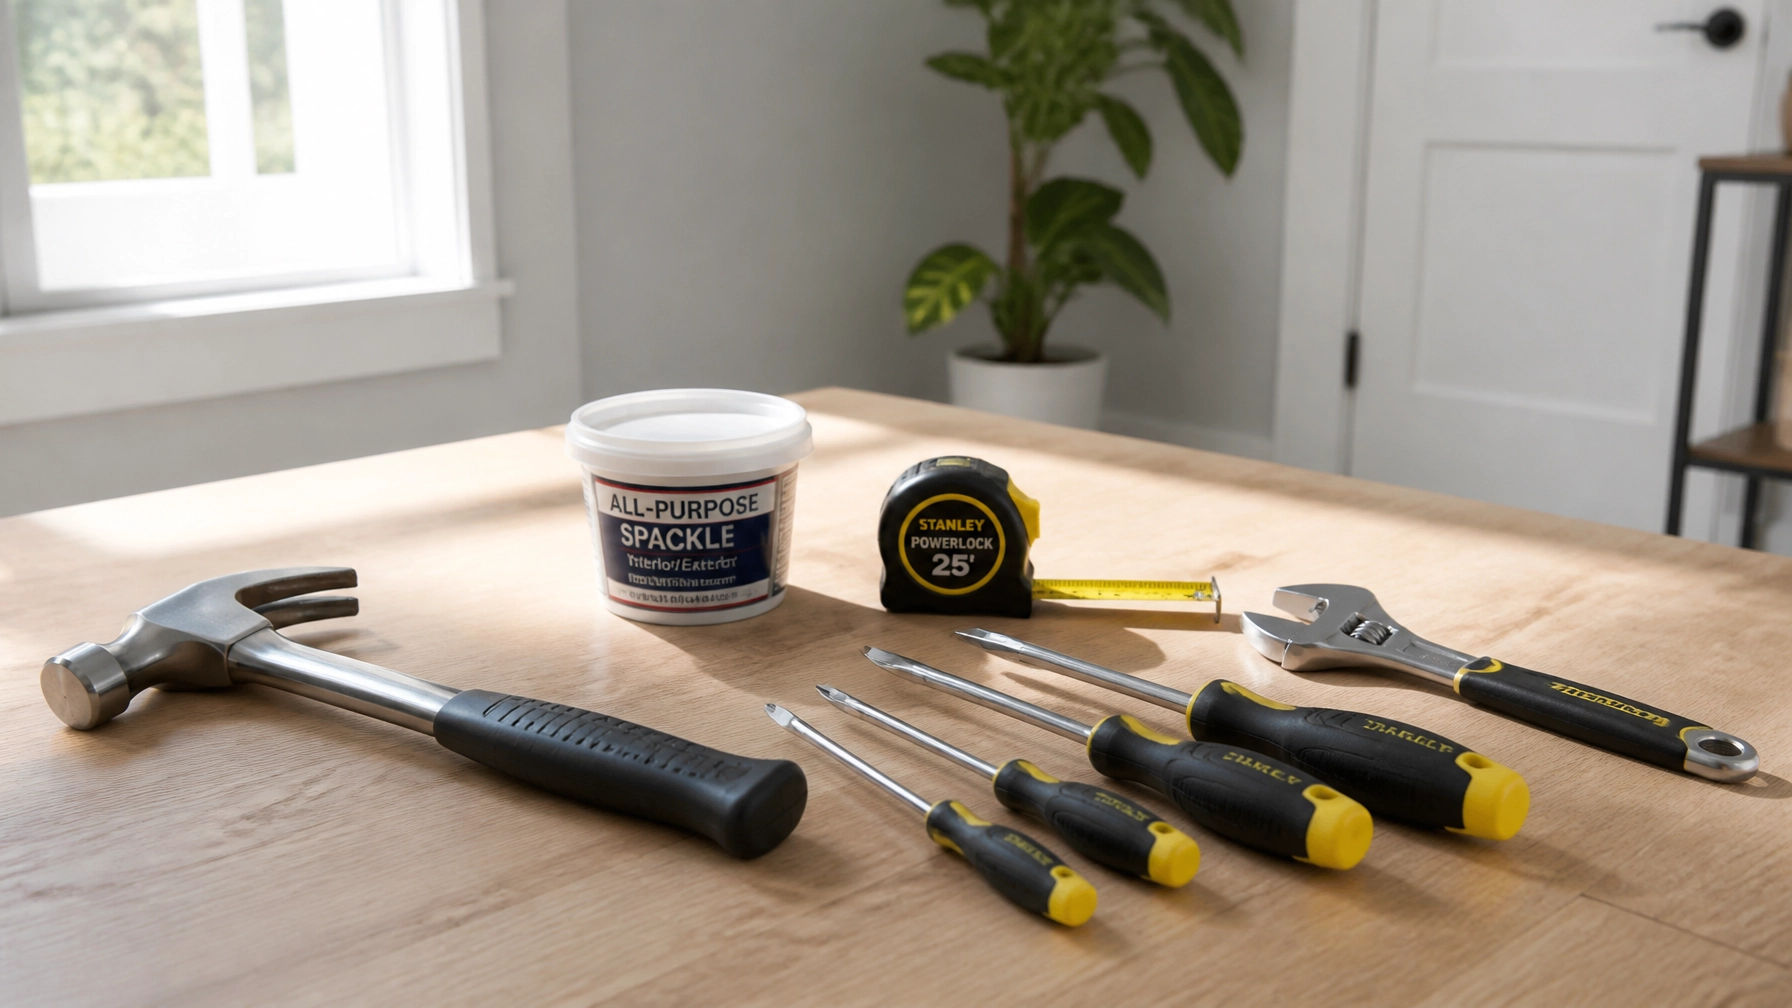
To handle these repairs and many others, a basic home toolkit is a worthwhile investment. Having these items on hand means repairs can be handled the moment they are noticed.
- Screwdriver Set: A variety of Phillips and flat-head sizes.
- Adjustable Wrench: Essential for plumbing and tightening bolts.
- Needle-Nose Pliers: Great for electrical work and gripping small parts.
- Hammer: A standard 16-ounce claw hammer is ideal.
- Tape Measure: At least 16 to 25 feet long.
- Utility Knife: For cutting caulk, boxes, or scoring drywall.
- Torpedo Level: To ensure shelves and plates are perfectly straight.
- Non-Contact Voltage Tester: A critical safety tool for any electrical work.
For those who are just starting their home maintenance journey, help is always available through Paris Wheel customer help. Learning to maintain a living space is a gradual process, but tackling these seven minor repairs is an excellent way to build confidence and ensure a functional, comfortable home.
By dedicating a few hours over a weekend, many common household issues can be resolved permanently. This proactive approach to maintenance keeps a home in top condition and provides the satisfaction of a job well done.

