A disorganized pantry creates daily frustration. Expired food gets buried in the back, duplicate items accumulate because nothing is visible, and meal preparation takes longer than necessary. The right layout solves these problems by matching storage solutions to specific pantry challenges and household needs.
Assessing the Pantry Space
Before purchasing containers or organizational tools, accurate measurements determine what will actually fit. Measure the height, width, and depth of each shelf. Note any obstacles like light fixtures, electrical outlets, or uneven surfaces that affect storage capacity.
Document the current inventory. Empty the entire pantry and sort items by category: canned goods, baking supplies, grains, snacks, breakfast items, and beverages. This reveals how much space each category requires and highlights items that can be discarded or donated.
Identify the specific problems the space presents. Common issues include:
- Shelves spaced too far apart, wasting vertical space
- Deep shelves where items disappear in the back
- Narrow spaces that limit container options
- No door storage being utilized
- Awkward corner areas that remain empty
- Limited counter or prep space for transferring items
Each problem has multiple layout solutions.
Walk-In Pantry Layouts
Walk-in pantries offer the most flexibility but often suffer from poor space utilization.

U-Shaped Configuration
This layout maximizes storage by placing shelving on three walls. Reserve the center area for step stools or a small cart. Install adjustable shelving to customize shelf heights based on item sizes. Place frequently used items at eye level on the back wall for easy access upon entry.
Zone-Based System
Divide the walk-in pantry into distinct zones:
- Baking zone: Lower shelves for heavy flour and sugar containers, upper shelves for sprinkles and decorating supplies
- Breakfast zone: Cereals, oatmeal, coffee, and tea grouped together
- Snack zone: Chips, crackers, and grab-and-go items at child-accessible heights
- Canned goods zone: Tiered organizers or shelf risers to see every can
- Bulk storage zone: Bottom shelves or floor space for large bags of rice, pet food, or bulk paper products
Floor-to-Ceiling Utilization
Install shelving that reaches the ceiling. Use the highest shelves for rarely accessed items like holiday serving platters, special occasion dishware, or surplus supplies. Keep a small step stool in the pantry for safe access.
Reach-In Pantry Layouts
Standard reach-in pantries typically measure 24-36 inches deep and 36-72 inches wide. These spaces require strategic layouts to prevent items from becoming inaccessible.
Tiered Shelf System
Add shelf risers to create multiple viewing levels. This works particularly well for canned goods, jars, and bottles. Items arranged in tiers remain visible instead of hiding behind front-row products.
Install pull-out shelves or sliding drawers on lower levels. These bring back items forward without requiring bending or reaching. This solution works well for heavy items like canned goods or appliances.
Vertical Divider Layout
Use vertical dividers to separate the pantry into columns. Each column holds a specific category:
- Column 1: Breakfast items (cereals, instant oatmeal, granola bars)
- Column 2: Pasta, rice, and grains
- Column 3: Canned vegetables and soups
- Column 4: Snacks and treats
- Column 5: Baking supplies
This prevents categories from bleeding into each other and maintains order even when family members return items quickly.
Door-Focused Design
Maximize door space with over-the-door organizers, wire racks, or mounted pockets. Store flat items, spice packets, sauce mixes, and small snacks on doors. This frees up valuable shelf space for bulkier items.
Mount hooks on the inside of the door for hanging measuring cups, reusable shopping bags, or small baskets.

Cabinet-Style Pantry Solutions
When a dedicated pantry closet isn’t available, cabinet-based storage requires creative layouts.
Lazy Susan Organization
Install rotating trays on deep cabinet shelves. Group similar items together on each turntable:
- One lazy Susan for oils, vinegars, and cooking sauces
- Another for spices and seasonings
- A third for canned goods
This eliminates the dead space in corners and prevents items from getting lost in the back.
Drawer Conversion Layout
Replace standard cabinet shelves with deep pull-out drawers. Organize each drawer by category with dividers or small bins:
- Top drawer: Snacks and lunch items
- Middle drawer: Pasta, rice, and grain packages
- Bottom drawer: Canned goods laid on their sides
This layout provides full visibility and easy access to every item.
Stackable Container System
Use clear, uniform containers that stack efficiently in cabinet spaces. Square or rectangular containers use space more efficiently than round ones. Label containers on multiple sides for visibility from any angle.
Stack frequently used items near the front, less-used items toward the back. Keep container sizes consistent within each cabinet to maximize vertical space.
Small Pantry Layouts
Limited pantry space requires prioritization and multi-functional storage solutions.
Over-Under Organization
Install under-shelf baskets that hang from existing shelves, creating an additional storage tier. These work well for lightweight items like tea bags, seasoning packets, or small snacks.
Use shelf risers to create two levels on a single shelf. Store taller items underneath the riser, shorter items on top.
Sliding Basket System
Install narrow sliding baskets in tight spaces. These pull-out baskets fit in spaces as narrow as 6 inches and hold spices, oil bottles, or snack packages.
Wall-Mounted Solutions
When shelf space is limited, utilize wall areas:
- Mount magnetic strips for spice containers with metal lids
- Install pegboards with hooks for hanging baskets
- Add mounted wire baskets for produce that doesn’t require refrigeration
- Use command hooks for hanging lightweight items in packages
Container Selection Strategies
The right containers prevent food waste and maintain organization long-term.
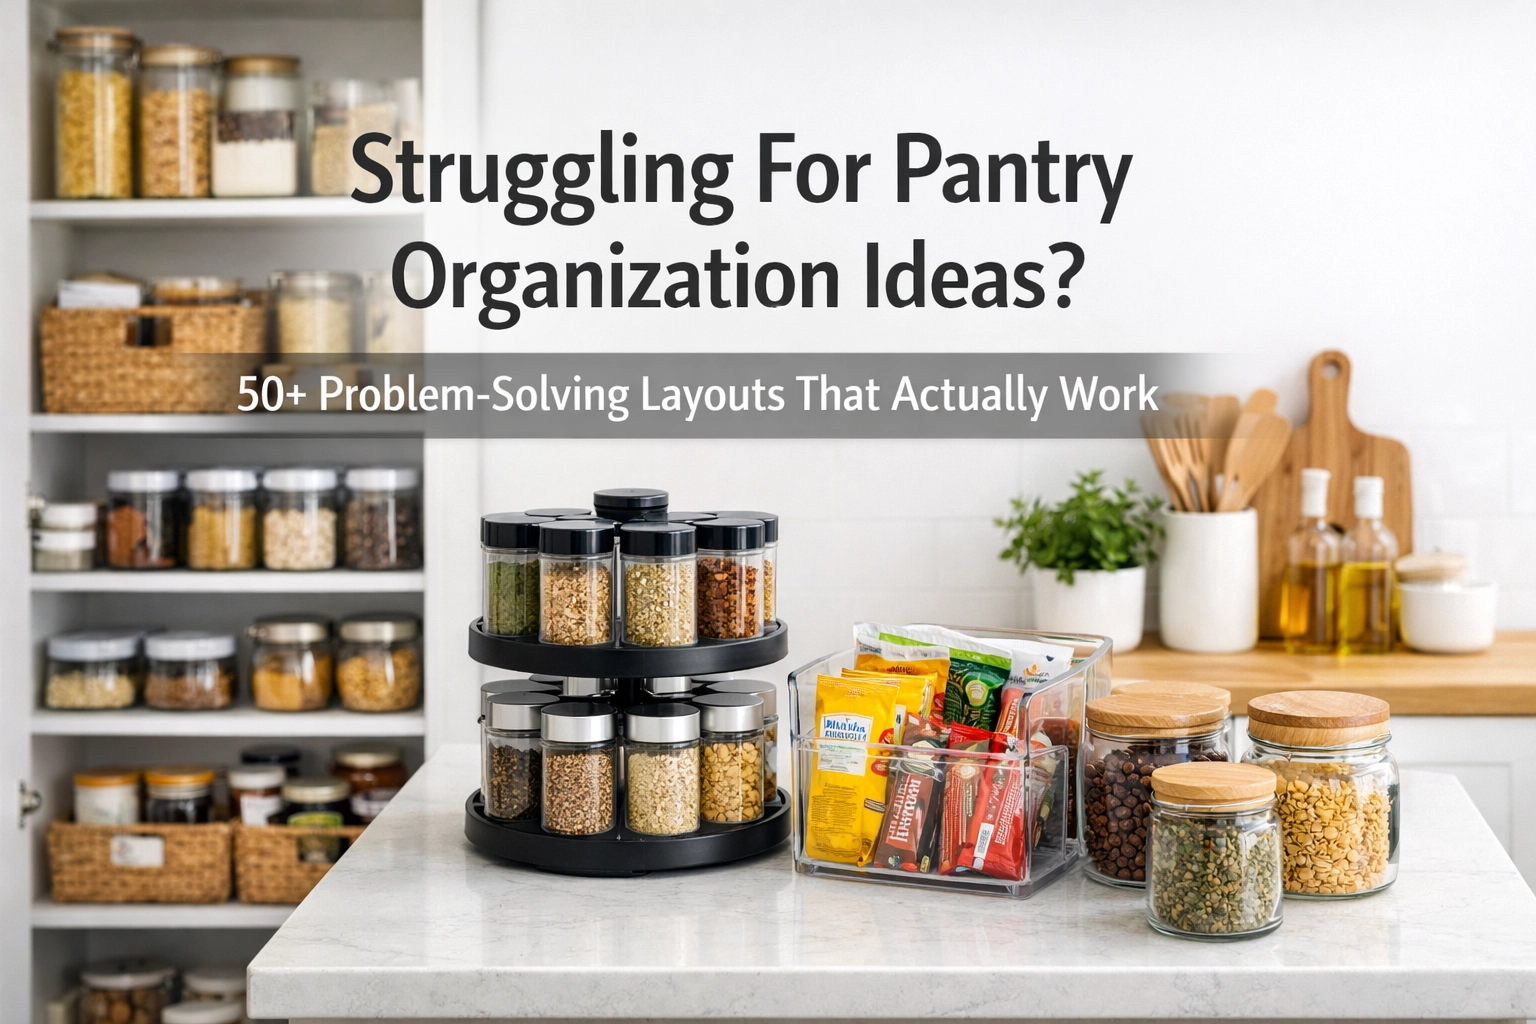
Clear, Airtight Containers
Transfer dry goods from original packaging into clear containers. This serves multiple purposes:
- Visibility prevents forgetting about items
- Airtight seals extend freshness
- Stackable designs maximize vertical space
- Uniform appearance creates visual calm
Choose containers with wide openings for foods accessed frequently. Measuring cups and scoops should fit easily inside.
Labeled Bins and Baskets
Group small items into labeled bins:
- “Snack packs” bin for individual portions
- “Baking add-ins” for chocolate chips, nuts, and dried fruit
- “International” for specialty ethnic ingredients
- “Dinner sides” for boxed rice and potato mixes
Labels ensure items return to their designated spots. Use a label maker or permanent marker on tape for clear identification.
Specialty Organizers
Match organizers to specific items:
- Can racks that dispense from the front and load from the back (first-in, first-out rotation)
- Wine rack-style holders for water bottles or soda cans
- Narrow pull-out organizers for baking sheets, cutting boards, and cooling racks
- Lid organizers that store pot lids vertically instead of stacked

Zone-Based Organization Systems
Creating dedicated zones simplifies both storage and retrieval.
Morning Routine Zone
Place all breakfast-related items in one easily accessible area: cereals, oatmeal, breakfast bars, coffee, tea, and coffee filters. This allows quick morning preparation without searching multiple locations.
Meal Prep Zone
Group items frequently used together during cooking: cooking oils, commonly used spices, stocks and broths, canned tomatoes, pasta, and rice. Position this zone at a convenient height for transferring items during meal preparation.
School Lunch Zone
Designate a lower shelf or bin for lunch-packing supplies: individual snack packs, juice boxes, sandwich supplies, and lunch bag items. Children can help pack their own lunches when items are accessible and grouped together.
Baking Station
Gather all baking essentials in one section: flour, sugar, baking powder, baking soda, vanilla extract, chocolate chips, and sprinkles. Store mixing bowls and measuring cups nearby if space allows.
Maintenance-Friendly Layouts
The best organizational system remains functional with minimal effort.
Front-Facing Labels
Label shelves, not just containers. Tape or adhere labels to shelf edges indicating what belongs in each spot. This guides family members when returning items and makes it immediately obvious when items are missing or misplaced.
Restocking Zones
Designate one shelf or area for “pantry overflow.” When buying multiples of items on sale, store backups in this section. Move items forward to the main storage area only when the primary stock depletes.
Weekly Review System
Establish a consistent location for items nearing expiration. A small basket labeled “Use First” corrals products requiring attention. Place this basket at eye level where it cannot be ignored.
Inventory Checklist
Keep a small whiteboard or notepad mounted inside the pantry door. Note items as they run low, creating a running grocery list. This prevents overbuying items already in stock and ensures frequently used items never run out.
Problem-Specific Solutions
Certain challenges require targeted approaches.
Deep Shelves
Install pull-out drawers, lazy Susans, or use stadium-style tiered organizers. Alternatively, place less-frequently used items toward the back and keep everyday items at the front.
Awkward Heights
Adjust shelf positions if possible. If shelves are fixed, use the tall spaces for cereal boxes, paper towel storage, or tall bottles. Fill short spaces with low-profile containers or use shelf risers to create artificial levels.
Limited Space
Prioritize vertical storage with stackable containers. Use every inch of door space. Consider storing some pantry items elsewhere: holiday-specific items in storage areas, bulk paper goods in a closet, or beverage overflow in a garage.
Mixed-Use Pantry
When the pantry stores both food and non-food items (cleaning supplies, pet food, or kitchen equipment), use distinct containers or shelf sections. Never store cleaning chemicals near food items. Use bottom shelves for heavy pet food bags and cleaning supply caddies.
Temperature and Light Considerations
Placement affects food longevity.
Avoid storing oils, spices, and light-sensitive items near windows or heat sources. These items deteriorate faster in warm, bright conditions. Reserve cooler, darker areas of the pantry for these products.
Position chocolate, nuts, and items containing oils away from heat vents. These items can melt, turn rancid, or develop off-flavors in warm storage.
Store potatoes, onions, and garlic in dark, well-ventilated areas. Use baskets with openings rather than sealed containers for produce storage.
Long-Term Success Strategies
Initial organization is just the beginning.
Match the system to actual household habits. If family members won’t transfer cereal to containers, store cereal boxes in their original packaging within a designated bin. The system should reduce friction, not create additional work.
Adjust as needs change. As children grow, lower snack storage shifts to higher shelves. When dietary needs change, zones expand or contract. Review the system seasonally and make modifications.
Involve everyone in the household. Show family members where items belong and explain the organizational logic. When everyone understands and agrees to maintain the system, it remains functional indefinitely.
A functional pantry layout eliminates the daily frustration of searching for ingredients, reduces food waste from expired items, and streamlines meal preparation. The right solution depends on the specific space, household needs, and realistic maintenance capabilities. Start with problem areas, implement solutions gradually, and adjust based on what actually works in daily use.

