Maintaining a home involves a continuous series of small tasks that, when addressed promptly, prevent larger and more expensive problems. Minor repairs range from fixing a leaky faucet to patching a hole in the drywall or silencing a squeaky door. Understanding how to tackle these common household issues not only saves money but also ensures that the living environment remains comfortable, efficient, and aesthetically pleasing.
Knowledge of basic home maintenance is a practical skill set that benefits every homeowner and renter alike. By following systematic steps and using the correct tools, most minor issues can be resolved with professional-level results.
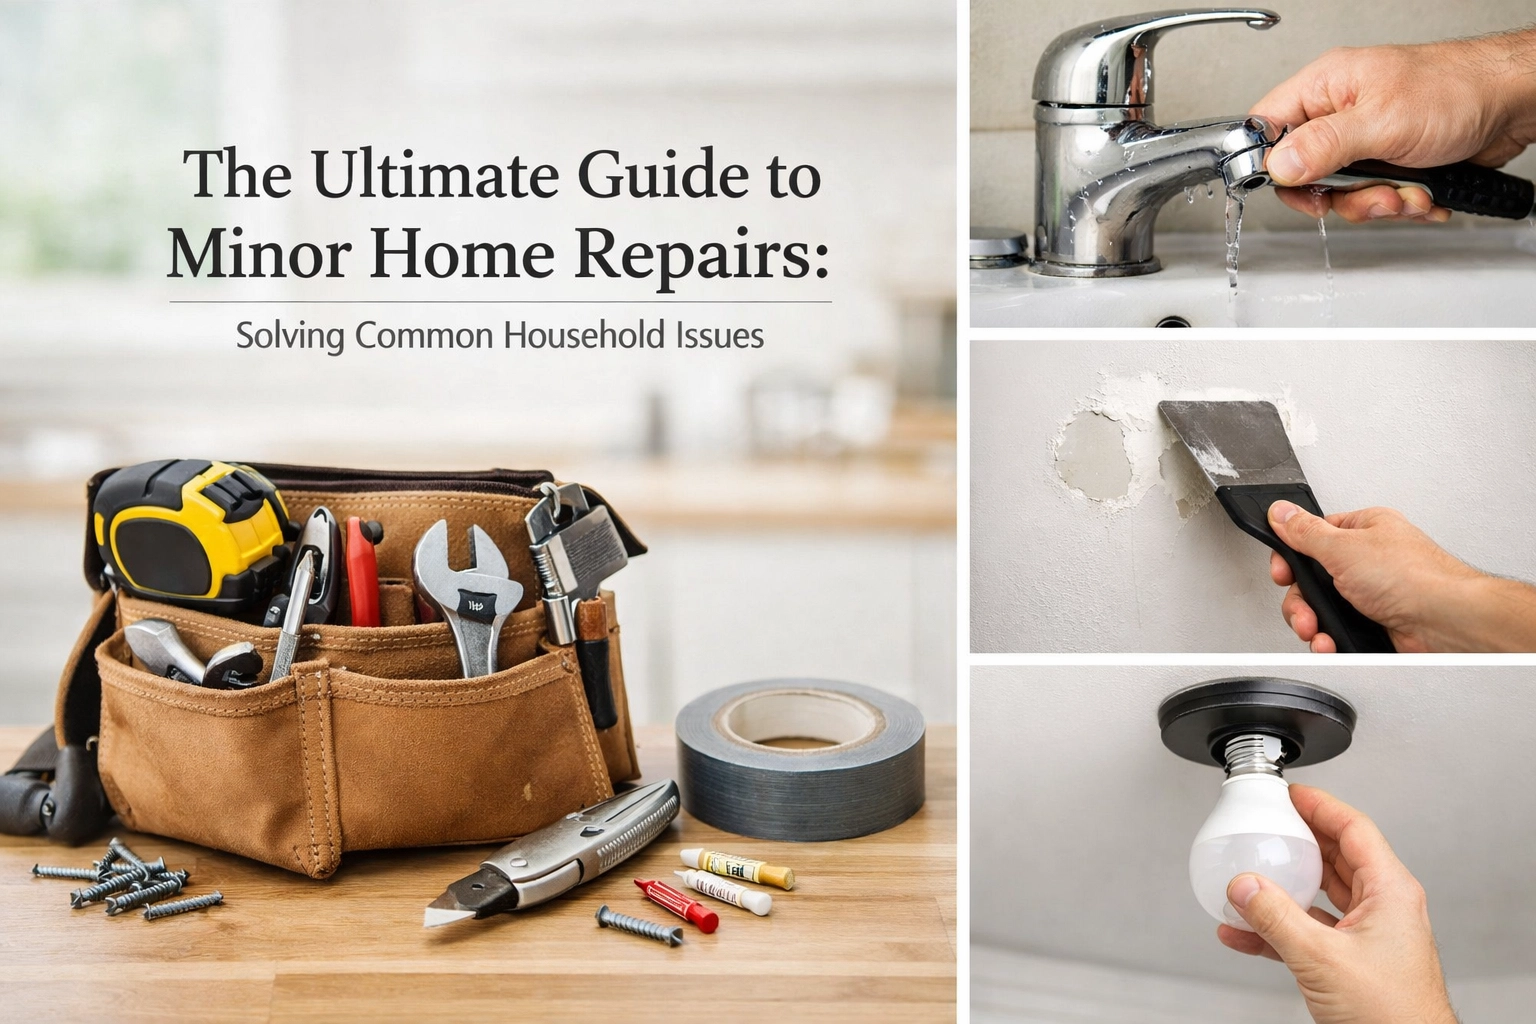
The Essential Home Repair Toolkit
Before attempting any repair, it is necessary to have a reliable set of tools. Having these items organized and accessible reduces the frustration often associated with home maintenance.
Measuring and Marking Tools
Precision is the foundation of a successful repair. A 25-foot tape measure is standard for most indoor tasks. Additionally, a spirit level is vital for ensuring that shelves, pictures, and appliances are perfectly horizontal or vertical. For marking cuts or drill points, a simple carpenter’s pencil is preferred over pens, as pencil marks are easily erased or painted over.
Hand Tools for Every Project
A well-rounded toolkit should include both a Phillips-head and a flathead screwdriver in various sizes. For more versatility, a multi-bit screwdriver can save space. An adjustable wrench is necessary for plumbing tasks, while a set of pliers: specifically needle-nose and slip-joint pliers: allows for gripping and bending wires or small components.
A 16-ounce claw hammer is the standard choice for most household needs. For cutting materials like weatherstripping, carpet, or drywall, a sharp utility knife is indispensable. Finally, a putty knife is essential for any task involving fillers, such as spackling walls or applying wood putty.

Wall Repairs: From Nail Holes to Drywall Patches
Walls are prone to damage from furniture moves, hanging decorations, and general daily activity. Fortunately, most surface damage to drywall or plaster is cosmetic and can be repaired with minimal effort.
Filling Small Holes and Dents
Nail holes and small dents are the most frequent wall issues. To fix these, begin by removing any loose debris or protruding edges from the hole. Using a putty knife, apply a small amount of lightweight spackling compound into the indentation. Press firmly to ensure the hole is filled, then swipe the knife across the surface to level it with the wall.
Once the compound is dry: usually within 30 minutes to an hour: lightly sand the area with fine-grit sandpaper (around 220 grit) until it feels smooth to the touch. If the compound shrinks during drying, a second thin coat may be necessary. After sanding, wipe away the dust with a damp cloth before applying a matching touch-up paint.
Patching Larger Drywall Damage
For holes larger than two inches, such as those caused by a door handle hitting the wall, a simple filler is not enough. An adhesive mesh patch is often the most efficient solution.
- Preparation: Clean the area around the hole and remove any frayed paper or crumbled gypsum.
- Application: Place the self-adhesive mesh patch over the hole.
- Compounding: Apply a thin layer of joint compound over the mesh using a wider taping knife (6 inches or larger). Feather the edges outward to blend the patch into the surrounding wall.
- Drying and Sanding: Allow the first coat to dry completely. Sand lightly, then apply a second, wider coat of compound to further hide the elevation of the patch.
- Finishing: After the final coat is dry and sanded, apply a primer before painting to ensure the texture matches the rest of the wall.

Resolving Common Plumbing Annoyances
Plumbing issues can be intimidating, but many common problems do not require a licensed plumber. Most minor plumbing repairs involve replacing worn-out rubber or plastic components that have degraded over time.
Stopping a Dripping Faucet
A dripping faucet is often caused by a worn-out washer or O-ring. Before starting, turn off the water supply valves located under the sink.
Most modern faucets are either compression or cartridge-based. For a compression faucet, the handle is removed to reveal a stem. At the bottom of this stem is a rubber washer held in place by a brass screw. Replacing this washer usually stops the leak. For cartridge faucets, the entire cartridge unit inside the handle assembly is typically replaced as a single piece. Taking the old part to a hardware store ensures the replacement is the correct size and model.
Unclogging Drains Without Chemicals
Chemical drain cleaners can be harsh on pipes and the environment. Mechanical methods are often more effective. For a slow sink drain, the first step is to remove and clean the pop-up stopper, which frequently collects hair and soap scum.
If the clog is further down, use a plunger. Ensure there is enough water in the sink or tub to cover the bell of the plunger, and block the overflow vent with a damp rag to create a vacuum. If plunging fails, the “P-trap”: the U-shaped pipe under the sink: can be removed. Place a bucket underneath, unscrew the slip nuts by hand or with pliers, and clear the blockage manually.

Windows and Doors: Smooth Operation and Efficiency
Doors that squeak or windows that let in drafts are common nuisances that affect the comfort and energy efficiency of a home.
Silencing Squeaky Hinges
A squeaking door is usually the result of metal-on-metal friction within the hinge. To resolve this, apply a lubricant. While spray lubricants like WD-40 provide a quick fix, they are thin and may evaporate quickly. For a long-term solution, a few drops of machine oil or a silicone-based lubricant are preferred.
If the squeak persists, the hinge pin may need to be removed. Tap the pin out from the bottom using a hammer and a nail, clean any rust or grime with steel wool, coat it lightly with white lithium grease, and reinsert it.
Sealing Drafts for Energy Savings
Drafty windows and doors significantly increase heating and cooling costs. Weatherstripping is the primary defense against air leaks. For doors, check the “sweep” at the bottom. If it is torn or no longer touches the threshold, unscrew it and install a replacement.
For windows, foam tape or V-strip weatherstripping can be applied to the tracks and frames. Ensure the surface is clean and dry before application to ensure the adhesive bonds correctly. These small barriers can significantly improve the thermal envelope of the house. For further guidance on home maintenance schedules, visitors can check the blog for seasonal checklists.

Kitchen and Bathroom Maintenance
High-moisture areas like kitchens and bathrooms require regular attention to prevent water damage and mold growth.
Renewing Old Caulk
Caulk acts as a waterproof seal between fixtures and walls. Over time, it can crack, peel, or develop mildew. Applying new caulk over old caulk is not effective; the old material must be removed first.
Use a caulk removal tool or a utility knife to carefully strip away the old silicone or acrylic. Clean the area with rubbing alcohol to remove any oily residue. Once dry, apply a bead of kitchen-and-bath silicone caulk using a caulking gun. To achieve a professional finish, smooth the bead with a wet finger or a specialized smoothing tool immediately after application. Allow it to cure for at least 24 hours before exposing it to water.
Fixing Loose Cabinet Hardware
Cabinet handles and knobs often loosen with repetitive use. In many cases, simply tightening the screw on the inside of the door or drawer is sufficient. However, if the screw keeps spinning, the hole may be stripped.
To fix a stripped screw hole in wood, remove the screw and insert a toothpick or a small wooden matchstick coated in wood glue into the hole. Snap off the excess wood so it is flush with the surface. Once the glue is dry, the screw can be reinserted; the extra wood provides the necessary grip for the threads.
Surface Restoration: Flooring and Furniture
Wood surfaces are susceptible to scratches and scuffs that can dull the appearance of a room.
Fixing Scratches in Wood
Minor scratches that only affect the finish can often be hidden with a touch-up marker or a wax stick designed for furniture. For deeper scratches that reach the wood itself, use a wood filler that matches the stain color.
For hardwood floors, small scuffs can sometimes be removed by rubbing the area with a tennis ball or a soft cloth dipped in a small amount of floor cleaner. If the scratch is deep, light sanding and a localized application of polyurethane may be required to protect the wood from moisture.

Understanding Electrical Safety
While complex electrical work should be left to professionals, there are minor tasks that homeowners can safely perform. The most important rule of electrical work is to turn off the power at the circuit breaker before touching any component.
Replacing Switch Covers and Outlets
Cracked or discolored switch plates and outlet covers are easily replaced with a screwdriver. This is a purely cosmetic fix that can instantly refresh a room’s look.
If an outlet is loose, it may simply need the mounting screws tightened. If the internal mechanism is failing: for example, if plugs fall out easily: the entire outlet unit needs replacement. This involves unscrewing the device from the wall box, disconnecting the wires, and attaching them to the new unit in the exact same configuration (typically black wire to brass screw, white wire to silver screw, and green or bare wire to the ground screw). For those unsure about these steps, consulting the customer help resources can provide additional safety context.
Determining When to Hire a Professional
While DIY repairs are beneficial, recognizing the limits of one’s expertise is crucial for safety and property preservation. Certain situations require the skills and licensing of a professional contractor.
- Structural Issues: Any cracks in the foundation, sagging floor joists, or shifts in the roofline require an engineer or a specialized contractor.
- Extensive Electrical Work: If a circuit breaker frequently trips, or if there is a smell of ozone or burning near outlets, an electrician is necessary.
- Major Plumbing: Gas line repairs, main sewer line clogs, or water heater replacements are not suitable for DIY.
- Persistent Mold: If mold covers an area larger than ten square feet, professional remediation is recommended to ensure the spores are properly contained and the source of moisture is eliminated.
By addressing minor repairs as they arise, property owners can maintain their homes efficiently. Most household issues are manageable with a bit of patience, the right tools, and a systematic approach to problem-solving. Consistent upkeep not only preserves the value of the home but also provides the satisfaction of a well-maintained living space.

