A running toilet is more than just an annoying background noise. This common household problem represents an internal water leak that can waste hundreds of gallons of water per day, significantly increasing water bills. The constant sound of trickling water signals that something inside the toilet tank has failed or fallen out of adjustment. The good news is that most running toilet issues can be diagnosed and fixed without professional help, often in less than an hour with basic tools and inexpensive replacement parts.
Understanding the internal components of a toilet tank is the first step toward fixing the problem. The tank contains several interconnected parts: the flapper (a rubber seal at the bottom), the fill valve (also called a ballcock), the overflow tube, the flush handle and chain, and the float mechanism. When these components work together properly, the toilet fills after each flush and stops when full. When one part fails or needs adjustment, water keeps flowing.
1. Worn Out or Damaged Flapper
The flapper is the most common culprit behind a running toilet. This rubber or plastic valve sits at the bottom of the tank and creates a watertight seal over the flush valve opening. When the toilet is flushed, the flapper lifts to allow water to rush from the tank into the bowl. After flushing, it settles back down to seal the opening and allow the tank to refill.
Over time, the flapper deteriorates due to constant exposure to water containing minerals and chlorine. The rubber becomes brittle, warped, or develops cracks. Even minor imperfections prevent the flapper from creating a complete seal, allowing water to continuously leak from the tank into the bowl.
How to Diagnose: Perform a simple dye test. Add several drops of food coloring to the tank water and wait 15-20 minutes without flushing. If colored water appears in the bowl, the flapper is leaking.
How to Fix: Turn off the water supply to the toilet (the valve is usually located on the wall behind the toilet). Flush to empty the tank. Remove the old flapper by unhooking it from the pegs on either side of the overflow tube or unscrewing it from the flush valve. Take the old flapper to a hardware store to ensure an exact match. Install the new flapper by reversing the removal process. This repair typically costs a few dollars and takes about 10 minutes.

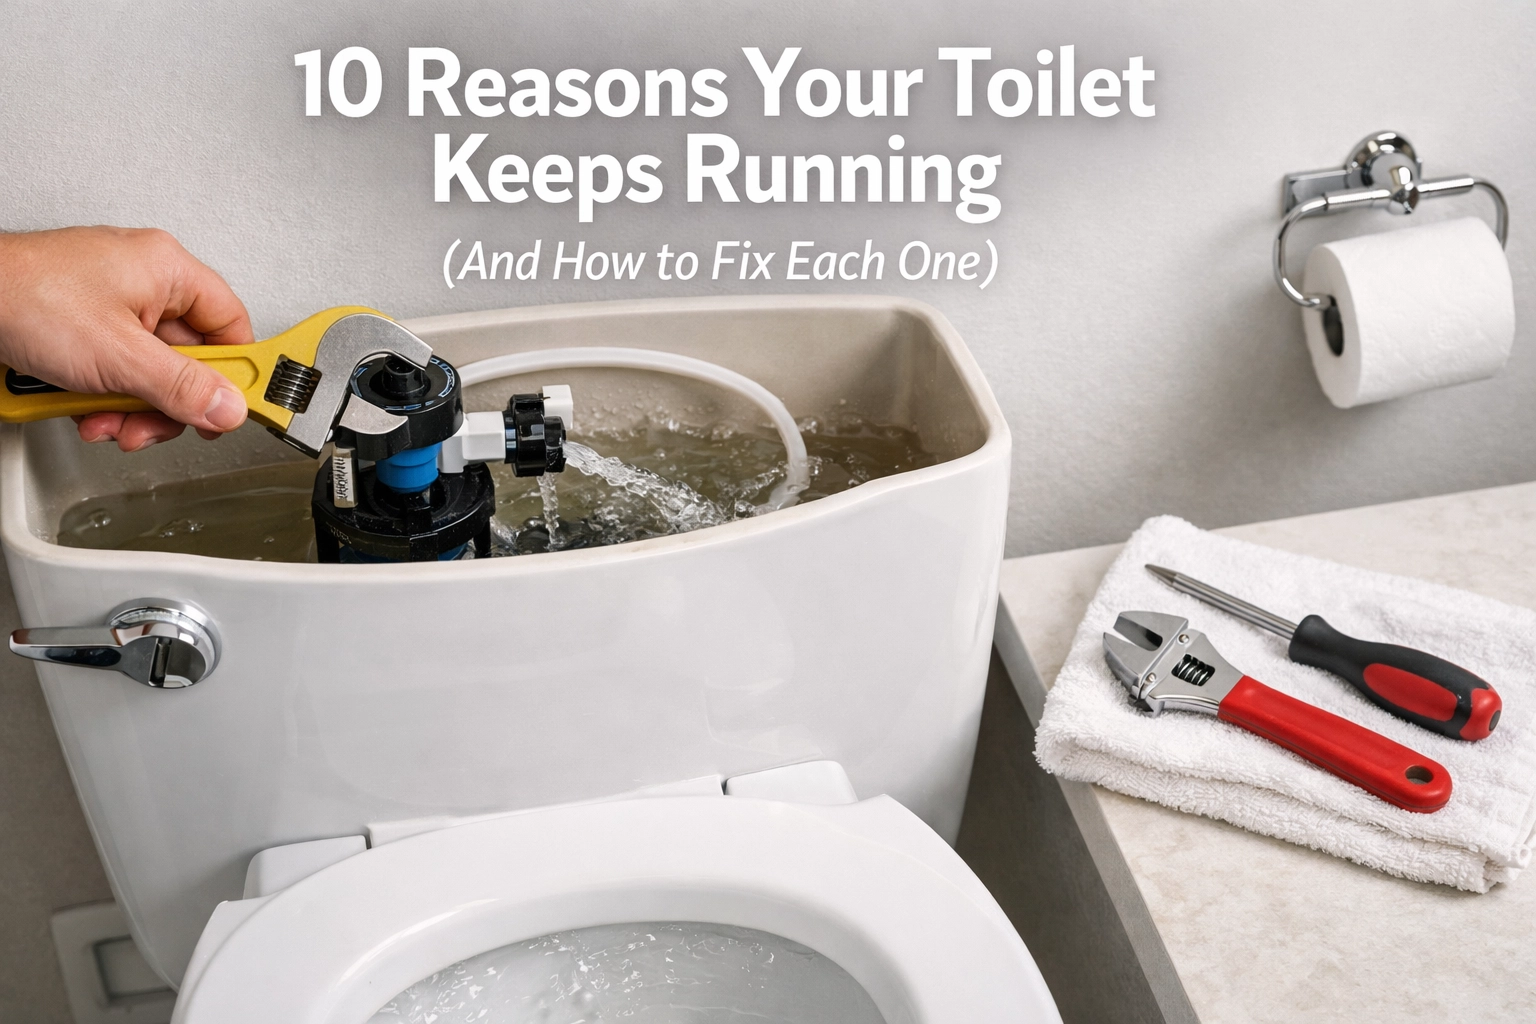
2. Faulty Fill Valve
The fill valve controls the flow of water into the tank after each flush. Located on the left side of most toilet tanks, this component includes an adjustment mechanism and connects to the water supply line. When functioning correctly, the fill valve opens when water level drops (after flushing), allows the tank to refill, then shuts off completely when the proper water level is reached.
A malfunctioning fill valve fails to shut off completely, causing water to continuously flow into the tank. This excess water then drains into the overflow tube, creating the running water sound. Mineral buildup from hard water is a common cause of fill valve failure, but internal parts can also wear out over time.
How to Diagnose: Listen carefully. If water is continuously running into the tank (not just into the bowl), and the water level is near or above the overflow tube, the fill valve is likely the problem.
How to Fix: First, try cleaning the fill valve. Turn off the water supply and flush to drain the tank. Remove the fill valve cap and check for debris or mineral deposits. Flush the valve with clean water or a vinegar solution to clear blockages. If cleaning doesn’t work, replace the entire fill valve. This requires disconnecting the water supply line, removing the old valve from inside and outside the tank, and installing a new unit according to manufacturer instructions. Replacement fill valves cost between $15-30 and take about 30 minutes to install.
3. Cracked or Damaged Float Ball
Older toilet models use a float ball: a hollow plastic or copper ball attached to a rod connected to the fill valve. As water fills the tank, the float ball rises, eventually signaling the fill valve to shut off. This simple mechanism relies on the float ball remaining buoyant.
When a float ball cracks, water seeps inside, adding weight and preventing it from rising properly. The fill valve never receives the signal to shut off, so water keeps flowing into the tank and overflowing into the overflow tube.
How to Diagnose: Remove the tank lid and observe the float ball during and after flushing. If it sits low in the water or fails to rise as the tank fills, it may be waterlogged. Unscrew the float ball and shake it: water sloshing inside confirms the diagnosis.
How to Fix: Replace the float ball by unscrewing it from the float arm and screwing on a new one. Float balls are inexpensive and widely available at hardware stores. Alternatively, consider upgrading to a modern fill valve system that uses a float cup instead of a ball mechanism.
4. Float Adjusted Too High
Even a functioning float can cause problems if set at the wrong height. The float, whether a ball or cup design, controls when the fill valve stops adding water to the tank. If adjusted too high, water continues filling past the optimal level and spills into the overflow tube.
How to Diagnose: Watch the water level as the tank refills after flushing. Water should stop about one inch below the top of the overflow tube. If water reaches the top of the overflow tube or flows into it, the float is set too high.
How to Fix: Adjustment methods vary by toilet model. For float balls, gently bend the metal float arm downward to lower the water level. For float cup designs, look for an adjustment clip or screw on the side of the fill valve. Pinch the clip or turn the screw to slide the float cup down the valve shaft. Make small adjustments and test after each one until the water stops at the correct level.

5. Lift Chain Too Long or Tangled
The lift chain connects the flush handle to the flapper. When the handle is pressed, the chain lifts the flapper to initiate flushing. A properly adjusted chain has just enough slack to allow the flapper to close completely but not so much that it gets tangled.
A chain that’s too long can get caught underneath the flapper when it tries to close, preventing a proper seal. The chain might also tangle around other tank components, causing unpredictable behavior. Either situation allows water to continuously leak past the flapper.
How to Diagnose: Remove the tank lid and observe the chain when the toilet isn’t being used. If the chain appears bunched up, twisted, or positioned under the flapper, it needs adjustment.
How to Fix: Unhook the chain from the flush handle lever (usually just a hook or loop connection). Reattach it to a different link in the chain to shorten it. The goal is to leave about half an inch of slack when the flapper is closed. Test by flushing to ensure the flapper lifts completely and closes without interference.
6. Lift Chain Too Short
While a chain that’s too long can get stuck under the flapper, a chain that’s too short creates the opposite problem. When adjusted too tightly, the chain keeps the flapper slightly lifted even when the handle isn’t being pressed. This constant opening allows water to leak from the tank into the bowl.
How to Diagnose: Observe the flapper when the toilet isn’t in use. If the chain appears taut or the flapper doesn’t sit flush against the flush valve, the chain is too short.
How to Fix: Disconnect the chain from the flush handle and reconnect it to a link that provides more slack. Ensure the flapper can close completely and create a seal while still allowing enough lift for a full flush. Finding the right balance may require trying a few different links.
7. Worn Flush Valve Seal
The flush valve assembly includes not just the opening where the flapper seals but also a rubber gasket or seal around the valve body itself. This seal prevents water from leaking around the flush valve mechanism. Like the flapper, these seals are made of rubber that degrades over time due to water quality and age.
A worn flush valve seal allows water to leak around the flush valve rather than through it, creating a slow but constant leak into the bowl. This type of leak can be harder to identify because the flush valve and flapper may appear to be working correctly.
How to Diagnose: Perform the food coloring test. If colored water appears in the bowl but the flapper appears intact and properly sealed, the flush valve seal may be compromised.
How to Fix: Replacing a flush valve seal is more involved than replacing a flapper. Turn off the water and drain the tank completely. Disconnect the tank from the bowl by removing the tank bolts (this typically requires a wrench and screwdriver). Lift the tank off and lay it upside down on a padded surface. Remove the old flush valve assembly, install the new one with fresh seals, and reassemble the toilet. This repair takes more time and care but still falls within the range of DIY capability for patient homeowners.

8. Mineral Buildup or Debris in Fill Valve
Hard water contains dissolved minerals that gradually accumulate inside toilet components. The fill valve is particularly susceptible to mineral deposits because water constantly flows through it. Over time, calcium, lime, and other minerals can build up inside the valve mechanism, interfering with its ability to shut off completely.
Small particles of sediment from water supply lines can also lodge inside the fill valve, preventing the internal seal from closing. Even a tiny piece of debris can prevent the valve from shutting off properly.
How to Diagnose: Remove the tank lid and locate the fill valve. If water is continuously trickling into the tank through the fill valve, and the float appears properly positioned, mineral buildup or debris is likely the culprit.
How to Fix: Turn off the water supply and flush to drain the tank. Remove the cap from the fill valve (usually by twisting counterclockwise or lifting retaining clips). Carefully lift out the internal components and inspect for mineral deposits or debris. Soak the parts in white vinegar for 30 minutes to dissolve mineral buildup. Use an old toothbrush to scrub away remaining deposits. Rinse thoroughly with clean water and reassemble. Turn the water back on slowly and check for proper operation. If cleaning doesn’t resolve the issue, replace the entire fill valve.
9. Leaking Tank-to-Bowl Connection
Not all running toilet problems originate with the flapper or fill valve. The connection between the tank and bowl creates another potential leak point. This connection is sealed by a large rubber gasket (called a tank-to-bowl gasket or spud washer) and secured by two or three bolts with rubber washers.
Over time, these rubber components deteriorate, or the bolts can loosen, creating a leak at the junction. Water leaking from this connection often drips onto the floor rather than running into the bowl, but it represents the same type of water waste.
How to Diagnose: Look for water on the floor around the base of the toilet or running down the outside of the bowl. Check the tank bolts inside the tank for rust or corrosion, which indicates water has been leaking past the washers.
How to Fix: First, try tightening the tank bolts. Use a screwdriver inside the tank and a wrench underneath to gently snug the bolts. Be careful not to overtighten, as this can crack the porcelain. If tightening doesn’t stop the leak, the gasket and washers need replacement. This requires removing the tank from the bowl, replacing all the rubber seals and washers, and reassembling carefully. Use a kit specifically designed for tank-to-bowl repairs to ensure all components match properly.

10. External Leak at Supply Line or Fill Valve Connection
The water supply line connects the household plumbing to the toilet’s fill valve. This connection point, along with the connection where the fill valve attaches to the bottom of the tank, can develop leaks over time. Supply line connections can loosen due to vibration, or the rubber washers inside the connections can deteriorate.
These external leaks waste water and can cause damage to bathroom flooring and the subfloor beneath. Unlike internal leaks that run into the bowl or overflow tube, external leaks allow water to escape onto the floor.
How to Diagnose: Check for water pooling near the base of the toilet or water stains on the floor. Dry the area thoroughly, then run your hand along the supply line and around the fill valve connection point. Any moisture indicates an external leak. Look for corrosion, mineral deposits, or rust around connection points.
How to Fix: For loose connections, use an adjustable wrench to carefully tighten the coupling nuts on both ends of the supply line. If tightening doesn’t stop the leak, turn off the water supply and disconnect the supply line. Check the washers inside the coupling nuts: if they’re cracked, brittle, or deformed, replace them. If the supply line itself is damaged or old (rubber supply lines should be replaced every 5-7 years), install a new braided stainless steel supply line. These are more durable and less prone to failure than rubber hoses.
When to Call a Professional
Most running toilet repairs fall well within the capabilities of homeowners with basic tools and moderate DIY confidence. However, certain situations call for professional help:
- Multiple repairs haven’t resolved the problem, suggesting a more complex issue
- The toilet bowl has cracks or visible damage
- Water damage to the floor or surrounding areas requires assessment
- Household members lack the physical ability or tools to make repairs
- The toilet is very old and may need complete replacement
The vast majority of running toilets can be fixed with one of the ten solutions outlined above. Taking the time to diagnose the specific cause and implement the appropriate repair not only stops the annoying sound but also prevents water waste and saves money on utility bills. Most replacement parts cost less than $30, and repairs typically take under an hour: a small investment compared to the cost of wasted water over time.

