Drywall is the standard material for interior walls in modern construction due to its fire resistance, affordability, and ease of installation. However, despite its structural utility, it is relatively soft and prone to damage. Whether the cause is an errant doorknob, a misplaced wall anchor, or general wear and tear from moving furniture, drywall holes are a common issue for homeowners.
Repairing these blemishes is a fundamental skill that maintains the aesthetic value of a property and prevents minor damage from escalating. This guide provides a comprehensive, technical walkthrough of the tools, materials, and methods required to restore a wall to its original, seamless condition. Understanding the nuances of joint compound, sanding techniques, and structural backing ensures a professional-grade finish.
Understanding Drywall and Damage Types
Drywall, also known as gypsum board or plasterboard, consists of a core of gypsum plaster pressed between two thick sheets of paper. Because the core is essentially a soft mineral, it can crumble or dent under impact. Before beginning any repair, it is necessary to identify the scale of the damage. Repairs are generally categorized into three sizes:
- Small Holes: These include pinholes from nails, screw holes, or small chips and scuffs (under 1/2 inch).
- Medium Holes: These are typically caused by wall anchors, removed light fixtures, or small impacts (1/2 inch to 3 inches).
- Large Holes: These involve significant structural damage, such as a foot going through a wall or damage from plumbing repairs (larger than 3 inches).
Each category requires a specific approach and set of materials to ensure the patch remains stable over time. For more information on maintaining a well-kept home environment, exploring resources like Everyday Living can offer broader context on home management.
Essential Tools and Materials
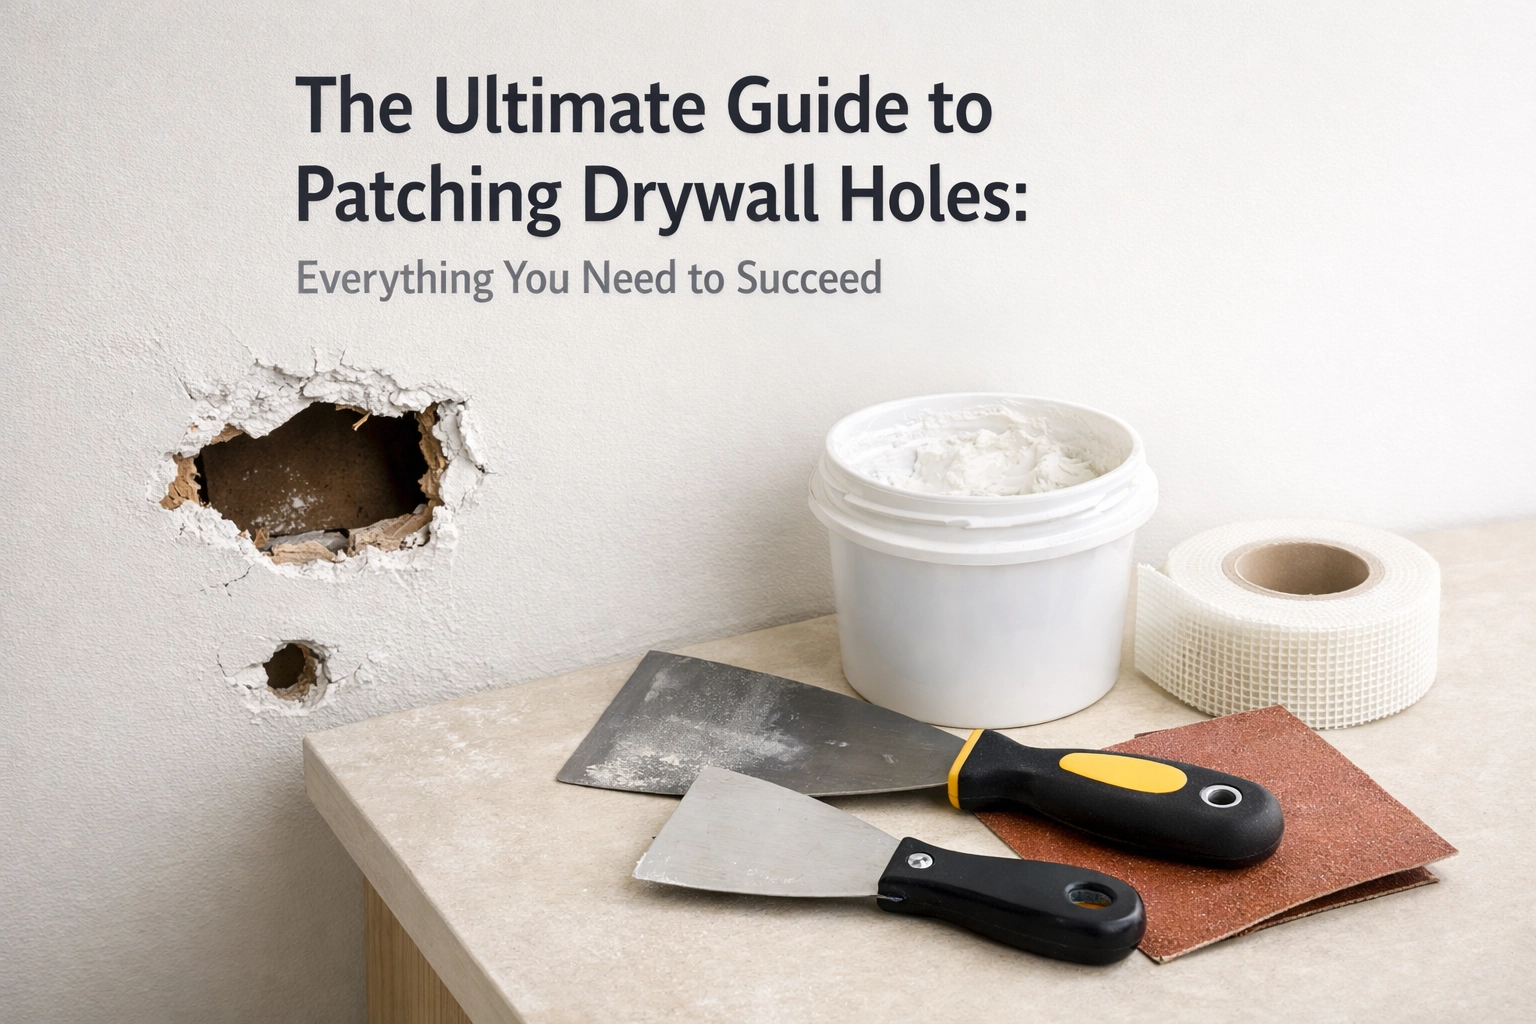
A successful drywall repair relies heavily on using the correct equipment. Using the wrong tool, such as a kitchen knife instead of a putty knife, will lead to uneven surfaces and excessive sanding.
Tools
- Putty Knives: A 2-inch or 3-inch knife for small holes and a 6-inch or 10-inch taping knife for larger repairs.
- Utility Knife: Essential for cutting out damaged drywall and squaring off hole edges.
- Drywall Saw: A serrated hand saw used for cutting larger sections of drywall.
- Sanding Block or Pole Sander: Used with various grits of sandpaper.
- Measuring Tape and Pencil: For marking cut lines on large patches.
- Dust Mask and Safety Glasses: To protect against fine gypsum dust.
Materials
- Spackle vs. Joint Compound: Spackle is thicker and dries faster, making it ideal for tiny holes. Joint compound (often called “mud”) is thinner and better for large areas where “feathering” is required.
- Drywall Tape: Available in paper or fiberglass mesh. Mesh is self-adhesive and easier for beginners.
- Drywall Screws: 1-1/4 inch screws are standard for most residential repairs.
- Backup Strips: Small pieces of scrap wood or plywood used as structural support for large holes.
- Primer and Paint: To seal the patch and match the existing wall color.

Preparation: Setting the Stage for Success
The most common reason for a failed drywall patch is poor preparation. If the area is dusty, greasy, or contains loose debris, the patching material will not adhere properly.
Begin by removing any loose pieces of the gypsum core or torn paper from the edges of the hole. If a wall anchor is still in place, it should be removed. If the anchor is stuck, use a screwdriver to push it slightly deeper into the wall cavity so it sits below the surface of the drywall, or pull it out gently with pliers.
For larger holes, use a utility knife to cut away any frayed edges of the surface paper. If the paper is peeling, it will bubble when the wet compound is applied. Sanding the perimeter of the hole with 120-grit sandpaper creates a slightly rough surface that improves the mechanical bond between the wall and the new compound. Wipe the area with a damp rag to remove all dust before proceeding.
Method 1: Small Holes (Nails and Screws)
Small holes are the easiest to fix and usually only require spackle. Spackle is specifically designed for minor indentations because it shrinks less than joint compound and dries very quickly.
Step 1: Application
Scoop a small amount of spackle onto a 2-inch putty knife. Press the spackle into the hole using a firm, downward motion. Ensure the material fills the entire cavity.
Step 2: Leveling
Once the hole is filled, hold the putty knife at a 45-degree angle and swipe across the hole to remove excess material. The goal is to leave the spackle flush with the wall. It is better to leave it slightly “proud” (raised) than recessed, as it can be sanded down later.
Step 3: Sanding
Wait for the spackle to dry completely: usually 15 to 30 minutes depending on the product. Lightly sand the area with a fine-grit sanding sponge (220-grit). Avoid heavy pressure, which can gouge the soft spackle.
Method 2: Medium Holes (Wall Anchors and Impact)
Medium-sized holes require more reinforcement than spackle alone can provide. This is where self-adhesive fiberglass mesh patches are most effective. These patches act as a bridge, giving the joint compound a structure to cling to.

Step 1: Applying the Mesh
Center a self-adhesive mesh patch over the hole. Press it firmly against the wall, ensuring there are no wrinkles. If the hole is slightly irregular, you can use a utility knife to trim the mesh to size, making sure it overlaps the hole edges by at least an inch on all sides.
Step 2: The First Coat of Compound
Using a 6-inch taping knife, apply a thin layer of lightweight joint compound over the mesh. Start at the center and pull the knife toward the edges. The goal of this first coat is to fill the mesh and hide the grid pattern. Do not worry about making it perfect; this layer is the foundation.
Step 3: Feathering the Edges
Feathering is the process of tapering the edges of the compound so they blend into the wall. As you move the knife toward the outer edges of the patch, increase the pressure on the outer edge of the knife blade. This thins the compound until it vanishes into the existing drywall.
Step 4: Subsequent Coats
After the first coat is dry (about 2 to 4 hours), sand away any high ridges with 150-grit sandpaper. Apply a second, wider coat of compound using a 10-inch knife. This further blends the patch. Most medium repairs require two to three thin coats rather than one thick one.
Method 3: Large Holes (Impact and Cutouts)
Large holes (over 3 inches) require a “California Patch” or a piece of replacement drywall. A hole this size has no structural integrity in the center, so a simple mesh patch will eventually sag or crack.
Step 1: Squaring the Hole
Use a drywall saw or utility knife to cut the damaged area into a neat square or rectangle. It is much easier to fit a square piece of drywall than an irregular shape. Check for any electrical wires or pipes behind the wall before cutting.
Step 2: Creating Support
Since there is no stud to screw the new piece of drywall into, you must create a “cleat.” Cut two small strips of scrap wood (1×2 or plywood) about 4 inches longer than the height of the hole. Insert these strips into the hole and pull them tight against the back of the drywall. Screw through the existing wall into the wood strips using drywall screws. This provides a solid surface to attach the patch.
Step 3: Inserting the Patch
Cut a piece of new drywall to fit the squared-off hole. Leave a small gap (about 1/8 inch) around the edges. Screw the patch into the wooden cleats. Ensure the screw heads are driven slightly below the surface of the drywall paper (creating a “dimple”) without tearing the paper.

Step 4: Taping and Mudding
Cover the seams of the patch with fiberglass mesh tape or paper tape. Apply joint compound over the tape. Because this is a large repair, you will need to feather the compound out 8 to 12 inches from the seam to make the hump invisible to the eye.
The Art of the “California Patch”
For holes between 2 and 4 inches, the California patch (also known as a butterfly patch) is a favorite among professionals because it requires no tape or wooden cleats.
- Cut a square piece of drywall that is 2 inches larger than the hole on all sides.
- Score the back of the patch 1 inch from each edge, but do not cut through the front paper.
- Snap off the gypsum along the scored lines and carefully peel it away from the front paper, leaving a 1-inch “border” of paper surrounding a central square of drywall.
- Test the fit of the central square into the wall hole.
- Apply joint compound to the back of the paper border and the edges of the hole.
- Insert the patch and use a putty knife to press the paper border flat against the wall. The compound acts as glue.
- Smooth more compound over the entire patch and feather the edges.

Achieving a Seamless Finish: Sanding and Texturing
Once the final coat of compound is dry, the wall will likely look white and smooth, but it is not yet ready for paint. The transition between the patch and the wall must be perfectly level.
Sanding Techniques
Use a fine-grit sandpaper (220-grit) for the final pass. Sand in circular motions and use a work light held at an angle against the wall. This “raking light” will cast shadows on any bumps or dips that need attention. If you sand too far and expose the tape or the drywall paper, you must apply another thin layer of compound and repeat the process.
Matching Wall Texture
Most walls are not perfectly smooth. They often have a texture such as “orange peel” or “knockdown.” If you paint over a smooth patch on a textured wall, the repair will be obvious.
- Orange Peel: Can be replicated using a spray-on texture available in aerosol cans. Practice on a piece of cardboard first to match the pressure and distance.
- Knockdown: Apply the spray texture, wait a few minutes for it to begin drying, and then lightly drag a wide putty knife over the peaks to flatten them.
- Smooth Walls: If the wall is smooth, use a high-nap roller when painting to create a slight “stipple” that matches the surrounding roller marks.
Priming and Painting
Drywall compound is extremely porous. If you apply paint directly to the patch, the compound will suck the moisture out of the paint, resulting in a dull, “flashed” look that stands out from the rest of the wall.
Always apply a coat of high-quality primer to the patched area first. Once the primer is dry, apply two coats of paint that matches the rest of the wall. For the best results, paint from corner to corner of the entire wall section rather than just “spot painting” the patch. This helps hide any slight variations in paint sheen or color matching.
If you are working in a room with many wall decorations, such as mirrors, ensure they are removed before painting to avoid uneven borders and to allow the new finish to dry properly in an unobstructed environment.

Troubleshooting Common Issues
Even with careful work, certain problems can arise during the drywall patching process.
- Cracking Compound: If the joint compound is applied too thick, it may crack as it dries. If this happens, do not try to fill the cracks with more wet mud immediately. Let it dry, sand it down, and apply a thinner “skim coat” over the top.
- Bubbling Tape: This usually occurs with paper tape when there isn’t enough compound behind it to create a bond. Cut out the bubbled section with a utility knife and re-apply a small piece of tape with fresh compound.
- Visible Seams: If you can still see the outline of your patch after painting, it means the feathering wasn’t wide enough. You may need to sand back the paint (carefully), apply a wider coat of compound, and re-finish the area.
- Dust Management: Drywall sanding creates an immense amount of fine dust. To minimize the mess, use a “wet sanding” technique with a damp sponge for small repairs, or use a vacuum-attached sander for larger projects. Covering furniture and sealing doorways with plastic sheeting is highly recommended.
Maintenance and Prevention
Once the repairs are complete, taking steps to prevent future damage can save time and effort. Installing doorstops behind every door prevents the handle from striking the drywall. In high-traffic areas, consider using a higher-gloss paint finish, which is more resistant to scuffs and easier to clean than flat or matte finishes.
Understanding the structural limitations of drywall is also key. When hanging heavy items, always use a stud finder to locate the wooden or metal framing behind the drywall. Relying solely on the drywall to hold weight: even with anchors: can lead to “pull-out” damage that requires extensive patching.
By following these systematic steps, a homeowner can move from a damaged, unsightly wall to a professional-quality finish. The key lies in patience, particularly during the drying and sanding phases. Rushing the process often leads to visible imperfections, while a methodical approach ensures the repair is indistinguishable from the rest of the home.
For those looking to expand their DIY skills further, the principles of surface preparation and finishing applied here are universal across many home improvement tasks. Mastering the basics of drywall repair is a gateway to more complex renovations and general home stewardship. For a wide range of learning materials on home and lifestyle topics, Paris Wheel provides various resources to support continuous skill development.

