A bathroom serves as a functional hub within a home, but it is often the site of persistent maintenance issues. From a sink that takes minutes to drain to a toilet that runs throughout the night, these minor inconveniences can lead to higher water bills and potential structural damage if left unaddressed. Understanding the mechanics of bathroom fixtures allows for efficient, cost-effective repairs that do not require professional intervention in many cases.
This guide provides a comprehensive walkthrough of the most frequent bathroom repairs, focusing on practical techniques for clearing drains, fixing leaks, removing stubborn stains, and optimizing the overall functionality of the space.
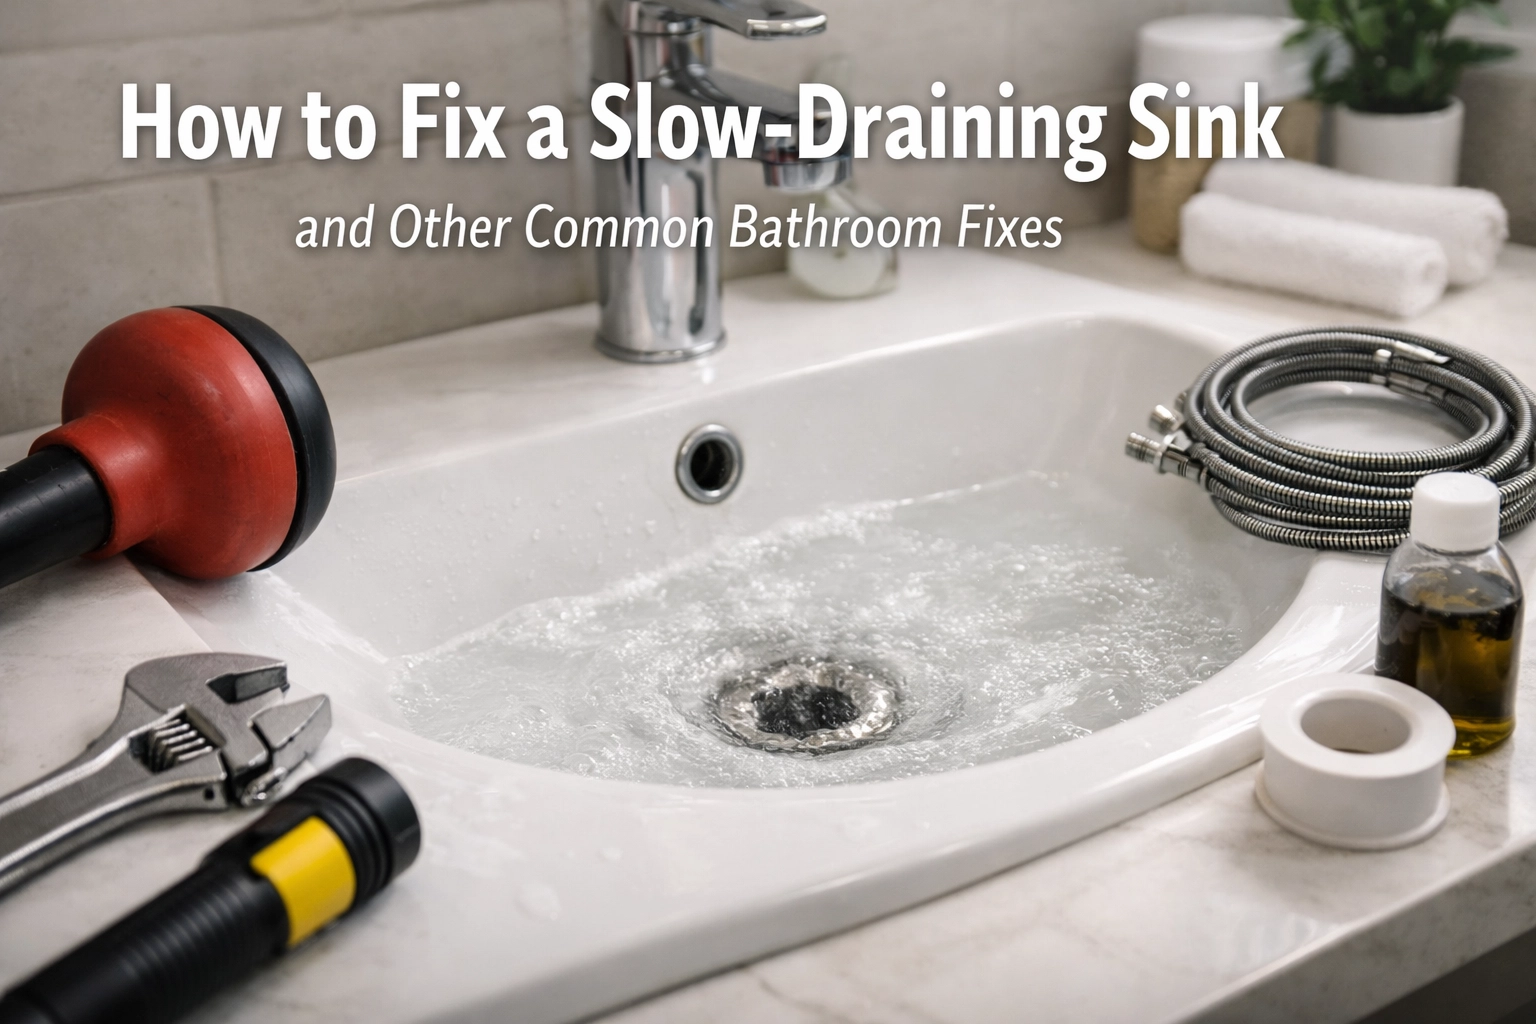
Diagnosing and Fixing a Slow-Draining Sink
The bathroom sink is one of the most used fixtures in the house, making it highly susceptible to clogs. Unlike kitchen clogs, which are often caused by grease and food particles, bathroom clogs are primarily the result of hair, soap scum, and mineral buildup.
The Pop-Up Stopper
Before reaching for tools or chemicals, inspect the pop-up stopper. This mechanism frequently catches hair and debris just below the surface. To clean it, one must typically unscrew the nut located on the back of the drainpipe under the sink. Once the horizontal pivot rod is pulled back, the stopper can be lifted out from above. Cleaning the hair and slime from the stopper often restores full drainage immediately.
Natural Clearing Methods
If the stopper is clean but the drain remains slow, chemical-free solutions are an effective first step.
- Boiling Water: For minor soap scum buildup, pouring a kettle of boiling water directly down the drain can dissolve fatty acids in soap. This should be done carefully to avoid splashing. Note: Boiling water should not be used on PVC pipes if the water is at a rolling boil; instead, use very hot tap water.
- Baking Soda and Vinegar: This classic combination creates a chemical reaction that can break down organic matter. Pour half a cup of baking soda down the drain, followed by half a cup of white vinegar. Cover the drain to force the fizzing action downward. After 15 to 30 minutes, flush with hot water.
Using a Plunger
Plunging is not only for toilets; it is highly effective for sinks as well. To plunge a bathroom sink, first block the overflow hole with a damp cloth or a piece of duct tape. This ensures that the pressure created by the plunger is directed at the clog rather than escaping through the overflow. Fill the sink with enough water to cover the head of the plunger, place it over the drain to create a seal, and use firm, vertical strokes.
The P-Trap Removal
When surface methods fail, the obstruction is likely located in the P-trap: the U-shaped pipe beneath the sink. This pipe is designed to hold a small amount of water to prevent sewer gases from entering the home, but it also acts as a trap for heavy debris or dropped jewelry.
To clean the P-trap:
- Place a bucket beneath the pipes to catch water.
- Unscrew the slip nuts at both ends of the U-shaped section by hand or with pliers.
- Remove the pipe and clear any debris inside.
- Check the horizontal pipe leading into the wall for further blockages.
- Reassemble the pieces, ensuring the washers are seated correctly to prevent leaks.

Addressing Common Toilet Issues
A malfunctioning toilet can waste hundreds of gallons of water per day. Most problems occur within the tank and can be fixed with simple adjustments or inexpensive replacement parts.
The Running Toilet
If the sound of running water persists long after a flush, the issue usually involves the flapper or the fill valve.
- The Flapper: This rubber disc seals the bottom of the tank. Over time, it can warp or accumulate mineral deposits. Inspect the flapper to see if it closes fully. If the chain is too short, it may prevent the flapper from seating; if it is too long, it might get caught underneath. Replacing a flapper is a simple task that involves snapping the old one off the overflow tube and attaching a new one.
- The Float Level: If the water level in the tank is too high, it will constantly drain into the overflow tube. Adjust the float: either by turning a screw on the fill valve or sliding a clip on the float rod: to ensure the water level stays about an inch below the top of the overflow tube.
Weak Flush
A weak flush often indicates that the water level in the tank is too low or that the rim jets (the small holes under the toilet bowl rim) are clogged with mineral deposits. One can use a small wire or a specialized tool to clear these holes, allowing water to enter the bowl with more force.
For those interested in maintaining broader household systems, integrating these checks into a weekly cleaning schedule ensures that small mechanical issues are caught before they become emergencies.
Shower and Bathtub Maintenance
Shower maintenance typically revolves around two issues: slow drainage and reduced water pressure from the showerhead.
Clearing Bathtub Drains
Bathtub drains are notorious for hair clogs. Because they are often integrated with a complex overflow and stopper system, they can be more difficult to clear than sink drains.
- The Zip Tool: A flexible plastic strip with barbs, often called a “drain snake” or “zip tool,” can be inserted into the drain to pull out hair clumps.
- Chemical Cleaners: While sometimes necessary for deep clogs, caustic chemical cleaners can damage older pipes. Bio-enzymatic cleaners are a safer long-term alternative, as they use bacteria to “eat” organic clogs over time.
Restoring Showerhead Pressure
If water flow is uneven or weak, mineral buildup is the likely culprit, especially in areas with hard water.
- Fill a plastic bag with white vinegar.
- Secure the bag around the showerhead with a rubber band, ensuring the nozzles are fully submerged.
- Leave the bag overnight.
- Remove the bag and scrub the nozzles with an old toothbrush to remove loosened scale.

Removing Stubborn Bathroom Stains
Bathrooms are prone to unique types of staining due to the constant presence of moisture and minerals.
Hard Water and Rust
Hard water leaves behind white, chalky deposits (limescale), while iron in the water can cause orange or brown rust stains on porcelain.
- Limescale: Use a paste made of white vinegar and baking soda. Apply it to the affected area, let it sit for 30 minutes, and scrub.
- Rust: For rust on tubs or toilets, products containing oxalic acid are effective. Avoid using bleach on rust, as it can actually oxidize the iron and make the stain permanent.
Grout Mold and Mildew
The porous nature of grout makes it a magnet for mold. To clean grout without damaging the sealant:
- Mix a solution of one part hydrogen peroxide and two parts baking soda.
- Apply to the grout lines and let sit for 10 minutes.
- Scrub with a stiff brush and rinse.
- To prevent future mold, ensure the bathroom is properly ventilated and consider applying a grout sealer once the area is dry.
Consistent attention to these surfaces is a core part of an effective household cleaning routine. If stains are present on other surfaces like textiles nearby, refer to specialized guides such as how to remove stains from carpet for targeted advice.

Minor Structural Repairs: Caulking and Faucets
Recaulking the Bathtub or Sink
Caulk provides a waterproof seal between fixtures and walls. Over time, it can crack, peel, or become infested with deep-seated mold.
- Removal: Use a caulk removal tool or a utility knife to carefully cut away the old caulk. Be careful not to scratch the tub or tile.
- Cleaning: Clean the joint with rubbing alcohol to remove any remaining residue or oils. The surface must be completely dry before applying new caulk.
- Application: Use a high-quality silicone caulk designed for bathrooms. Cut the nozzle of the tube at a 45-degree angle. Apply a steady bead along the joint.
- Smoothing: Wet a finger or use a smoothing tool to press the caulk into the joint for a clean, professional finish. Allow it to cure for at least 24 hours before using the shower.
Fixing a Dripping Faucet
A dripping faucet is usually caused by a worn-out washer, O-ring, or cartridge.
- Compression Faucets: These older models usually have a rubber washer that needs replacing. Shut off the water, disassemble the handle, and replace the washer at the base of the stem.
- Cartridge Faucets: Most modern faucets use a plastic or brass cartridge. If it leaks, the entire cartridge is typically replaced. It is helpful to take the old cartridge to the hardware store to ensure an exact match.

Layout and Organization Fixes
Sometimes the “problem” with a bathroom is not mechanical but functional. Poor layout and lack of storage can make a bathroom feel cramped and difficult to use.
Maximizing Vertical Space
In small bathrooms, floor space is limited.
- Over-the-Toilet Shelving: Utilize the dead space above the toilet tank for towels and toiletries.
- Door Hooks: Installing a rack on the back of the door can hold multiple robes or towels without requiring wall space.
- Magnetic Strips: Use magnetic strips inside medicine cabinets to hold bobby pins, tweezers, and nail clippers.
Under-Sink Efficiency
The area under a bathroom sink is often cluttered and difficult to access due to plumbing.
- Tiered Organizers: Use pull-out drawers or tiered baskets to utilize the vertical height.
- Lazy Susans: A rotating tray can make it easy to reach items stored in the back corners.
For more comprehensive ideas on managing home clutter, exploring storage solutions room-by-room can provide inspiration for the bathroom and beyond.

Prevention and Long-Term Maintenance
The most effective way to “fix” a bathroom is to prevent issues from occurring in the first place.
- Use Drain Protectors: Inexpensive mesh strainers can catch hair and debris before they ever enter the pipes. This is the single most effective way to prevent slow-draining sinks and tubs.
- Regular Flushing: Once a month, flush all drains with a gallon of hot water and a cup of vinegar to prevent soap scum from hardening.
- Check for Leaks: Periodically look inside the vanity cabinet and around the base of the toilet for any signs of moisture. Small leaks can lead to rot in the subfloor, which is a much more expensive repair.
- Ventilation: Always run the exhaust fan during and for 20 minutes after a shower. This removes the moisture that fuels mold and mildew growth on grout and paint.
By maintaining a proactive approach to bathroom care, one can ensure that the fixtures remain in good working order for years. Whether it is performing a 5-minute daily declutter or tackling a weekend recaulking project, these small efforts contribute to a healthier and more functional home environment.
Practical home maintenance does not always require a specialized toolkit or professional training. With patience and the right information, most common bathroom issues can be resolved quickly, restoring order and efficiency to one of the most vital rooms in the house.

