Maintaining the pristine appearance of flooring is a primary concern for property owners. Over time, high-traffic areas inevitably succumb to the wear and tear of daily life. Scuffs from rubber-soled shoes, scratches from moving furniture, and gouges from dropped objects can dull the finish of even the most durable materials.
Understanding how to address these imperfections requires a systematic approach tailored to the specific material of the floor. This guide provides a comprehensive framework for identifying, treating, and preventing damage across hardwood, laminate, vinyl, and tile surfaces.
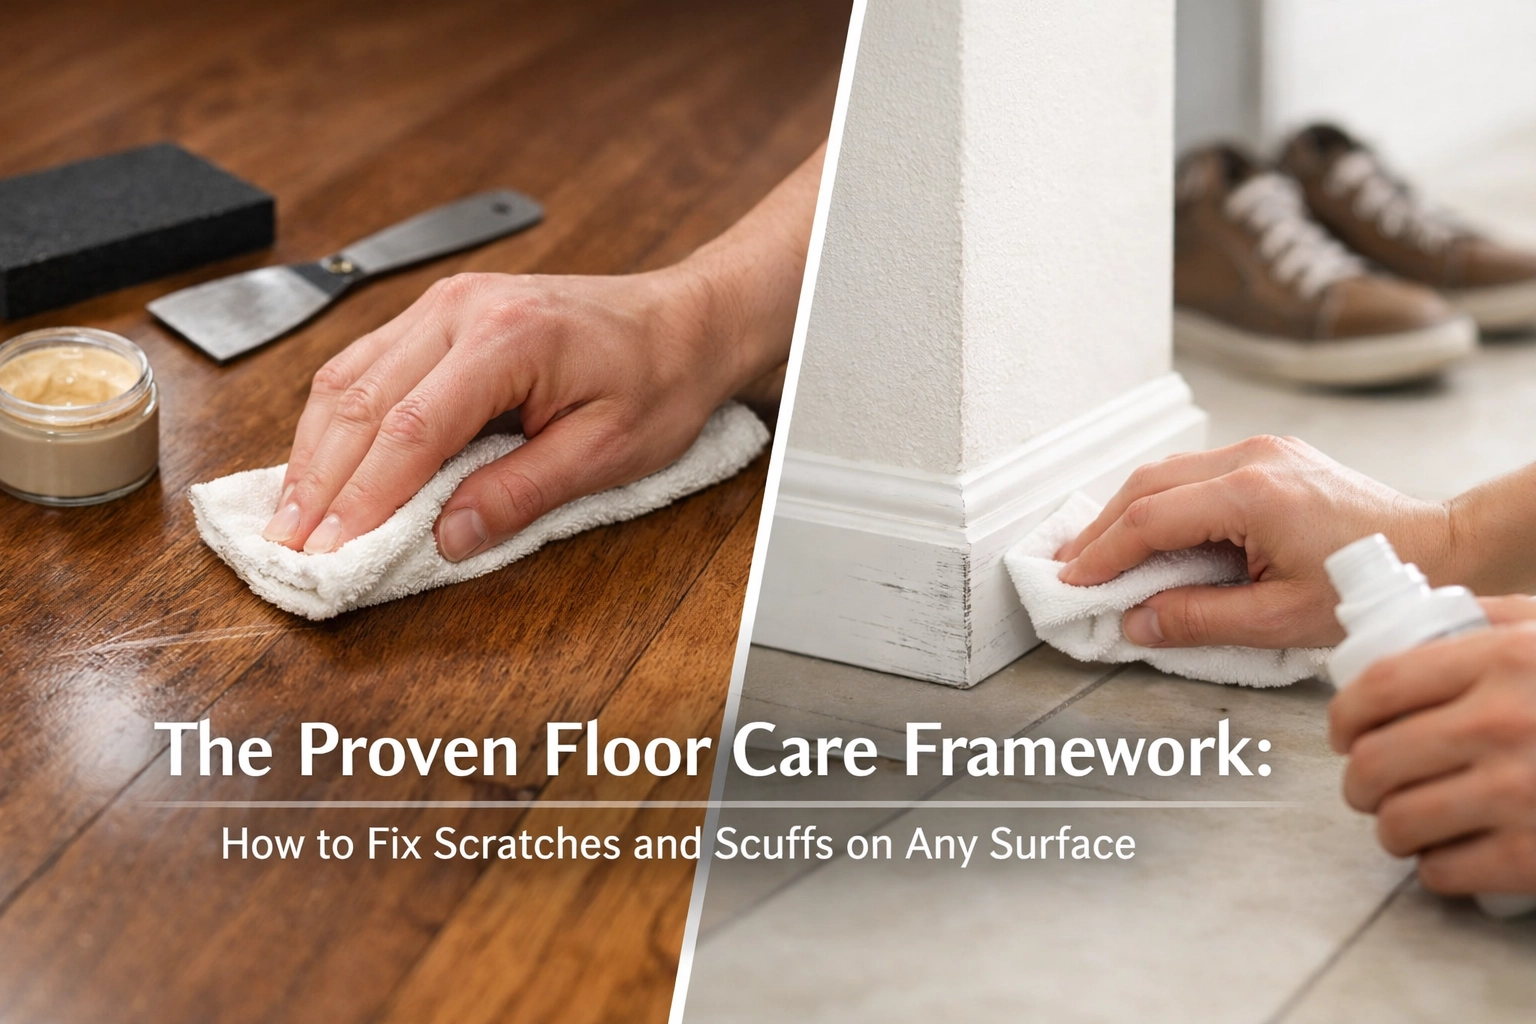
Identifying the Type of Surface Damage
Before applying any corrective measures, it is essential to distinguish between a scuff and a scratch. While the terms are often used interchangeably, they represent different types of surface interaction and require distinct repair methods.
Scuffs vs. Scratches
A scuff is typically a surface-level mark caused by friction. It occurs when a material: usually rubber or plastic: rubs against the floor and leaves a residue behind. Scuffs do not actually “cut” into the floor’s finish; rather, they sit on top of it.
A scratch involves the actual removal of the floor’s material or the compromise of its protective coating. Scratches are categorized by depth:
- Surface Scratches: These affect only the top layer of the clear coat or wax.
- Minor Scratches: These penetrate the finish and reach the stain or color layer.
- Deep Gouges: These cut through the protective layers and into the core material of the flooring (wood, composite, or stone).
The Hardwood Floor Repair Protocol
Hardwood is prized for its longevity, largely because it can be repaired and refinished multiple times. However, localized repairs are often more efficient than a full room refinish for minor imperfections.
Removing Scuffs from Hardwood
For black rubber marks or scuffs on polyurethane-finished wood, the goal is to lift the residue without abrasive scrubbing.
- The Eraser Method: A clean pencil eraser or a dedicated “magic” cleaning sponge can often lift scuffs with minimal pressure.
- Tennis Ball Technique: For larger areas, rubbing a clean, dry tennis ball over the scuff can provide enough friction to lift the rubber residue without damaging the wood’s seal.
- Dry Cloth and Buffing: A microfiber cloth with a small amount of wood-safe cleaner can resolve most stubborn surface marks.
Addressing Light Surface Scratches
Light scratches that haven’t penetrated the wood grain can often be hidden using natural oils.
- The Walnut Method: Rubbing the meat of a raw walnut over a shallow scratch releases natural oils that darken the exposed wood, making the scratch nearly invisible.
- Coconut Oil or Olive Oil: A tiny amount of oil applied with a cotton swab can temporarily mask fine lines on darker woods.
Filling Deep Gouges and Chips
When the wood fiber is exposed, a filler is required to prevent moisture from entering the grain and causing swelling.
- Wax Sticks: These are available in dozens of shades to match specific wood species. The wax is rubbed into the scratch until it is level with the surface, then buffed smooth.
- Wood Fillers: For larger gouges, a stainable wood filler is applied with a putty knife. Once dry, it must be lightly sanded and touched up with a matching stain or a finish pen.

Laminate Flooring: Precision Repairs
Laminate flooring consists of a photographic layer topped with a hard wear layer. Unlike solid wood, laminate cannot be sanded. If the wear layer is breached, the repair must be additive.
The Problem with Sanding Laminate
Attempting to sand a scratch out of laminate will destroy the photographic image of the wood or stone, leaving a permanent white or gray patch. Repairs must focus on filling the void rather than leveling the surrounding area.
Using Laminate Repair Kits
Professional repair kits typically include specialized putties or waxes designed specifically for the hard, non-porous surface of laminate.
- Application: Clean the area thoroughly to remove any wax or dust. Apply the putty using a plastic spatula to avoid creating new scratches.
- Color Matching: Many kits allow for the mixing of two colors to achieve an exact match for the grain variations in the floor.
For those looking to keep their home environment organized and prevent heavy items from being dragged across laminate surfaces, utilizing organizational tools like the 360-degree rotating cosmetic receiving box can keep smaller, potentially abrasive items off the floor and localized on tabletops.
Luxury Vinyl Plank (LVP) and Tile (LVT) Care
Vinyl is highly resistant to water, but it is susceptible to “tearing” or deep scratching from heavy furniture or sharp objects.
Heat-Based Scuff Removal
Minor scuffs on vinyl can often be “buffed out” using heat. A hair dryer on a medium setting can soften the vinyl slightly, allowing a soft cloth to rub away the scuff. Caution is required; excessive heat can cause the planks to warp or the adhesive to fail.
Plank Replacement
One of the advantages of modern click-lock vinyl is the ability to replace a single plank.
- If a scratch is too deep to hide with a vinyl repair pen, the damaged plank can be removed.
- A new plank is trimmed of its tongues/grooves and adhered in place using a manufacturer-approved vinyl adhesive.

Ceramic and Porcelain Tile Maintenance
Tile is the most scratch-resistant flooring option, but it is not invincible. The most common issues are scuffs from furniture and “crazing,” which are tiny hairline cracks in the glaze.
Cleaning Scuffs on Grout and Tile
Scuffs on the surface of the tile are usually just material transfers. A paste made of baking soda and water, applied with a soft brush, will gently lift most marks without scratching the glaze.
Fixing “Metal Marks”
Sometimes, metal chair legs or vacuum cleaners leave greyish streaks on light-colored porcelain. These are not scratches but deposits of metal. A specialized porcelain cleaner or a mild abrasive powder can be used to lift these marks. It is important to test a small, inconspicuous area first to ensure the abrasive does not dull the tile’s shine.
The Preventive Framework: Stopping Damage Before It Occurs
The most effective way to manage floor damage is to prevent it. A proactive maintenance schedule can extend the life of a floor by years.
Furniture Protection
Heavy furniture should never be dragged. The use of felt pads on the bottom of all chair legs, tables, and sofas is the single most effective way to prevent deep scratches. These pads should be replaced every six months, as they can trap grit and eventually act like sandpaper.
Entrance Matting
Micro-scratches are often caused by small particles of sand and grit brought in from outside. Placing high-quality mats at every entrance: both inside and outside the door: traps these abrasives before they reach the main flooring.
Proper Equipment Storage
When moving items or performing home maintenance, having a dedicated place for tools and heavy equipment is vital. Using a car trunk storage bag to organize tools in the garage or utility room prevents heavy metal objects from being left directly on sensitive indoor floors where they could be accidentally kicked or dragged.

Addressing Layout and Layout Fixes
Sometimes, scratches occur because of a poor room layout that forces heavy traffic through tight spaces.
- Widening Pathways: Ensure that the most common walking paths are at least 36 inches wide. This prevents people from bumping furniture into walls or scuffing floors while navigating tight corners.
- Area Rugs: In high-traffic zones, such as hallways or under dining tables, area rugs provide a sacrificial layer that protects the underlying flooring from constant friction.
When to Call a Professional
While the techniques mentioned above cover 90% of household floor issues, certain situations require professional intervention.
- Deep Structural Damage: If a wood floor has water damage and is cupping or crowning, surface repairs will not suffice.
- Extensive Wear: If the entire finish of a hardwood floor has worn thin, a full sand and finish are necessary to restore the protective barrier.
- Large-Scale Tile Cracking: If multiple tiles are cracking in a straight line, it may indicate an issue with the subfloor or foundation that a simple tile replacement won’t fix.
For more detailed guides on home maintenance and organizational strategies, exploring the sitemap of educational resources can provide further insights into long-term home care.

Summary of Floor Repair Tools
A basic floor repair kit should be kept on hand to address accidents immediately. This kit generally includes:
- A set of wood/laminate touch-up markers in various shades.
- A pack of heavy-duty felt furniture pads.
- A clean, high-quality microfiber mop.
- A white rubber eraser or a pack of tennis balls.
- Specialized wax sticks for deep gouges.
By following this framework, homeowners can maintain the aesthetic and structural integrity of their flooring. Whether dealing with a minor scuff from a shoe or a deep scratch from a moved appliance, the key is to identify the material and apply the least invasive repair method first. Proper prevention, combined with timely repairs, ensures that the floor remains a durable and beautiful foundation for the home.

