As temperatures begin to drop and the first frost appears on the grass, the focus for many households shifts toward indoor comfort. Preparing a home for the winter months is a critical ritual that ensures safety, protects the structural integrity of the building, and keeps energy costs manageable. However, many homeowners approach winterization as a simple task of turning up the thermostat and pulling out the heavy blankets.
In reality, effective winterization requires a comprehensive strategy that addresses the exterior, the interior, and the mechanical systems of the home. Overlooking small details can lead to significant expenses, from burst pipes to skyrocketing utility bills. Understanding the nuances of seasonal home transitions is the first step toward a stress-free winter.
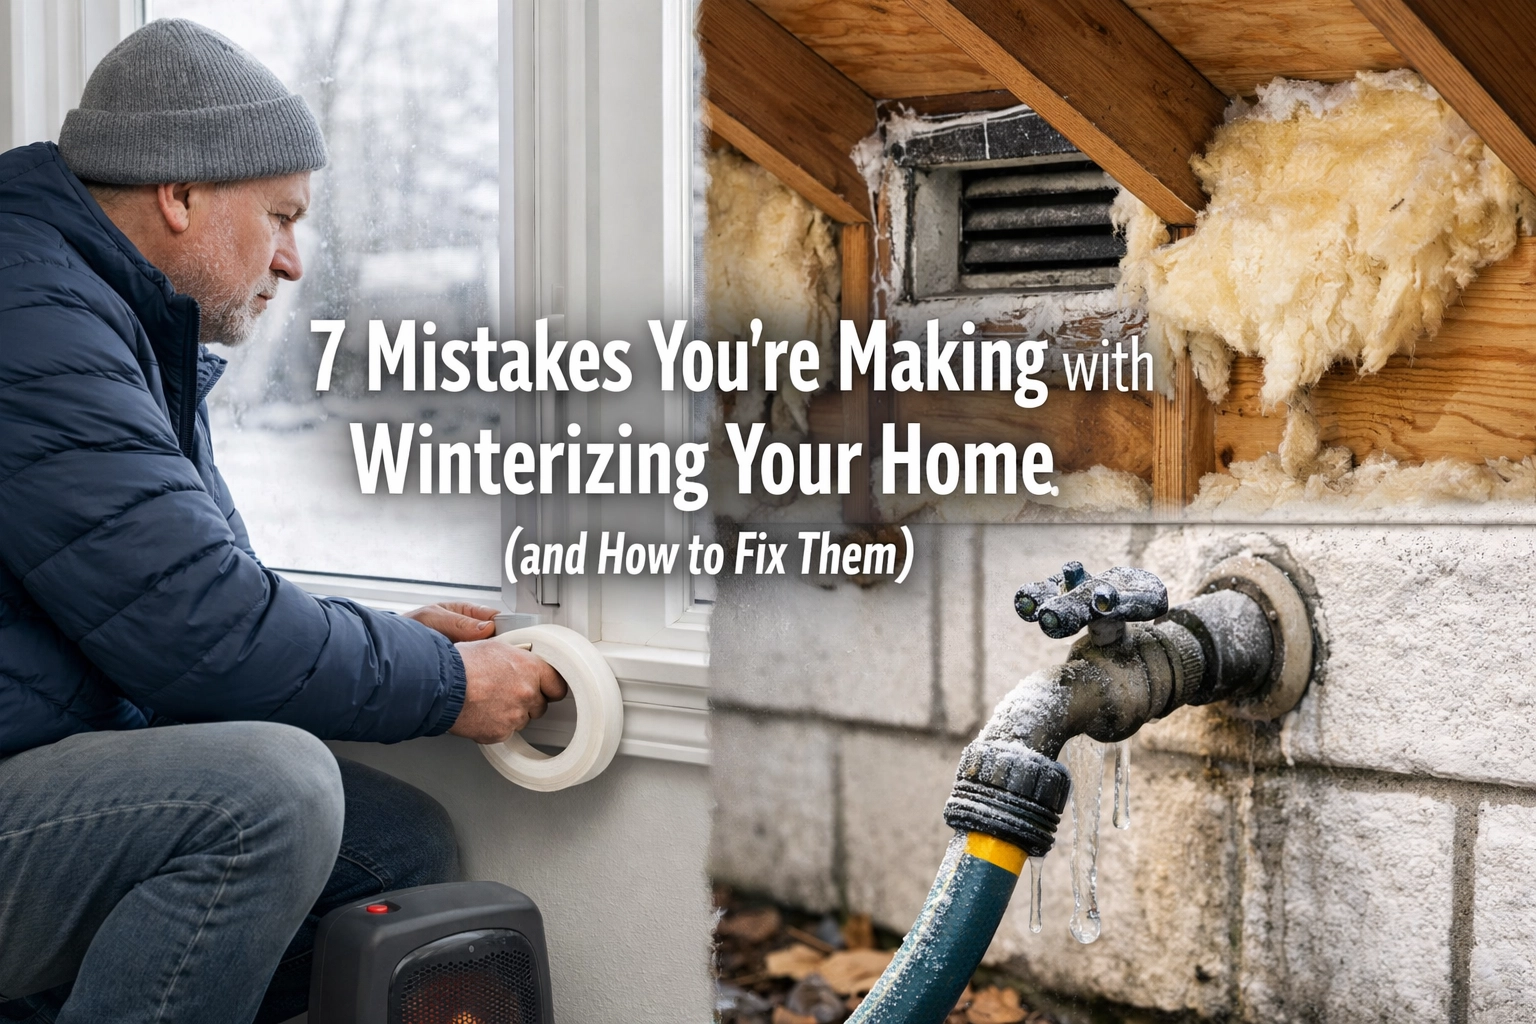
Here are the seven most common mistakes made during the winterization process and the practical steps needed to rectify them.
1. Leaving Garden Hoses Connected and Irrigation Systems Active
One of the most frequent and potentially most damaging mistakes is failing to address outdoor water sources. When water freezes, it expands. If a garden hose is still attached to an outdoor spigot, the water trapped inside the hose and the pipe leading to the spigot has nowhere to expand. This pressure can cause the interior pipe to split, often inside the wall of the home where the damage remains invisible until the spring thaw.
Even “frost-free” hose bibbs can fail if a hose is left attached. These devices are designed to drain water away from the exterior handle, but a connected hose prevents this drainage from occurring.
How to Fix It
Disconnect all garden hoses, drain them of excess water, and store them in a garage or shed. Once the hoses are removed, turn off the interior shut-off valve for the outdoor faucets if one is available. Open the exterior spigot to allow any remaining water to drain out completely.
For irrigation systems, the process is more complex. Simply turning off the controller is not enough. Water remaining in the lines, valves, and sprinkler heads can freeze and crack the plastic components. Professional “blow-outs” using compressed air are often the most reliable way to ensure all moisture is removed from the system before the ground freezes.

2. Neglecting Attic and Basement Insulation
A common misconception is that heat loss occurs primarily through windows and doors. While these are important, the laws of physics dictate that heat rises. In a poorly insulated home, the “stack effect” occurs: warm air rises to the top of the house and escapes through the attic, while cold air is pulled in through the basement or crawl space to replace it.
Failing to inspect the insulation levels in these two critical areas is a major oversight. If the attic insulation is level with or below the floor joists, there is likely not enough to maintain a consistent temperature. Similarly, an uninsulated basement can act as a giant heat sink, pulling warmth out of the living floors above.
How to Fix It
Check the depth of the insulation in the attic. Most modern standards suggest an R-value of R-49 to R-60 for colder climates, which translates to roughly 16 to 19 inches of fiberglass or cellulose insulation. If the joists are visible, adding another layer of unfaced insulation can dramatically improve heat retention.
In the basement or crawl space, focus on the rim joists: the area where the house frame meets the foundation. This is a notorious spot for air leaks. Using spray foam or rigid foam board to seal and insulate these gaps can prevent cold drafts from entering the home at the ground level. For more tips on maintaining a comfortable environment, exploring the everyday living category can provide additional insights into home efficiency.
3. Manually Adjusting the Thermostat Throughout the Day
Many people believe they are saving money by manually turning the heat down when they leave and cranking it up when they return. However, this often causes the heating system to work much harder and longer to reach the desired temperature, especially if the house has been allowed to get too cold. Furthermore, manual adjustments are easy to forget, leading to wasted energy overnight or while the house is empty.
Another danger of manual control is letting the temperature drop too low in an effort to save money. Setting the thermostat below 55°F (13°C) increases the risk of pipes freezing inside the walls or cabinets, particularly during extreme cold snaps or power outages.
How to Fix It
Install a programmable or smart thermostat. These devices allow for “set it and forget it” schedules that align with the household’s routine. For example, the temperature can be set to 68°F while people are home and active, 62°F during sleeping hours, and 60°F while the house is empty.
Consistency is key. A smart thermostat can also learn the home’s heating patterns and adjust the start time of the furnace so the house is at the perfect temperature exactly when needed, without overshooting the goal. Always ensure the “away” temperature is never set below 55°F to maintain a safety buffer for the plumbing.

4. Failing to Clean and Inspect Gutters
Gutter maintenance is often associated with the fall, but it is a critical component of winter protection. If gutters are filled with leaves, twigs, and debris, melting snow from the roof has nowhere to go. This water will pool in the gutters and freeze, creating heavy “ice dams.”
Ice dams are not just heavy; they are destructive. They prevent further meltwater from draining, forcing the water to back up under the roof shingles. Once water gets under the shingles, it can leak into the attic, damage the ceiling, and cause mold growth. Furthermore, the weight of ice-filled gutters can cause them to pull away from the fascia, damaging the home’s exterior.
How to Fix It
Clean the gutters thoroughly once the last of the autumn leaves have fallen. This is a vital part of fall home transitions. Ensure that downspouts are clear and that they direct water at least five to ten feet away from the foundation.
If the home is prone to ice dams despite clean gutters, it is often a sign of poor attic ventilation or insulation (as mentioned in Mistake #2). Improving airflow in the attic ensures the roof surface stays cool, preventing the cycle of melting and refreezing that creates dams in the first place.

5. Overlooking Air Leaks in Windows and Doors
It is a mistake to assume that double-pane windows are enough to keep the cold out. Even the most expensive windows will not perform well if the seals around the frames are degraded. Air infiltration: the process of cold air leaking in and warm air leaking out: can account for a significant portion of a home’s heating costs.
Commonly missed areas include the “hidden” leaks: the spaces around electrical outlets on exterior walls, the gap under the entry doors, and the areas where plumbing pipes enter the home.
How to Fix It
Perform a draft test. On a windy day, hold a lit incense stick or a damp hand near window frames, door seals, and outlets. If the smoke wavers or the hand feels a chill, there is a leak.
Fixing these leaks is relatively inexpensive. Use high-quality silicone caulk to seal gaps around window trim and exterior penetrations. Replace worn-out weatherstripping on doors. For large gaps under doors, a “draft stopper” or a new door sweep can make an immediate difference in room comfort. For windows that are particularly old or drafty, an interior plastic film kit can provide an extra layer of insulation for the duration of the winter season.

6. Neglecting Roof Integrity and Ventilation
The roof is the first line of defense against winter weather, yet it is often the most neglected. Entering the winter with loose, damaged, or missing shingles is an invitation for leaks. Snow sits on the roof for extended periods, and any point of entry will eventually be exploited by moisture.
Equally important is the ventilation. Many homeowners mistakenly block attic vents in the winter, thinking they are “trapping the heat.” This is a mistake. An attic needs to breathe. Proper ventilation allows moisture-laden air from the living spaces to escape. If this moisture is trapped, it condenses on the underside of the roof deck, leading to wood rot and mold.
How to Fix It
Conduct a visual inspection of the roof from the ground using binoculars. Look for shingles that are curled, cracked, or missing. Check the flashing around chimneys and vent pipes. If any damage is found, it is best to have it repaired by a professional before the first snowfall.
Inside the attic, ensure that soffit vents are not blocked by insulation. Use baffles to keep a clear path for air to flow from the eaves up to the ridge vent. This keeps the roof deck cool and dry, protecting the shingles and preventing ice dams.
7. Skipping Professional HVAC Maintenance
Waiting until the furnace fails on a sub-zero night is a high-stress and expensive mistake. Heating systems that haven’t been serviced can operate inefficiently, accumulate soot or dust, and in worst-case scenarios, leak carbon monoxide into the home.
Furthermore, many homeowners forget to change their furnace filters. A clogged filter restricts airflow, forcing the blower motor to work harder, which shortens the lifespan of the unit and increases energy consumption.
How to Fix It
Schedule an annual “tune-up” with a licensed HVAC technician. They will clean the burners, check the heat exchanger for cracks, and ensure the system is venting properly. This proactive step ensures the system is running at peak efficiency.
On a monthly basis, check the furnace filter. If it looks grey or dusty, replace it. Using a high-quality pleated filter can also improve indoor air quality by trapping allergens and dust. Finally, ensure that carbon monoxide detectors are installed on every level of the home and near sleeping areas. Test the batteries monthly; the increased use of heating systems during winter makes this a non-negotiable safety step.

Establishing a Winterization Routine
Effective winterization is not a one-time event but a series of habits that protect the home. By avoiding these seven common mistakes, the focus can remain on enjoying the season rather than managing household crises.
A thorough approach involves:
- The Exterior: Securing water sources, cleaning gutters, and inspecting the roof.
- The Envelope: Sealing drafts and ensuring insulation levels are adequate in the attic and basement.
- The Systems: Automating the thermostat and maintaining the HVAC system for efficiency and safety.
Taking the time to address these areas systematically ensures that the home remains a sanctuary of warmth and comfort, regardless of the weather outside. Proper preparation not only saves money but also provides the peace of mind that the structure is well-protected against the rigors of the winter months.

