As the temperature drops and the first signs of frost appear on the windows, the importance of a well-prepared home becomes clear. Winterizing is more than just a seasonal chore; it is a critical process that protects the structural integrity of a building, ensures the safety of its inhabitants, and maintains energy efficiency. However, many homeowners fall into common traps that can lead to expensive repairs, high utility bills, or even hazardous living conditions.
Understanding the mechanics of how cold weather affects a home is the first step toward effective maintenance. From the expansion of freezing water in pipes to the “stack effect” that pulls cold air through tiny gaps in the foundation, the house operates as a complex system. When one part of that system is neglected, the entire structure suffers. This guide identifies the seven most frequent mistakes made during the winterization process and provides detailed, practical solutions to ensure comfort and security throughout the coldest months.
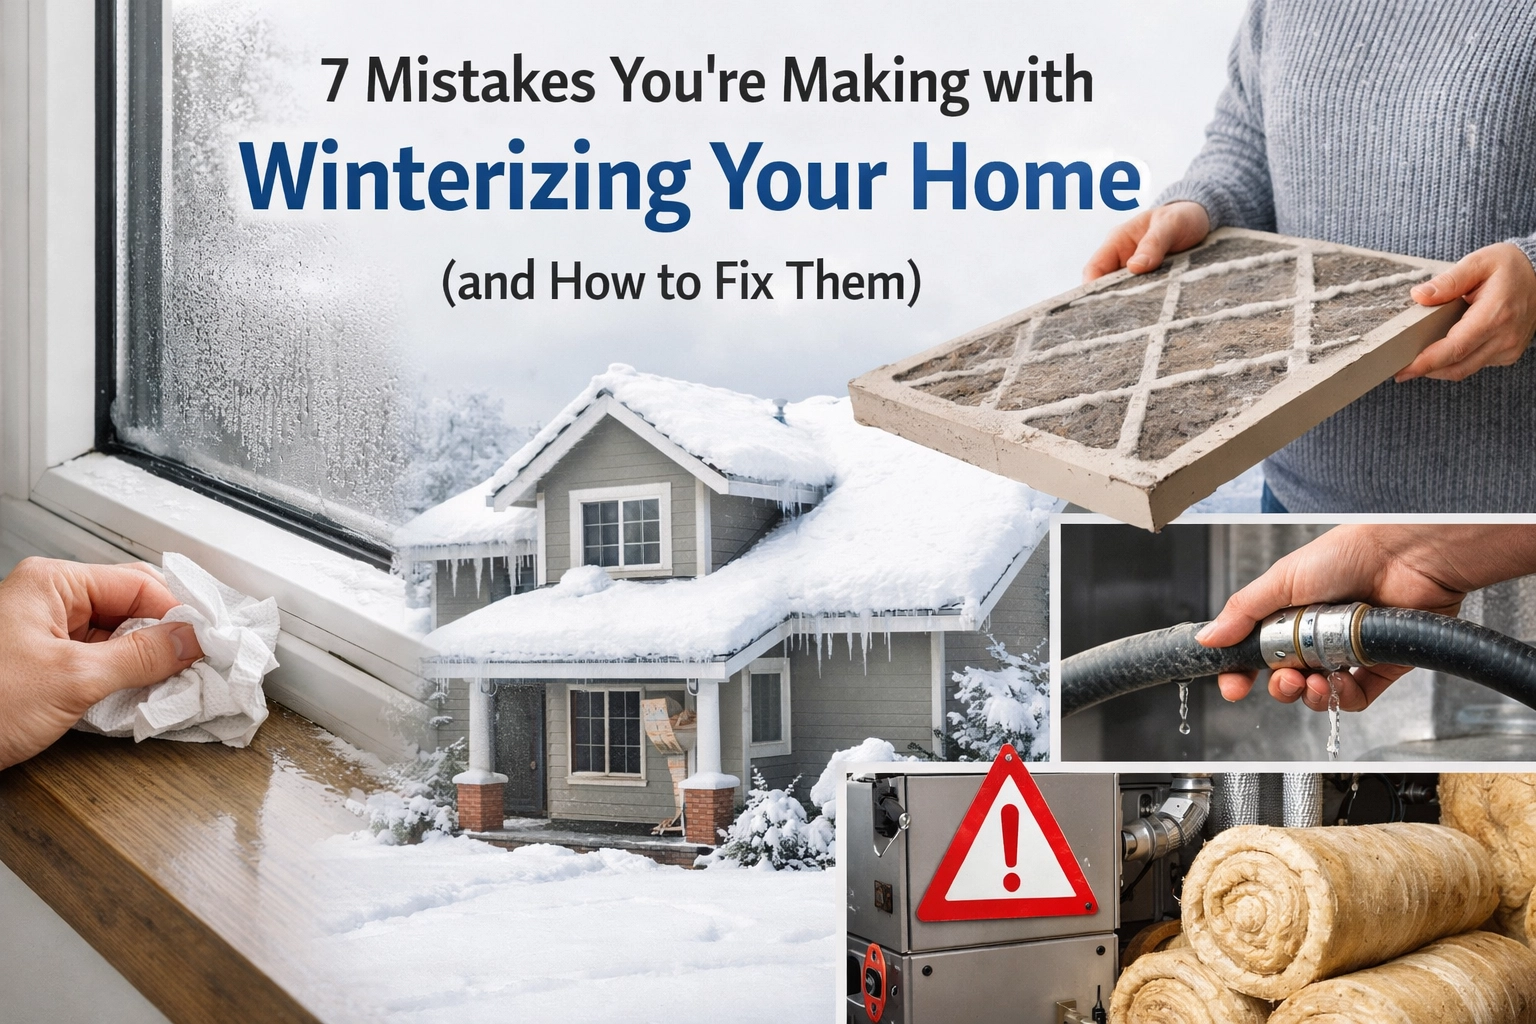
1. Neglecting Outdoor Water Sources and Irrigation Systems
One of the most common and potentially devastating mistakes is failing to properly secure outdoor water sources. When water freezes, it expands by approximately 9%. This expansion generates immense pressure that even copper or galvanized steel pipes cannot withstand. If a garden hose is left attached to an outdoor spigot, the water trapped inside the hose can freeze, causing the ice to back up into the pipe inside the house wall. Even if the spigot is “frost-proof,” a connected hose prevents the internal valve from draining properly, leading to a burst pipe that may not be discovered until the spring thaw.
How to Fix It
The process of securing outdoor water should begin well before the first hard freeze.
- Disconnect and Drain Hoses: Remove all garden hoses from exterior faucets. Drain the water from the hoses, roll them up, and store them in a protected area like a garage or shed.
- Shut Off Interior Valves: Locate the shut-off valves for exterior spigots inside the home (usually found in the basement, crawl space, or utility room). Close these valves completely.
- Drain the Spigot: After closing the interior valve, open the exterior spigot to allow any remaining water to drain out. Leave the exterior valve open throughout the winter to allow for expansion.
- Insulate Exposed Pipes: For pipes that cannot be drained or are located in unheated areas, use foam pipe insulation or “heat tape.” Heat tape is an electrical cable that wraps around the pipe and provides just enough warmth to prevent freezing.
- Blow Out Sprinkler Systems: Underground irrigation systems are highly susceptible to damage. It is often necessary to use an air compressor to “blow out” the lines, ensuring no water remains in the plastic piping or sprinkler heads.

2. Failing to Seal Air Leaks and Gaps (The “Chimney Effect”)
Many homeowners focus on thick insulation but forget that air movement is a primary cause of heat loss. In the winter, warm air rises and escapes through gaps in the upper levels of the home (like attic hatches or recessed lighting). This creates a vacuum that pulls cold air in through gaps in the lower levels, such as around windows, doors, and rim joists. This phenomenon, known as the “chimney effect” or “stack effect,” can make a home feel drafty even if the furnace is running at full capacity.
How to Fix It
A systematic approach to sealing the building envelope can significantly reduce energy consumption and improve comfort.
- Identify Drafts: On a windy day, hold a lit incense stick or a thin piece of tissue paper near window frames, door frames, and electrical outlets. If the smoke or tissue moves horizontally, an air leak is present.
- Apply Weatherstripping: Use adhesive-backed foam, V-strip, or felt weatherstripping to seal the gaps around moveable parts of windows and doors. Ensure the surfaces are clean and dry before application for the best seal.
- Caulk Permanent Gaps: Use a high-quality silicone or acrylic latex caulk to seal stationary gaps around window trims, baseboards, and where siding meets the foundation.
- Seal the Attic Hatch: The attic access point is often a major source of heat loss. Apply weatherstripping to the edges of the hatch and attach a piece of rigid foam insulation to the top of the door or panel.
- Use Draft Stoppers: For exterior doors with large gaps at the bottom, a “door snake” or a heavy-duty sweep can block cold air.
- Automate Energy Use: Integrating smart technology can help manage home systems more efficiently. For instance, using a voice control wifi smart switch socket can allow for the remote management of space heaters or decorative lighting, ensuring they are only active when needed.
3. Setting the Thermostat Incorrectly During Departures
There is a common misconception that turning the heat off entirely when leaving the house for a weekend or a vacation will save the most money. In reality, this allows the internal temperature of the walls and floor to drop significantly. When the heat is turned back on, the system must work overtime for hours to warm the actual structure of the house, not just the air. More importantly, turning the heat off or setting it too low (below 50°F) puts the plumbing at risk of freezing during an unexpected cold snap.
How to Fix It
Consistency and moderate adjustments are key to balancing energy savings with home safety.
- The 55°F Rule: Never set the thermostat lower than 55°F (13°C) when leaving the home. This provides a sufficient buffer to prevent pipes in interior walls from reaching the freezing point.
- Utilize Programmable Thermostats: Program the thermostat to lower the temperature by 5-8 degrees when the occupants are sleeping or at work. Drastic swings are less efficient than steady, moderate temperatures.
- Avoid “Cranking” the Heat: Setting the thermostat to 85°F will not heat the house faster than setting it to 70°F. Most HVAC systems operate at a single speed; they simply stay on longer until the target temperature is reached.
- Check Batteries: Ensure the thermostat has fresh batteries at the start of the season. A dead battery can cause the furnace to shut down entirely, leading to a frozen house in a matter of hours.

4. Neglecting Gutters and Roof Maintenance
Mistakes on the roof often go unnoticed until a leak appears in the ceiling. Clogged gutters are a primary cause of “ice dams.” An ice dam occurs when snow melts on the warmer upper part of a roof and then refreezes as it reaches the cold eaves and gutters. This ridge of ice prevents further meltwater from draining, forcing it under the shingles and into the house.
How to Fix It
Preventative maintenance in the autumn is the only way to avoid the structural damage caused by ice and water backup.
- Clean Gutters Thoroughly: Remove all leaves, twigs, and sediment. Ensure that downspouts are clear and that water is directed at least three to five feet away from the foundation.
- Inspect Shingles: Look for cracked, curling, or missing shingles. Pay close attention to the “flashing” around chimneys and vents, as these are common points of failure.
- Improve Attic Ventilation: Ice dams are often a sign of a “hot roof.” Ensure the attic is well-ventilated so that the roof temperature remains uniform. This involves checking that soffit vents are not blocked by insulation.
- Monitor Snow Load: If heavy snow accumulates, use a roof rake to safely remove it from the eaves while standing on the ground. Never climb on a snowy or icy roof.

5. Overlooking Heating System and Fireplace Safety
A furnace or boiler that has been sitting idle all summer may have developed issues that affect its efficiency or safety. Failing to service these units can lead to carbon monoxide leaks or total system failure during the coldest night of the year. Similarly, an uninspected chimney is a fire hazard. Creosote, a byproduct of burning wood, can build up in the flue and ignite, causing a dangerous chimney fire.
How to Fix It
Professional inspections and regular homeowner maintenance ensure the heating system operates safely.
- Change Air Filters: A clogged filter restricts airflow, making the motor work harder and reducing the air quality in the home. Filters should be checked monthly and replaced at least every 90 days. To keep the area around vents and the furnace intake clean, a dust removing brush can be used to clear away debris that might otherwise be pulled into the system.
- Schedule a Professional Tune-up: A licensed technician should inspect the heat exchanger for cracks, clean the burners, and test the safety sensors.
- Inspect the Chimney: If the home has a wood-burning fireplace, hire a certified chimney sweep to remove creosote and check for obstructions like bird nests.
- Check Alarms: Test all smoke detectors and carbon monoxide alarms. Replace batteries and check the “replace by” date on the back of the units. Carbon monoxide is odorless and colorless; a working detector is the only way to identify a leak.

6. Leaving Insufficient Insulation in Key Areas
Many homes have insulation that has settled over time or was never installed to modern standards. Common “cold spots” include the area above the garage, the basement rim joists, and the attic. Inadequate insulation leads to uneven heating, where some rooms remain chilly regardless of the thermostat setting.
How to Fix It
Upgrading insulation is one of the highest-return investments a homeowner can make in terms of comfort and resale value.
- Check Attic Depth: In most climates, attic insulation should be at least 12 to 15 inches deep. If the wooden floor joists are visible, there is likely not enough insulation.
- Insulate the Rim Joist: The rim joist is the area where the house frame meets the foundation. This is a major source of cold air infiltration. Using rigid foam board or spray foam in these gaps can make the first floor significantly warmer.
- Insulate Water Heaters: If the water heater is in an unheated basement, an insulation “blanket” designed specifically for tanks can reduce standby heat loss.
- Address Crawl Spaces: If the home has a crawl space, ensure the floor above is insulated and that a vapor barrier is present on the ground to prevent moisture from rising into the structure.

7. Failing to Prepare for Emergencies and Power Outages
Winter storms can bring down power lines and leave a home without heat or light for days. A common mistake is assuming that “it won’t happen here” or failing to have a backup plan for extreme weather. When the power goes out, the house loses its primary defense against the cold, and the focus must shift to heat retention and basic survival.
How to Fix It
Preparation involves gathering supplies and creating a family plan before the storm arrives.
- Create an Emergency Kit: This should include non-perishable food, water (one gallon per person per day), flashlights, extra batteries, and a first-aid kit.
- Prepare for Cold within the Home: If the heat goes out, gather the family in a single, central room. Keep blankets and sleeping mats ready. A portable ultra-thin folding camping mat can provide an extra layer of insulation between the body and a cold floor if regular bedding is insufficient.
- Prevent Frozen Pipes During Outages: If the power goes out and temperatures are below freezing, open faucets to a slow drip. This keeps water moving and relieves pressure within the pipes.
- Organize Winter Essentials: In the chaos of a storm or a dark house, finding essential items can be difficult. Using a wireless key finder on emergency kits or flashlight sets can save valuable time.
- Wardrobe Maintenance: Winter living requires specific clothing. Ensure sweaters and woolens are in good condition. Using a flying branch hair ball trimmer to remove pilling from heavy garments can extend their life and maintain their insulating properties by keeping the fibers lofted.
Monitoring and Maintenance Throughout the Season
Winterization is not a “set it and forget it” task. As the season progresses, the house will react to the changing conditions. It is important to perform periodic checks to ensure that the fixes applied in the autumn are still holding up.
Monthly Checklists
- Check for Ice Accumulation: After a heavy snow, look at the roofline for signs of icicles or ice buildup that could indicate an ice dam is forming.
- Monitor Humidity: High indoor humidity can lead to condensation on windows, which can eventually cause mold or rot the wooden frames. Use a hygrometer to keep indoor humidity between 30% and 50%.
- Inspect the Foundation: Look for any new cracks that may have developed due to the ground freezing and thawing.
- Test Sump Pumps: If there is a mid-winter thaw, ensure the sump pump is operational to handle the sudden influx of meltwater.
By addressing these seven common mistakes, the risks associated with winter weather are significantly mitigated. A proactive approach to home maintenance doesn’t just save money on utility bills and repairs; it provides peace of mind, knowing that the home is a safe, warm sanctuary against the elements. Taking the time to properly seal leaks, service the furnace, and protect the plumbing ensures that the focus remains on enjoying the season rather than managing a household crisis.

