Maintaining a home involves addressing the inevitable wear and tear that occurs on interior walls. Drywall is a durable material, but it is susceptible to punctures from furniture, cracks from house settling, or holes from relocating heavy mirrors. Achieving a repair that is truly invisible requires more than just filling a hole with putty; it involves a systematic approach to structural support, surface leveling, and precise color matching.
When a repair is done poorly, it often results in a “bulge” or a noticeable difference in texture and sheen that draws the eye. By following a professional methodology, these common pitfalls can be avoided. This guide provides a comprehensive, five-step process to restore walls to their original condition, ensuring that the patch is structurally sound and the finish is seamless.
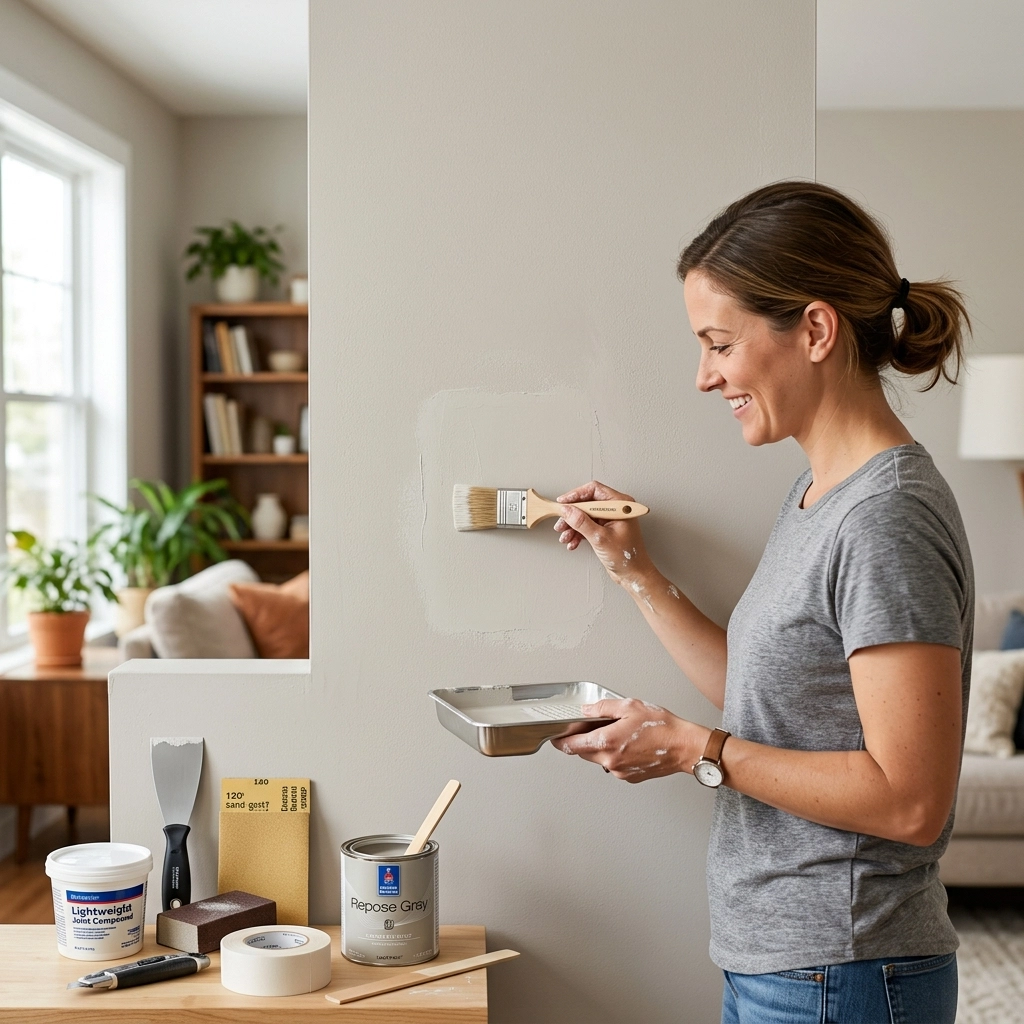
Essential Tools and Materials
Before beginning the repair, gathering the correct supplies is vital. Using the wrong type of compound or sandpaper can lead to a messy finish or a patch that eventually cracks.
Required Materials:
- Replacement drywall (match the thickness of the existing wall, typically 1/2 inch or 5/8 inch)
- Drywall screws (1-1/4 inch)
- Scrap wood (1×2 or 2×4 for backing)
- Joint compound (all-purpose or setting-type “hot mud”)
- Drywall tape (fiberglass mesh or paper)
- Wall primer (high-quality PVA primer)
- Matching paint (bring a sample to the store for a digital match)
Required Tools:
- Utility knife and drywall saw
- 6-inch and 10-inch taping knives
- Sanding sponge (fine-grit)
- Drill/Driver
- Measuring tape
- Tack cloth
Establishing a clean workspace is the first step in any successful project. Utilizing storage-organization solutions for tools ensures that the work area remains safe and efficient throughout the multi-day process.

Step 1: Preparation and Assessment of the Damaged Area
The first step in a seamless repair is to assess the extent of the damage. Small nail holes only require a dab of spackle, but anything larger than two inches requires a structural patch. For holes caused by door locks hitting a wall, the damaged area is often deeper than it appears on the surface.
To begin, use a utility knife to remove any loose gypsum or torn paper from the edges of the hole. If the drywall is crushed, it will not hold joint compound effectively. It is often necessary to “square off” the hole. Use a carpenter’s square and a pencil to draw a rectangle around the damage.
Using a drywall saw, cut along these lines. While it may seem counterintuitive to make a hole larger, a clean, rectangular opening is much easier to patch than an irregular, jagged circle. During this process, be mindful of electrical wires or plumbing that may be behind the wall. Always check the depth before cutting deeply with a saw.
Step 2: Structural Support and Cutting the Patch
Drywall patches need a solid foundation. If a patch is simply “floated” in a hole with compound, it will eventually shift and crack. For holes that do not land directly on a wall stud, internal backing must be installed.
Take a piece of scrap wood (a 1×2 strip works well) that is about 4 inches longer than the height of the hole. Insert the wood into the hole and center it so that 2 inches of wood overlap the back of the existing drywall on the top and bottom (or sides). While holding the wood in place, drive drywall screws through the existing wall and into the wood. Sink the screw heads slightly below the surface of the drywall paper without tearing it. This creates a “bridge” to which the new patch can be attached.
Next, measure the dimensions of the squared-off hole. Cut a piece of replacement drywall to fit these dimensions. It is better for the patch to be 1/8 inch too small than 1/8 inch too large. A small gap can be filled with compound, but a tight fit can cause the edges to crumble. Screw the new patch into the wooden backing, again ensuring the screw heads are slightly recessed.

Step 3: Taping and Applying the First Coat of Compound
Once the patch is physically secure, the goal shifts to hiding the seams. This is where many DIY repairs fail. The key is to transition the thickness of the patch into the surrounding wall over a wide area.
Start by applying drywall tape over the seams. Fiberglass mesh tape is self-adhesive and easy for beginners, as it sticks directly to the wall. Paper tape is stronger but requires a bed of joint compound to be applied first.
Using a 6-inch taping knife, apply a layer of joint compound over the tape. This is known as the “bedding coat.” Press the compound through the mesh tape to ensure it fills the gap between the patch and the wall. Once the gap is filled, draw the knife over the area to smooth it out.
At this stage, do not worry about making it perfect. The primary goal is to cover the tape and fill the voids. However, “feathering” the edges is essential. Feathering involves applying more pressure to the outside edge of the knife than the inside edge, which thins the compound as it moves away from the patch. This creates a gradual slope that is invisible to the eye.
Step 4: Sanding and Refining the Finish
Drying time varies depending on the type of compound used. All-purpose “bucket” mud can take 24 hours to dry, while setting-type “hot mud” can dry in as little as 20 minutes. Once the first coat is completely dry (it will turn from gray to a bright white), it is time to sand.
Use a fine-grit sanding sponge. The objective is not to remove the compound but to knock down any high ridges or “lap marks” left by the knife. Use a light, circular motion. After sanding, wipe the area with a tack cloth to remove dust.
Apply a second coat of compound using a larger 10-inch knife. This coat should extend 2 to 3 inches beyond the edges of the first coat. This further eases the transition between the patch and the wall. Most professional-grade repairs require three coats of compound, each thinner and wider than the last. The final coat should be very thin: almost translucent: and should “vanish” into the existing wall texture.

Step 5: Priming and Matching the Paint
The final step is often the most difficult: making the color disappear. Even if the original paint can is available, the paint on the wall may have faded due to UV exposure, or the sheen may have changed over time.
The Importance of Primer
Drywall compound is extremely porous. If paint is applied directly to the compound, it will be absorbed at a different rate than the rest of the wall, resulting in a dull spot known as “flashing.” Applying a dedicated PVA primer seals the patch and ensures the finish coat of paint sits evenly on the surface.
Achieving a Perfect Match
If the original paint color is unknown, use a utility knife to carefully peel a 1-inch square of the original paint off the wall (preferably from a hidden spot or from the damaged piece removed in Step 1). Take this sample to a local paint store for a digital color match.
When painting the patch, do not just paint the square. Use a “feathering” technique with the brush or roller. Start in the center of the patch and work outward, using less paint as you move toward the edges. This helps blend the new paint with the old. If the repair is in the middle of a large wall with lots of natural light, the best results are often achieved by repainting the entire wall from corner to corner.

Matching Wall Textures
Not all walls are smooth. If the home has “orange peel,” “knockdown,” or “popcorn” textures, a smooth patch will stand out regardless of how well the paint matches.
- Orange Peel: This can be replicated using aerosol texture sprays found at hardware stores. It is important to practice on a piece of cardboard first to adjust the nozzle and find the right spray distance.
- Knockdown: This involves spraying a heavier texture and then lightly dragging a wide taping knife over the “peaks” after the compound has partially dried (usually 10-15 minutes).
- Smooth Walls: For very smooth walls, a light “skim coat” of thinned-out joint compound over the entire repair area is the best way to ensure no graininess remains.
Common Mistakes to Avoid
- Over-Sanding: Sanding too aggressively can “fuzz” the drywall paper around the patch. Once the paper is damaged, it is very difficult to hide. Use a light touch and let the compound do the leveling.
- Skipping the Tape: Some try to fill holes with only compound. Without tape to bridge the gap, the patch will almost certainly crack within a few months as the house expands and contracts with temperature changes.
- Using Dirty Tools: Small dried bits of mud in the pan will create scratches in the fresh finish. Always clean knives and pans thoroughly between coats.
- Ignoring the Sheen: If the wall is painted in a Semi-Gloss or Eggshell finish, the repair must match that exact sheen. Using a Flat paint on a Satin wall will make the patch highly visible when light hits it from an angle.

Final Considerations for Professional Results
The difference between a DIY patch and a professional repair is patience. Rushing the drying process or attempting to finish the job in a single coat will lead to visible seams. By treating the repair as a structural project: securing the base, layering the compound, and carefully matching the surface chemistry with primer and paint: the wall can be restored to its original state.
Whether the damage was a minor accident or a byproduct of home improvements like installing new hardware or adjusting storage-organization systems, these five steps provide a reliable roadmap. Mastery of drywall repair is a foundational skill in home maintenance that preserves both the aesthetic and the value of a property.

