
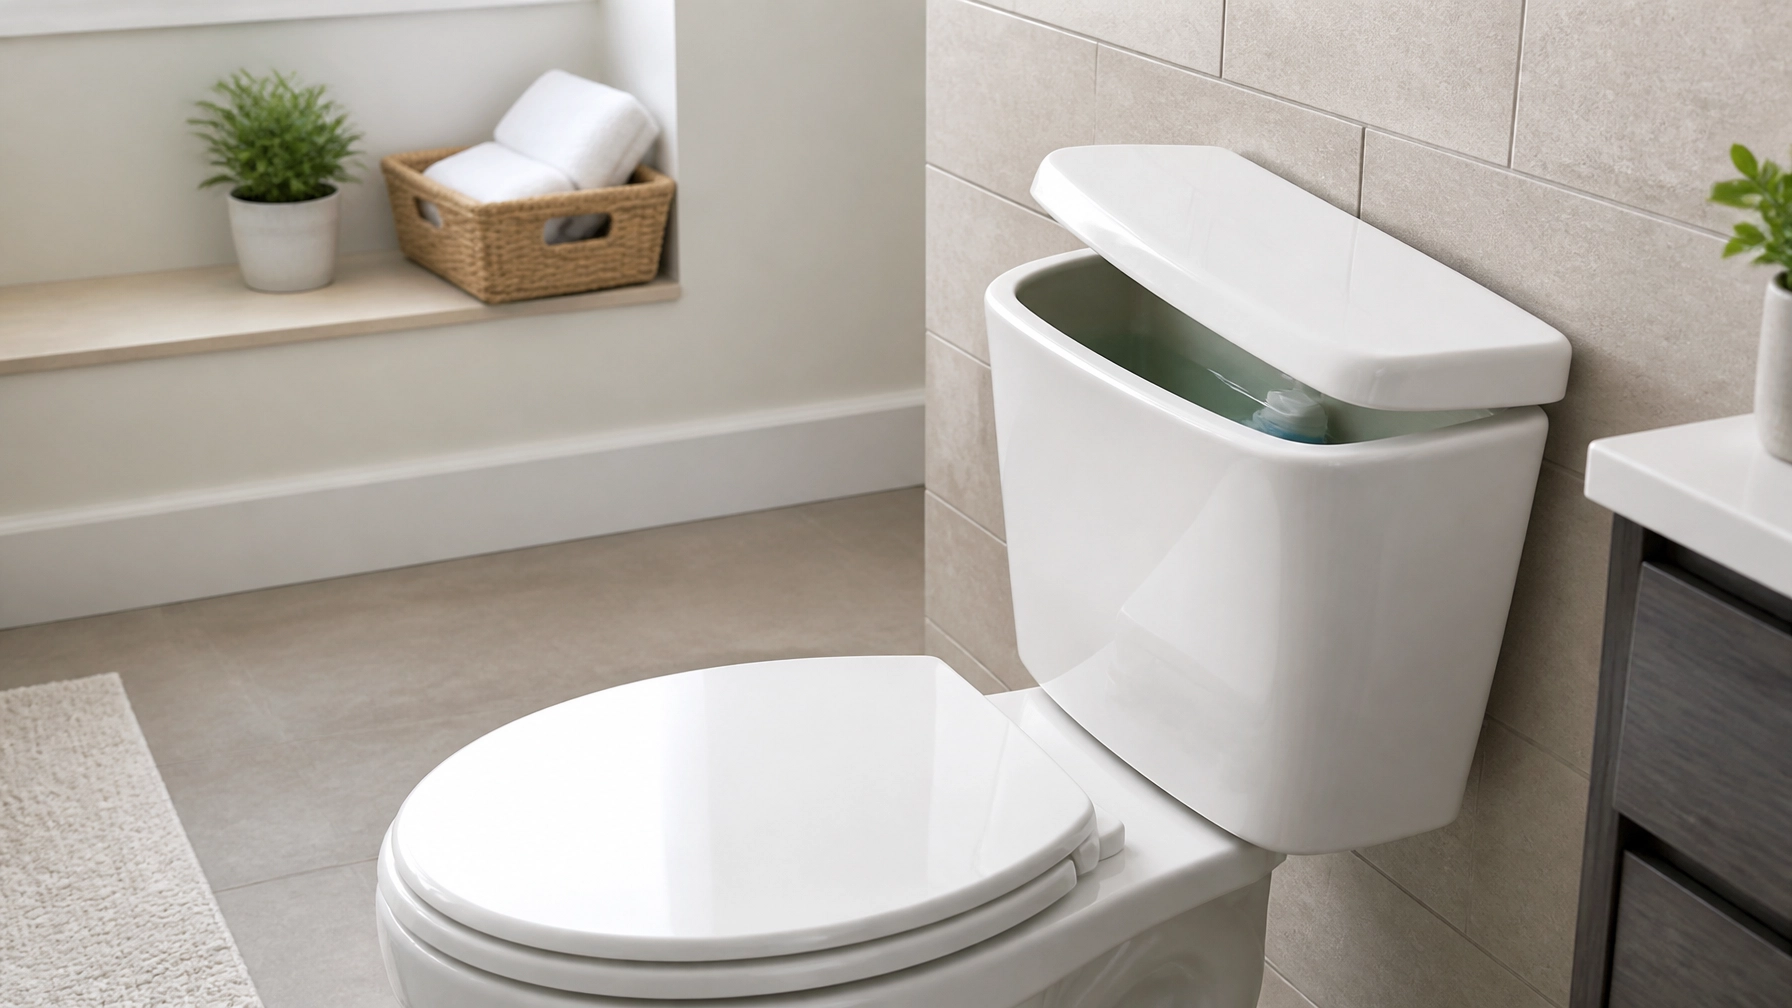
A running toilet is more than just a background noise that disrupts a quiet night. It is a persistent household issue that can lead to significant water waste and unexpectedly high utility bills. While the sound of water trickling into the overflow tube or the occasional “phantom flush” might seem like a minor nuisance, these signs indicate that the mechanical components inside the tank are failing to maintain a proper seal.
Fortunately, most running toilet issues do not require the expertise of a professional plumber. Most gravity-fed toilets operate on simple mechanical principles that have remained largely unchanged for decades. By understanding how the flapper, fill valve, and float work together, a homeowner can identify the source of a leak and perform a repair with basic tools in under thirty minutes.
Understanding the Anatomy of a Toilet Tank
Before attempting any repairs, it is essential to understand the roles of the various parts hidden beneath the tank lid. Most standard toilets consist of two main assemblies: the flush valve and the fill valve.
The flush valve is located in the center of the tank. It features a large opening at the bottom, covered by a rubber flapper. When the handle is pressed, a chain lifts this flapper, allowing water to rush into the bowl. As the water level drops, the flapper falls back down to seal the opening so the tank can refill.
The fill valve, usually located on the left side of the tank, is responsible for bringing water back into the system. It is connected to a float: either a buoyant ball on a metal rod or a plastic cylinder that slides up and down the valve body. As the water rises, the float rises with it. Once the float reaches a predetermined height, it triggers the fill valve to shut off the water supply.

The Diagnostic Phase: The Food Coloring Test
Not all leaks are visible or audible. Sometimes, a toilet may be “silently” running, where water slowly seeps from the tank into the bowl without making a sound. To confirm if a leak exists and to determine its severity, the food coloring test is a highly effective diagnostic tool.
To perform this test, remove the tank lid and set it aside in a safe location. Add 10 to 15 drops of dark food coloring: such as blue, red, or green: into the tank water. Do not flush the toilet. Wait for approximately 20 to 30 minutes. If the water in the toilet bowl begins to change color, there is a leak in the flush valve, usually caused by a faulty flapper or a damaged valve seat. If the bowl remains clear but the tank water level has dropped, the leak is internal.
Tools and Materials for the Job
Most toilet repairs require only a few common household tools. Keeping these items organized in a dedicated home storage area ensures that minor maintenance tasks do not turn into major projects.
- Adjustable Wrench: Necessary for loosening the supply line if the fill valve needs replacement.
- Tongue-and-Groove Pliers: Useful for gripping plastic nuts under the tank.
- Screwdriver (Phillips or Flathead): Required for adjusting the float height or removing certain types of fill valves.
- Replacement Flapper: The most common part that needs replacing.
- Old Towels: To soak up any water that spills during the repair process.
- Small Scrub Brush or Scouring Pad: For cleaning mineral deposits off the valve seat.

Solution 1: Inspecting and Replacing the Flapper
The rubber flapper is the most frequent cause of a running toilet. Over time, the rubber can become brittle, warped, or encrusted with mineral deposits from hard water. When the flapper loses its flexibility, it can no longer create a watertight seal against the flush valve seat.
Step-by-Step Replacement
- Turn Off the Water: Locate the shut-off valve on the wall behind the toilet and turn it clockwise until it is tight.
- Drain the Tank: Flush the toilet and hold the handle down to remove as much water as possible.
- Remove the Old Flapper: Unhook the chain from the handle lever and pull the flapper’s ears off the pegs on the sides of the overflow tube.
- Clean the Valve Seat: Use a sponge or a soft cloth to wipe the rim where the flapper sits. Any debris or slime here will prevent a new flapper from sealing.
- Install the New Flapper: Slide the new flapper’s ears onto the pegs and attach the chain to the handle lever.
- Test the Seal: Turn the water back on and watch as the tank fills. Perform the food coloring test again to ensure the leak is resolved.

Solution 2: Adjusting the Flush Chain
Sometimes the problem isn’t the flapper itself, but the chain that connects it to the handle. If the chain is too long, a few links can get caught underneath the flapper as it closes, creating a gap that allows water to escape. Conversely, if the chain is too short, it will keep the flapper slightly elevated, preventing it from ever seating fully.
To fix this, inspect the chain while the tank is full. There should be approximately 1/2 inch of slack in the chain when the flapper is closed. If the chain is tangled, straighten it out. If it is too long, move the clip to a lower link and trim the excess with wire cutters. If the chain is consistently getting caught on other components, ensure it is hanging vertically and not rubbing against the overflow tube or the fill valve.
Solution 3: Setting the Correct Water Level
If water is constantly flowing into the vertical overflow tube in the center of the tank, the water level is set too high. This is usually a result of an improperly adjusted float. The water level should typically sit about one inch below the top of the overflow tube.
For toilets with a traditional float ball and rod, the adjustment is made by gently bending the metal rod downward. This forces the float to sit lower in the water, which shuts off the fill valve sooner.
Modern toilets often use a “float cup,” which is a plastic cylinder that slides up and down the fill valve. To adjust this, look for a plastic screw or a sliding clip on the side of the valve. Turning the screw clockwise usually lowers the float.

Solution 4: Cleaning or Replacing the Fill Valve
If adjusting the float does not stop the water from running, the fill valve itself may be defective. Sometimes, grit or mineral scale gets trapped inside the valve’s internal diaphragm, preventing it from closing completely.
Before replacing the entire valve, attempt to flush out any debris. Turn off the water supply and remove the top cap of the fill valve (this usually involves a 1/8 turn counterclockwise or lifting a locking ring). Place a cup over the open valve to prevent splashing and turn the water on slightly for a few seconds. This can blow out any sediment.
If the valve continues to hiss or leak after cleaning, a full replacement is necessary. Universal fill valve kits are widely available and can be installed by hand. Ensure the mounting nut under the tank is snug but not over-tightened, as excessive force can crack the porcelain tank.
Solution 5: Resurfacing the Flush Valve Seat
If a new flapper still fails to stop a leak, the problem may lie with the flush valve seat: the plastic or metal rim that the flapper rests upon. Over years of use, this rim can develop pits, grooves, or heavy calcium buildup that the soft rubber of the flapper cannot fill.
In many cases, cleaning the seat with a non-abrasive scouring pad is sufficient. If the seat is badly damaged, a repair kit can be used. These kits typically include a stainless steel seat that is glued over the old one using a waterproof adhesive. This provides a perfectly smooth surface for the flapper to seal against without requiring the removal of the entire flush valve assembly, which would involve separating the tank from the bowl.
Proactive Maintenance and Prevention
Maintaining a healthy plumbing system is part of a broader home living routine. To prevent running toilets in the future, avoid using “drop-in” chlorine tablets or chemical cleaners inside the tank. These chemicals are highly corrosive and can degrade rubber flappers and plastic valves much faster than normal water.
Additionally, consider installing a smart home leak detector near the base of the toilet. These devices can alert a smartphone if moisture is detected on the floor or if the toilet has been running continuously for a specified period, providing peace of mind when away from home.
Conclusion
Fixing a running toilet is a foundational DIY skill that empowers individuals to maintain their homes efficiently. By systematically checking the flapper, the chain, the float, and the fill valve, most leaks can be stopped with minimal expense. Taking the time to address these issues not only saves money but also contributes to a more sustainable household by reducing unnecessary water consumption. With the right tools and a bit of patience, the common bathroom leak is a problem of the past.

