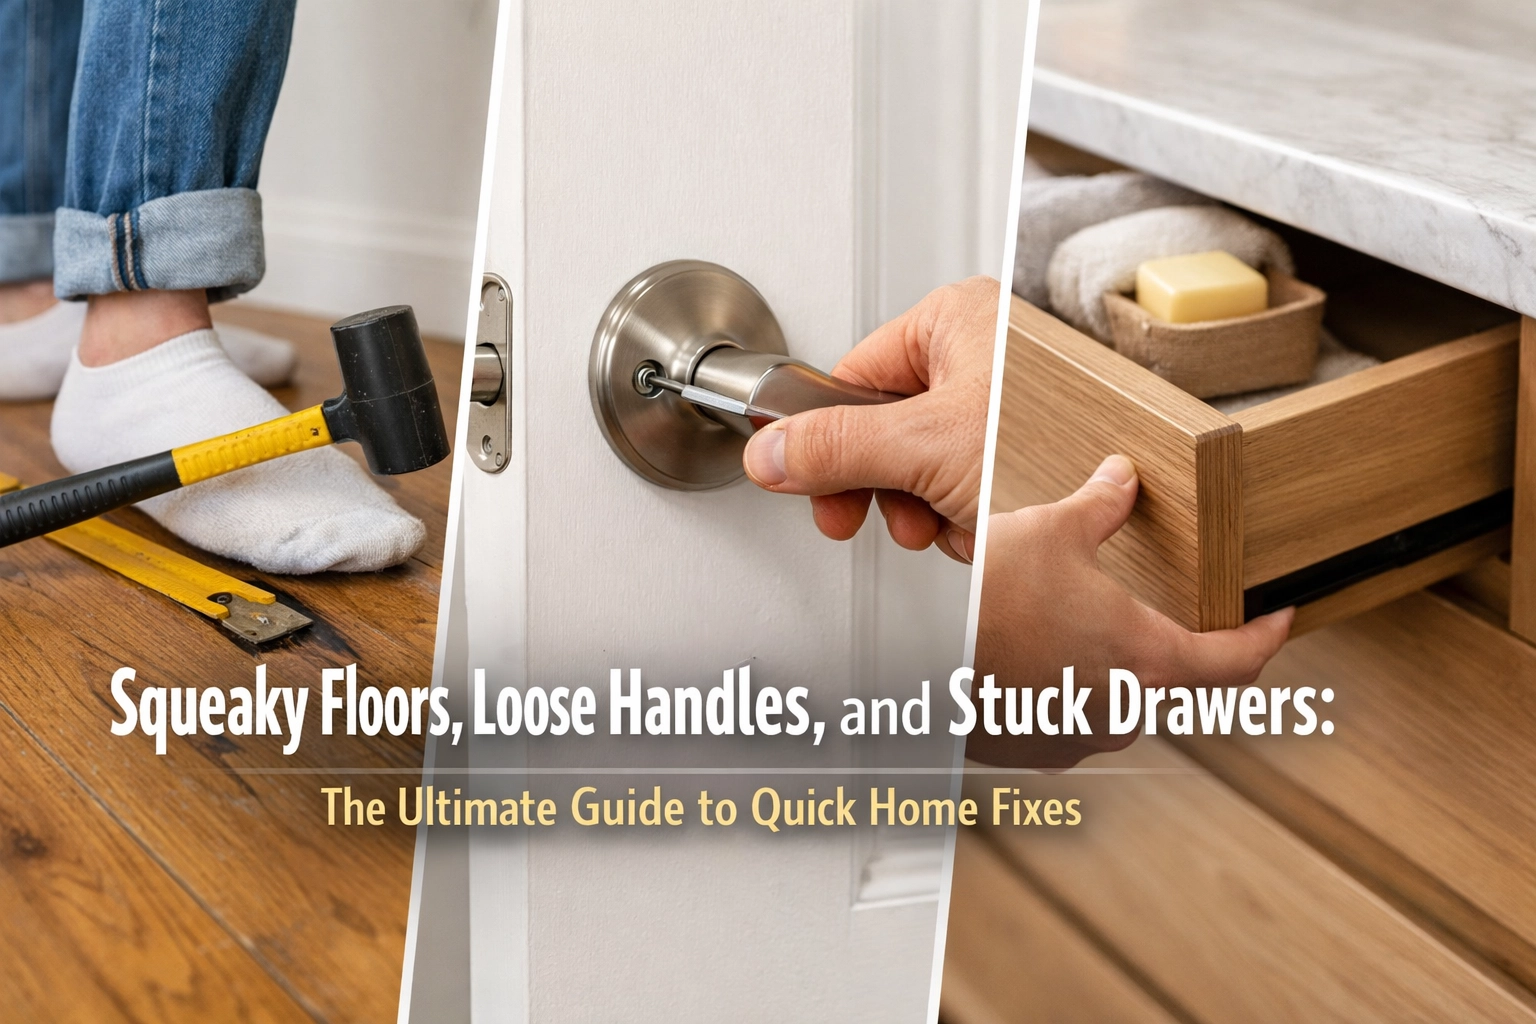
Minor home annoyances add up quickly. A squeaky floorboard underfoot, a cabinet handle that wiggles with every pull, or a drawer that refuses to budge: these small problems disrupt daily routines and create unnecessary frustration. The good news is that most of these issues require minimal tools, basic materials, and less than an hour to fix.
Understanding Squeaky Floors
Squeaky floors occur when wooden floorboards rub against each other, against nails, or against the joists beneath them. Movement creates friction, and friction produces that telltale creak. Temperature changes, humidity fluctuations, and regular foot traffic cause wood to expand, contract, and loosen over time.

Locating the Source of the Squeak
Before applying any fix, pinpoint the exact location of the noise. Walk slowly across the floor and mark problem areas with tape or chalk. Pay attention to whether the squeak happens:
- Directly over a floor joist
- Between joists where boards have more flex
- Near walls or transitions between rooms
- On stairs, typically at the center of each step
Press down firmly on suspected areas while someone listens from below if possible. This helps identify whether the issue stems from loose boards, gaps between the subfloor and joists, or worn nails.
Quick Temporary Solutions
For immediate relief, talcum powder or powdered graphite provides a simple fix. Sprinkle the powder generously between floorboards where squeaking occurs. Use a soft brush or cloth to work it into the gaps, allowing it to settle and coat the wood surfaces.
This method reduces friction temporarily but requires reapplication every few months. The powder can create a slippery surface, so wipe away excess thoroughly. This solution works best for light squeaks in low-traffic areas or as a stopgap until permanent repairs can be scheduled.
Permanent Fixes for Hardwood Floors
Securing Loose Nails
When floorboards lift slightly from their joists, the nails no longer hold them firmly. Use a nail punch and hammer to drive existing nails deeper into the wood. Position the nail punch directly on the nail head and strike twice: once to set it, once to fully secure it. The nail head should sit slightly below the floor surface.
Fill the small indentation with wood filler that matches the floor color. Sand smooth once dry for an invisible repair.
Installing Wood Screws
For lasting results, screws provide superior holding power compared to nails. Drill a pilot hole approximately 3mm in diameter through the floorboard and into the joist below. The hole prevents the wood from splitting and allows the screw to sink properly.
Countersink the hole so the screw head sits flush with or slightly below the surface. Drive the screw until it pulls the floorboard snug against the joist. Fill the screw hole with wood filler, let dry, and sand smooth.
Counter-Snap Screws
Specialized counter-snap screws break off at the surface level, eliminating the need for wood filler. Predrill using a 3/32 or 7/64 drill bit to prevent cracking. Install screws at points where squeaking occurs, whether directly on joists or between them. Once tightened, the screw head snaps cleanly at the surface.
Addressing Gaps and Separation
Sometimes joists bow or shift, creating gaps between the subfloor and the joist itself. Insert plastic shims or construction shims into these gaps from below if accessible. Secure shims with screws driven at an angle to prevent movement.
For remaining voids, apply construction adhesive to bond the subfloor firmly to the joist. This combination of mechanical fasteners and adhesive creates a solid, squeak-free connection.
Carpet-Covered Floors
Squeaks beneath carpeting require a slightly different approach. Special break-away screws can be installed through carpet without damage. Drive them through the carpet backing, pad, and subfloor directly into the joist. The screw head breaks off below the carpet surface, leaving no visible trace.
Alternatively, if access exists from below, attach metal bridging between joists or install wooden blocks to reduce movement and eliminate squeaks.

Fixing Loose Handles and Knobs
Loose cabinet handles and drawer pulls develop over time as screws work themselves free through repeated use. This common problem takes just minutes to remedy with the right approach.
Identifying the Problem
Open the cabinet or drawer and examine the mounting hardware from behind. Most handles attach with machine screws that pass through the door or drawer front and thread into the back of the handle. Looseness occurs when:
- Screws have backed out from vibration
- Screw threads have stripped the handle’s insert
- The mounting hole has enlarged from movement
- The handle base has cracked or damaged threads
Tightening Existing Screws
For handles that simply need tightening, hold the handle firmly from the front while tightening screws from behind. Use a screwdriver that fits snugly in the screw head to prevent stripping.
If screws spin without tightening, the threads have stripped. Remove the screw completely and inspect both the screw and the threaded insert in the handle.
Repairing Stripped Threads
When threads strip in the handle itself, several solutions restore secure mounting:
Thread Locker
Apply a small amount of removable thread locker (blue formula) to the screw threads before reinstalling. This adhesive fills small gaps and prevents the screw from backing out. The handle can still be removed later if needed.
Toothpick or Wood Sliver Method
Break a toothpick or whittle a small wood sliver. Apply wood glue to it and insert into the stripped hole. Break it off flush and allow the glue to dry completely. The added material gives screw threads something to grip.
Larger Screws
If the existing screw diameter is too small for the hole, replace it with a screw one size larger. The new threads cut fresh grooves in the handle for a tight fit. Ensure the larger screw head still fits the decorative cap or cover plate.
Thread Inserts
For valuable furniture or frequently used handles, threaded inserts provide the most durable repair. Drill out the damaged hole to the insert’s specified size. Thread the metal insert into place using the installation tool. The insert creates new, permanent threads that won’t strip.
Replacing Damaged Handles
When handles crack or break, replacement becomes necessary. Measure the distance between mounting holes (center to center) before shopping. This measurement, called the center-to-center spacing or “pull size,” ensures new hardware fits existing holes.
Standard sizes include 3 inches, 3.75 inches, and 5 inches, though many variations exist. Bring the old handle to the hardware store for comparison if measurement proves difficult.

Unsticking Stubborn Drawers
Drawers stick for various reasons: swollen wood, misaligned tracks, accumulated debris, or worn glides. Diagnosis determines the appropriate fix.
Diagnosing the Issue
Remove the drawer completely if possible. Examine:
- The drawer bottom for warping or sagging
- Side rails for smoothness and straightness
- Glides or runners for damage or debris
- The cabinet opening for square alignment
- Paint or finish buildup along edges
Slight resistance in humid months often resolves as weather changes. Persistent sticking requires intervention.
Wood Drawer Repairs
Swollen Wood
Humidity causes wood to expand. If drawers stick only during humid seasons, apply candle wax, paraffin, or a bar of soap to the drawer’s side rails and bottom edges. This lubricant allows the drawer to slide smoothly despite minor swelling.
For permanent swelling, lightly sand the drawer sides and bottom edges. Use 120-grit sandpaper and remove only enough material to allow smooth movement. Sand evenly to maintain straight lines.
Warped Drawer Bottom
A sagging drawer bottom can drag and bind. Turn the drawer upside down and examine the bottom panel. If it bows downward, small wood strips or shims glued along the center support rail can lift and reinforce it.
For severe warping, replace the drawer bottom with new plywood or hardboard cut to size. Slide it into the grooves along the drawer sides.
Loose Joints
Check corner joints where drawer sides meet the front and back. Wiggle the drawer to identify loose connections. Apply wood glue to separated joints, clamp firmly, and wipe away excess. Allow 24 hours to cure before use.
For drawers that cannot be clamped easily, drill a small pilot hole and drive a finish nail at an angle through the joint. Set the nail below the surface and fill with wood putty.
Metal Glide Repairs
Modern drawers often run on metal slides attached to both the drawer and cabinet. These mechanisms include ball-bearing slides, roller slides, and undermount slides.
Misaligned Slides
Drawers bind when slides aren’t perfectly parallel. Loosen the mounting screws slightly and adjust the slide position. Use a level to ensure the slide sits horizontally. Tighten screws once proper alignment is achieved.
Worn Rollers
Plastic rollers on drawer slides wear down or crack over time. Replacement rollers can often be purchased separately. Remove the old roller, typically held by a snap clip or small screw, and press the new one into place.
Bent Tracks
Metal slides bent from overloading or impact prevent smooth operation. Carefully straighten minor bends using pliers. Grip the bent section and apply gradual pressure. Severe damage requires complete slide replacement.
Debris and Buildup
Accumulated dust, crumbs, and grime impede drawer movement. Remove drawers and vacuum the slides thoroughly. Wipe metal components with a damp cloth. Apply a silicone-based lubricant spray to metal slides: never oil, which attracts dirt.
Drawer Stop Adjustments
Some drawers feature stops that prevent them from pulling completely out. These stops can shift or misalign, causing the drawer to catch. Locate the stop mechanism: usually a plastic clip or wooden block: and adjust its position for smooth operation.

Preventive Maintenance
Regular attention prevents small issues from becoming major repairs.
Seasonal Checks
Walk through the home twice yearly to identify developing problems:
- Test all drawer movement, noting any resistance
- Check cabinet and door handles for tightness
- Listen for new floor squeaks in different weather conditions
Environmental Control
Maintain consistent indoor humidity between 30-50 percent. This range minimizes wood expansion and contraction that causes many household problems. Use dehumidifiers in damp climates and humidifiers in dry conditions.
Lubrication Schedule
Apply appropriate lubricants annually:
- Wax or soap to wood drawer guides
- Silicone spray to metal slides
- Powdered graphite to door hinges
- Furniture polish to wood surfaces
Hardware Inspection
Tighten screws on handles, hinges, and fixtures during regular cleaning. A quick pass with a screwdriver every few months prevents loosening and wear.
Tools and Materials to Keep Handy
A basic repair kit makes addressing these issues simple:
- Screwdriver set (Phillips and flathead)
- Drill with assorted bits
- Hammer and nail punch
- Wood filler and putty knife
- Sandpaper (120 and 220 grit)
- Wood glue
- Powdered graphite or talcum powder
- Candle wax or paraffin bar
- Silicone spray lubricant
- Assorted screws and nails
- Shims and wooden toothpicks
Store these items in an accessible location for quick repairs as problems arise.
When to Call a Professional
Most squeaky floors, loose handles, and stuck drawers respond well to DIY fixes. However, certain situations warrant professional help:
- Widespread floor damage affecting multiple rooms
- Structural issues with floor joists or subflooring
- Antique furniture requiring specialized knowledge
- Custom cabinetry with complex hardware
- Extensive water damage or mold
Professional assessment ensures underlying problems receive proper attention before cosmetic fixes mask serious damage.
Conclusion
Small household annoyances don’t have to persist. Squeaky floors respond to simple lubrication or strategic screw placement. Loose handles need only tightening or thread reinforcement. Stuck drawers often require nothing more than cleaning, lubrication, or minor adjustment. With basic tools and a methodical approach, most homeowners can tackle these repairs confidently and restore smooth, quiet operation throughout the house.

