Maintaining a home involves a continuous cycle of observation, adjustment, and repair. While major structural issues or complex electrical overhauls require professional intervention, a significant portion of household maintenance consists of minor tasks that any homeowner or tenant can master. Understanding the fundamentals of home repair not only saves money but also prevents small inconveniences from evolving into costly structural problems. This guide provides a comprehensive overview of common household fixes, the tools required, and the step-by-step processes to execute them effectively.
The Essential Home Repair Toolkit
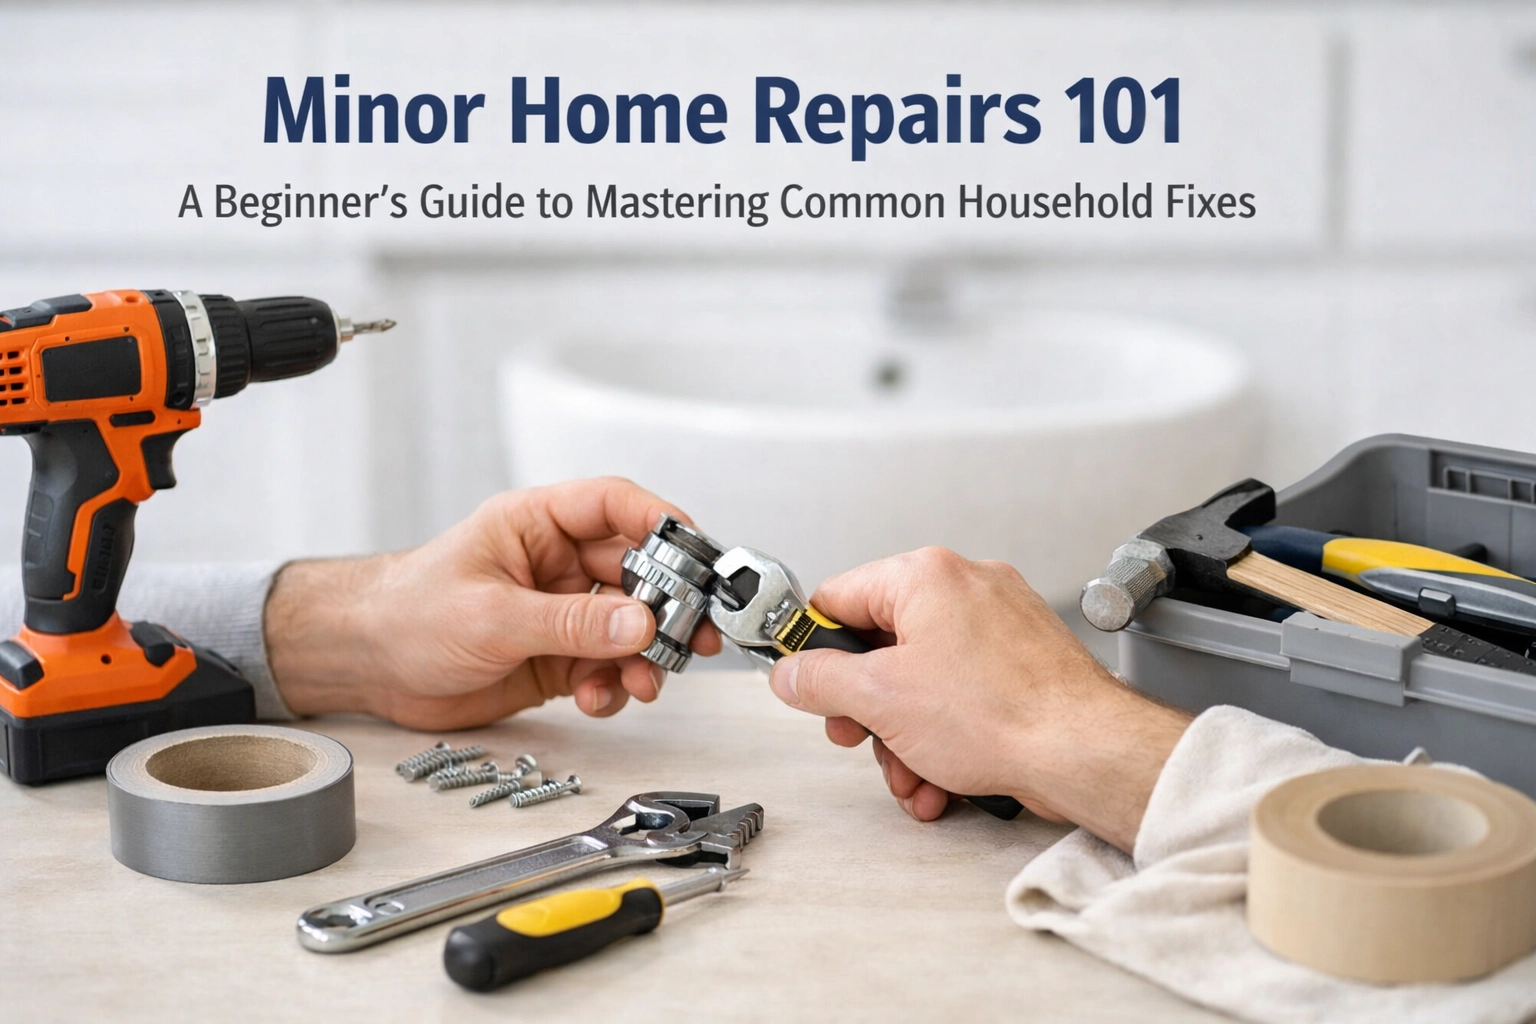
Before attempting any repair, having the correct tools is paramount. Quality tools allow for precision and safety, reducing the risk of damaging fixtures or sustaining personal injury. A basic starter kit should include high-quality versions of the following items:
- Claw Hammer: Necessary for driving nails and prying them out. A 16-ounce hammer with a comfortable grip is standard for most indoor tasks.
- Screwdriver Set: At minimum, a kit should include several sizes of Phillips-head and flathead screwdrivers. A multi-bit ratcheting screwdriver is a space-saving alternative.
- Adjustable Wrench: Also known as a crescent wrench, this tool is essential for tightening or loosening nuts and bolts of various sizes, particularly in plumbing.
- Pliers: Needle-nose pliers are useful for reaching into tight spaces and bending wire, while tongue-and-groove pliers (Channel-locks) are better for gripping pipes or large nuts.
- Tape Measure: A 25-foot locking tape measure is the industry standard for ensuring accuracy in everything from hanging curtains to measuring for new appliances.
- Level: A torpedo level or a 24-inch spirit level ensures that shelves, mirrors, and televisions are perfectly horizontal or vertical.
- Utility Knife: Vital for opening packages, trimming wallpaper, or scoring drywall.
- Cordless Drill and Bit Set: While manual tools are important, a 12V or 18V cordless drill significantly eases tasks like hanging heavy mirrors or assembling furniture.

Mastering Wall Repairs and Surface Maintenance
Walls are subject to frequent wear and tear, from accidental dings to the holes left behind by mounting hardware. Learning to patch drywall and refresh surfaces is one of the most visible ways to improve a home’s appearance.
Patching Small and Medium Holes
Small nail holes can be filled with a simple application of spackle. Using a putty knife, a small amount of compound is pressed into the hole and smoothed over. Once dry, it can be lightly sanded with fine-grit sandpaper.
For larger holes: such as those caused by a doorknob hitting the wall: a self-adhesive mesh patch is required. The patch is placed over the hole, followed by a layer of joint compound. The compound must be applied in thin layers, “feathering” the edges outward to blend the patch into the surrounding wall. After the compound dries, sanding and a second, wider coat of compound are usually necessary to create a seamless finish.
Finding Studs and Using Wall Anchors
Hanging heavy items safely requires securing them into the wooden or metal studs behind the drywall. An electronic stud finder detects changes in wall density or the presence of metal fasteners. Once a stud is located, screws can be driven directly into the wood for maximum support.
In instances where no stud is available, wall anchors must be used. Plastic expansion anchors are suitable for light items like small pictures. However, for heavier loads like shelving or heavy mirrors, toggle bolts or threaded “zip” anchors provide significantly more stability by spreading the weight across a larger area of the drywall’s backside.
Professional Painting Techniques
A fresh coat of paint is a cost-effective way to revitalize a room. The key to a professional look lies in the preparation. This includes:
- Cleaning: Removing dust and oils from walls with a damp cloth.
- Taping: Using painter’s tape to protect trim, ceilings, and baseboards.
- Cutting In: Using a 2.5-inch angled sash brush to paint the edges and corners where a roller cannot reach.
- Rolling: Using a “W” or “M” pattern to distribute paint evenly across the main surface of the wall, ensuring a consistent texture.

Essential Plumbing Fixes for Beginners
Water damage is one of the most common and expensive issues in residential properties. Mastering basic plumbing allows for immediate responses to leaks and clogs.
Repairing a Leaky Faucet
Most modern faucets leak because of a worn-out washer, O-ring, or cartridge. To fix this, the water supply must first be shut off using the valves located under the sink. After removing the handle (usually by loosening a small set screw), the internal mechanism can be inspected. Replacing a rubber O-ring or a ceramic cartridge is a straightforward process that restores the seal and stops the drip.
Fixing a Running Toilet
A toilet that “runs” continuously wastes a significant amount of water. This is usually caused by a faulty flapper: the rubber seal at the bottom of the tank: or an incorrectly adjusted float. If the flapper is brittle or covered in mineral deposits, it should be replaced. If the water level in the tank is too high and flowing into the overflow tube, adjusting the float screw or clip will lower the water level and stop the cycle.
Clearing Clogged Drains
Before reaching for harsh chemical cleaners, manual methods should be attempted. A plunger is often sufficient for minor clogs in sinks or toilets. For sink clogs caused by hair or soap scum, the “P-trap”: the U-shaped pipe beneath the sink: can be unscrewed by hand or with pliers. Placing a bucket underneath to catch excess water, the trap can be removed and cleared of debris.

Doors, Windows, and Hardware
Mechanical components like doors and windows require occasional adjustment to function smoothly. Changes in humidity and regular use can cause alignment issues or squeaks.
Silencing Squeaky Hinges
A squeaky door is typically the result of metal-on-metal friction. This can be resolved by removing the hinge pin (tapping it out with a hammer and a nail) and coating it with a thin layer of white lithium grease or a silicone-based lubricant. Avoid using heavy oils that can attract dust and grime over time.
Repairing Window Screens
Torn window screens allow insects to enter the home. Repairing a screen involves removing the rubber “spline” that holds the mesh in the frame using a spline roller tool. New fiberglass or aluminum screening is then laid over the frame, and the spline is pressed back into the groove, pulling the mesh taut. Excess material is trimmed away with a utility knife.
Adjusting Door Latches
If a door does not latch properly, it is often because the strike plate on the door frame is misaligned. If the door has sagged, tightening the screws on the top hinge can sometimes lift the door back into position. If the misalignment is minor, the strike plate can be removed and the hole in the wood slightly enlarged with a small file or chisel to allow the latch to click into place.
Basic Electrical Safety and Minor Tasks
Working with electricity requires extreme caution. The primary rule of any electrical repair is to turn off the power at the circuit breaker before beginning.
Replacing Light Fixtures and Switch Plates
Replacing an outdated light fixture is a common aesthetic upgrade. After ensuring the power is off, the old fixture is disconnected by unscrewing the wire nuts. The new fixture is then wired following the color-coding: black (hot) to black, white (neutral) to white, and green or bare copper (ground) to the ground wire or screw.
Upgrading cracked or discolored switch plates and outlet covers is a simple task requiring only a screwdriver. This provides an immediate visual improvement to any room for a very low cost.
Smoke and Carbon Monoxide Detector Maintenance
Safety devices should be tested monthly. Most units have a “test” button that triggers the alarm. Batteries should typically be replaced every six months, even if the unit is hardwired, to ensure functionality during a power outage. If a detector chirps intermittently, it usually indicates a low battery or that the unit has reached its expiration date (usually 10 years).

Addressing Stains and Surface Damage
Minor damage to floors and furniture can often be corrected without the need for professional refinishing.
Removing Stains from Surfaces
- Carpet Stains: For fresh spills, blotting with a clean cloth is essential; rubbing can push the stain deeper into the fibers. A mixture of white vinegar, dish soap, and water is effective for many common household stains.
- Water Rings on Wood: White rings on wooden furniture caused by moisture can often be removed by applying a small amount of non-gel toothpaste or a baking soda paste and gently buffing the area with a soft cloth.
- Scuff Marks on Flooring: Scuffs on laminate or hardwood can often be removed with a specialized floor cleaner or even a damp microfiber cloth. For deeper scratches, wax fill sticks matched to the color of the wood can hide the damage.
Caulking Gaps in Kitchens and Bathrooms
Caulk acts as a waterproof seal around tubs, sinks, and backsplashes. Over time, caulk can peel or develop mold. Old caulk should be removed with a scraper and the area cleaned with rubbing alcohol. Applying a new bead of silicone or acrylic caulk requires a steady hand; smoothing the bead with a wet finger ensures a professional, watertight seal.

Weatherization and Energy Efficiency
Minor repairs can also improve the energy efficiency of a home, leading to lower utility bills and increased comfort.
Sealing Air Leaks
Drafts often enter through gaps around windows and doors. Weatherstripping: available in adhesive foam or rubber strips: can be applied to the door frame to create a tight seal when the door is closed. For gaps at the bottom of the door, a door sweep can be screwed or adhered to the base to block incoming air.
Insulating Outlets
External walls often have electrical outlets that allow cold air to seep into the room. Inexpensive foam gaskets can be installed behind the outlet cover plates to provide a barrier against drafts.
When to Call a Professional
While the repairs listed above are generally safe for beginners, certain situations demand the expertise of a licensed professional. Homeowners should avoid DIY repairs involving:
- Main Electrical Panels: Any work inside the breaker box or involving high-voltage lines.
- Gas Lines: Repairs to gas water heaters, stoves, or furnaces should always be handled by professionals due to the risk of leaks or explosions.
- Structural Changes: Removing walls or modifying load-bearing beams requires engineering knowledge and permits.
- Extensive Mold or Water Damage: If a leak has penetrated subflooring or led to significant mold growth, specialized remediation is necessary.
By developing a foundational understanding of these common fixes, individuals can maintain their living spaces more effectively. Resources such as the Paris Wheel blog provide ongoing education for those looking to expand their skill sets in home management and various other disciplines. Consistent maintenance and the willingness to learn minor repair techniques contribute significantly to the longevity and comfort of a home.
For more information on home maintenance and learning new skills, visit the Paris Wheel blog or explore the customer help section for further guidance. Maintaining a proactive approach to minor repairs is the most effective strategy for preserving the value and safety of any property.

