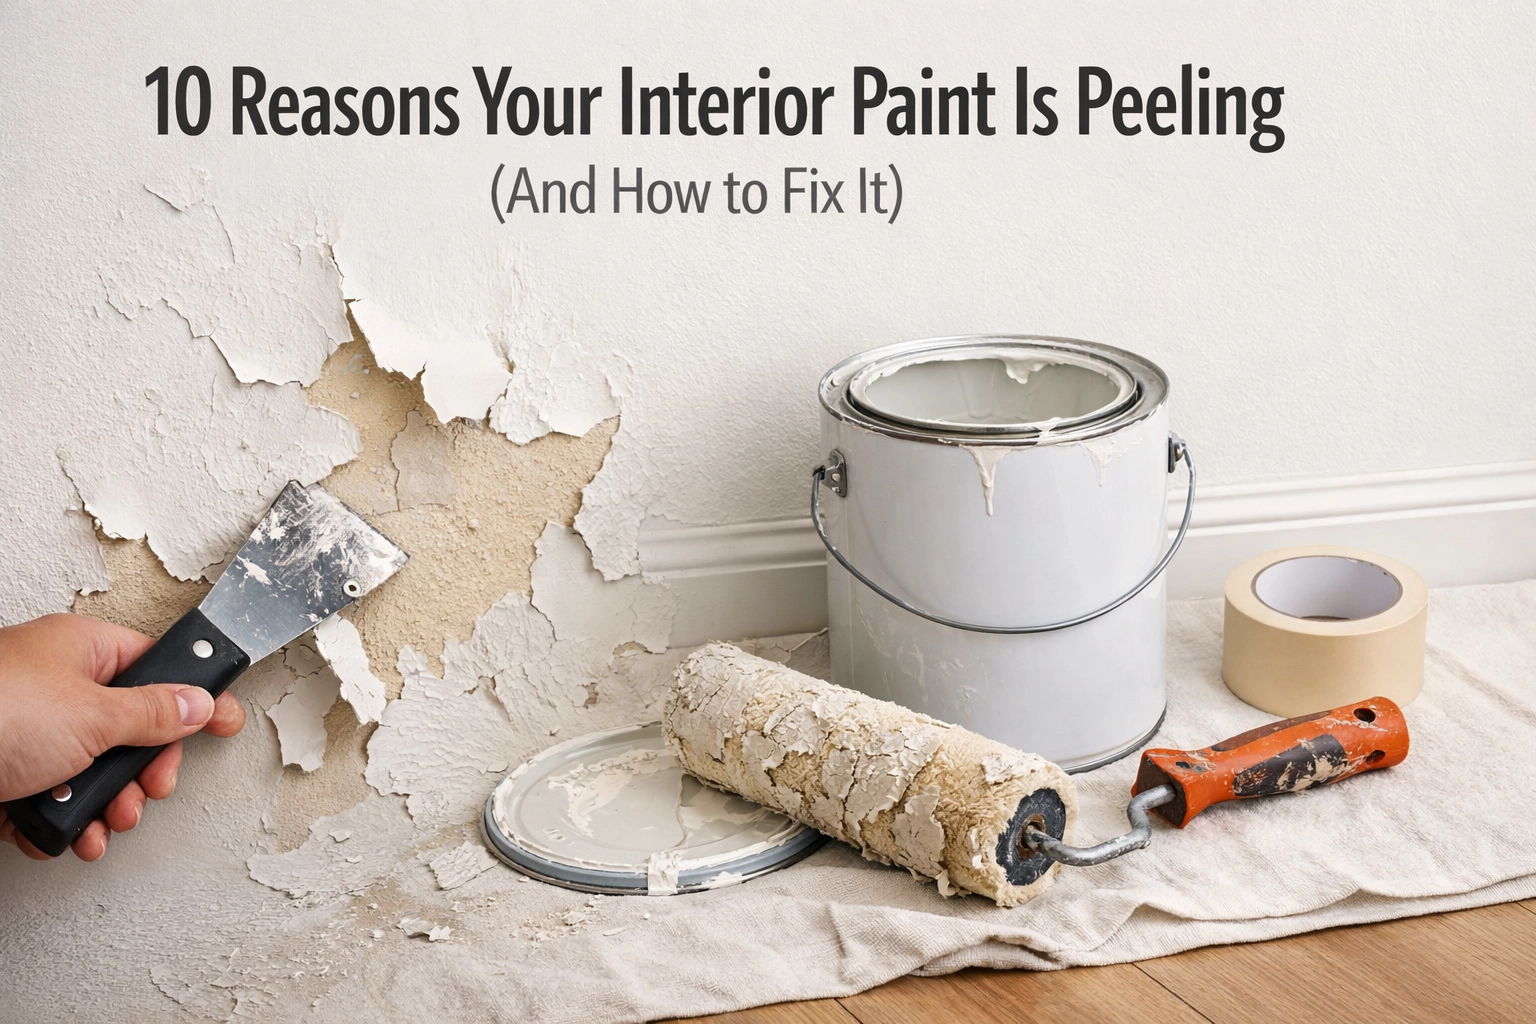
Maintaining the interior of a home involves more than just selecting the right colors. Over time, even the most professionally applied paint can begin to show signs of wear. One of the most common and frustrating issues homeowners face is peeling paint. This phenomenon, technically known as adhesion failure, occurs when the bond between the paint film and the underlying surface (the substrate) is compromised.
When paint begins to flake, bubble, or peel away in large strips, it is rarely a random occurrence. Usually, it is a signal that something went wrong during the application process, or that the environment within the home has changed. Understanding the root causes of peeling paint is the first step toward a permanent fix.
1. Moisture and Water Exposure
Moisture is perhaps the single most frequent cause of paint failure. When water penetrates the paint film or seeps through the substrate from behind, it forces the paint to lift. This is common in areas where plumbing leaks occur or where exterior water enters through window frames.
In bathrooms and kitchens, steam from showers or cooking can condense on the walls. If the paint is not specifically formulated for high-moisture environments, or if it was applied to a damp surface, the water molecules will eventually break the bond. Over time, the paint will bubble, and once those bubbles pop, peeling begins.
The Fix:
The first step is to identify and stop the source of the water. If there is a leaky pipe behind the drywall, no amount of repainting will solve the problem until the plumbing is repaired. Once the leak is stopped, the area must be allowed to dry completely. Use a moisture meter to ensure the drywall or plaster is back to a normal state. Afterward, scrape away the loose paint, sand the edges smooth, apply a high-quality stain-blocking primer, and finish with a moisture-resistant topcoat.

2. High Humidity and Poor Ventilation
Even without a direct water leak, high levels of humidity can wreak havoc on interior paint. In homes with poor airflow, humidity levels can fluctuate wildly, causing the building materials to expand and contract. This constant movement puts stress on the paint film.
Condensation is a major factor here. When warm, moist air hits a cool wall, it turns back into liquid water. If the walls are constantly “sweating,” the paint will eventually lose its grip. This is particularly prevalent in laundry rooms, basements, and small bathrooms without adequate exhaust fans.
The Fix:
Improving ventilation is the key. Install or upgrade exhaust fans in bathrooms and kitchens. In basements, using a dehumidifier can help maintain a consistent humidity level (ideally between 30% and 50%). When repainting, ensure the surface is dry and use semi-gloss or high-gloss finishes in humid rooms, as these are generally more resistant to moisture penetration than flat or matte paints.
3. Poor Surface Preparation
Many paint failures can be traced back to the very first day of the project. If a surface is not properly prepared, the paint cannot form a mechanical bond with the substrate. Preparation involves cleaning, sanding, and ensuring the surface is stable.
If paint is applied over dust, the paint adheres to the dust particles rather than the wall. Eventually, the weight of the drying paint will pull the dust: and the paint: away from the surface. Similarly, grease in kitchens or soap scum in bathrooms creates a barrier that prevents adhesion.
The Fix:
Thorough cleaning is essential. Using a product like dust removing brush can help clear away fine debris before applying the first coat. For greasy or dirty walls, washing with a solution of Trisodium Phosphate (TSP) and water is highly effective. Once clean, the surface should be lightly sanded with 120-grit sandpaper to create “tooth” for the new paint to grab onto.
4. Issues with Plaster Surfaces
Plaster walls, common in older homes, present unique challenges. New plaster is highly alkaline and can take weeks to cure fully. If paint is applied to “hot” (uncured) plaster, the high pH levels can chemically attack the paint binders, leading to a condition called saponification, where the paint turns soapy and loses all adhesion.
Additionally, old plaster can become “chalky” over time. As the lime in the plaster breaks down, it creates a powdery surface that prevents paint from sticking.
The Fix:
For new plaster, patience is required. Allow at least 30 days for the plaster to cure. Before painting, use an alkali-resistant primer designed specifically for new masonry or plaster. For old, chalky plaster, the surface must be washed and treated with a masonry conditioner or a high-quality oil-based primer that can penetrate the chalky layer and bind it together.

5. Incompatible Paint Types
A classic mistake in home maintenance is applying latex (water-based) paint directly over old oil-based paint without proper preparation. Oil-based paints cure to a very hard, smooth, and glossy finish. Latex paint, which is more flexible, cannot “bite” into that hard surface.
As the latex paint dries, it shrinks slightly. Because it hasn’t bonded to the oil paint underneath, this tension causes the new layer to peel off in large, rubbery sheets.
The Fix:
If you suspect the existing paint is oil-based, perform a simple test: rub a small area with a cotton ball soaked in denatured alcohol. If the paint comes off, it is latex. If it doesn’t, it is oil-based. To paint over oil with latex, you must first sand the surface to remove the gloss, then apply a specialized “bonding primer” that is designed to bridge the gap between the two different chemistries.
6. Sun Exposure and UV Damage
While we often think of UV damage as an exterior problem, interior walls near large south-facing windows are also at risk. Intense sunlight can heat the wall surface significantly, causing localized expansion. More importantly, UV rays can break down the chemical bonds in the paint’s resin.
Over several years, this causes the paint to become brittle. Brittle paint cannot move with the natural settling of the house, leading to “alligatoring” (cracks that look like reptile skin) and eventually peeling.
The Fix:
When painting rooms with significant sun exposure, choose high-quality paints that contain UV stabilizers. Additionally, using window treatments like blinds or UV-filtering window films can protect both your paint and your furniture from sun damage. If the paint is already peeling due to sun damage, it must be scraped back to a solid layer before repainting.

7. High Temperatures During Application
Temperature plays a critical role in how paint dries and cures. If the room is too hot during application: perhaps due to a heat wave or a space heater being placed too close to the wall: the paint will dry too quickly.
When the top “skin” of the paint dries before the solvents have had a chance to evaporate from the bottom layers, it creates a weak film. This prevents the paint from leveling out and forming a strong bond with the surface. This often results in bubbling or premature peeling shortly after the project is completed.
The Fix:
The ideal temperature for painting is usually between 50°F and 85°F. Avoid painting in direct sunlight or in rooms where the temperature is excessively high. If you must paint in warm weather, work in the cooler parts of the day and ensure there is enough airflow to help the solvents evaporate at a natural pace.
8. Low-Quality or Expired Paint
Not all paints are created equal. Lower-priced paints often have a higher water content and fewer “solids” (the pigments and resins that stay on the wall after the liquid evaporates). These paints result in a thinner, weaker film that is more susceptible to damage and peeling.
Furthermore, paint does have a shelf life. If you are using an old can found in the garage, the binders may have broken down. If the paint has been frozen and thawed multiple times, or if it has a sour, “off” smell, the chemistry has been compromised.
The Fix:
Always invest in mid-to-high-tier paint from reputable manufacturers. The higher concentration of resins ensures better adhesion and durability. Check the date on your paint cans; most latex paints are good for about 5 to 10 years if stored properly in a cool, dry place. Always stir the paint thoroughly to ensure the ingredients are fully incorporated.
9. Too Many Layers of Paint
In older homes, it is not uncommon to find a dozen or more layers of paint on the walls. Each new layer adds weight and tension to the layers beneath it. Eventually, the very first layer of paint: which might be 50 years old: can no longer support the weight of the subsequent layers.
When the oldest layer fails, the entire “sandwich” of paint pulls away from the wall at once. This often happens in areas of high traffic or near trim work where the paint buildup is thickest.
The Fix:
When paint failure is occurring deep within the layers, the only permanent solution is to strip the paint back to the original substrate (drywall, plaster, or wood). This can be a labor-intensive process involving chemical strippers or heat guns. For more information on maintaining a clean workspace during these larger repairs, resources like the Paris Wheel sitemap can provide general guidance on home organization and maintenance projects.
10. Dirty or Hard, Slick Surfaces
Beyond just dust and grease, some surfaces are naturally resistant to paint. This includes high-gloss enamels, certain types of plastic trim, or factory-finished wood. If the surface is too “slick,” the liquid paint will simply bead up and fail to grip.
Microorganisms can also play a role. In damp areas, invisible mold or mildew spores can grow on the wall. If you paint over them, they will continue to grow underneath the paint film, eventually pushing it off the wall.
The Fix:
Mechanical bonding is necessary for slick surfaces. Sanding is the most effective way to “scuff” the surface and provide grip. If mold or mildew is suspected, the wall must be cleaned with a bleach solution (one part bleach to three parts water) to kill the spores before any primer is applied. Using a 360-degree rotating cosmetic receiving box or similar organizational tools can help keep your cleaning supplies and sandpaper organized during this tedious prep phase.

How to Properly Fix Peeling Paint: A Step-by-Step Guide
Once the cause has been identified and the environmental issues have been addressed, the physical repair can begin. Follow these steps for a professional-grade finish.
Step 1: Safety First
Before scraping, determine the age of the home. If the house was built before 1978, the bottom layers may contain lead. Use a lead test kit available at hardware stores. If lead is present, specialized safety procedures (including HEPA vacuums and respirators) are required.
Step 2: Scrape Away Loose Material
Use a high-quality paint scraper or a putty knife to remove all loose or flaking paint. Continue scraping until you reach “sound” paint: paint that is firmly attached to the wall and cannot be lifted with the edge of the tool.
Step 3: Patch and Level
Once the loose paint is gone, there will be a visible “crater” where the paint was removed. To make this invisible in the final finish, apply a thin layer of drywall joint compound or spackle over the area. Feather the edges out about two inches past the original hole.
Step 4: Sand the Surface
After the patch has dried, sand it smooth with 150-grit or 220-grit sandpaper. You should also sand the edges of the existing paint to “feather” them, making the transition between the old paint and the bare wall seamless. Wipe away all dust with a damp cloth or a microfiber tack cloth.
Step 5: Prime the Area
Primer is the most important step in preventing future peeling. Use a primer that is appropriate for the problem you solved (e.g., a moisture-blocking primer for bathrooms or a bonding primer for slick surfaces). Apply the primer to the patched area and slightly over the surrounding paint.
Step 6: Apply the Topcoat
Once the primer is dry, apply two coats of high-quality interior paint. Ensure the first coat is completely dry before applying the second. For the best results, use the same sheen and brand as the rest of the wall to ensure the patch blends in perfectly.
Long-Term Maintenance for Painted Walls
To prevent peeling from returning, regular home maintenance is required. Periodically inspect areas prone to moisture, such as around windows and behind sinks. Address any minor plumbing leaks immediately.
Cleaning your walls once a year can also extend the life of the paint. A gentle wipe-down with a damp cloth removes dust and oils that can degrade the paint over time. By maintaining a stable indoor environment and using the correct materials during the initial application, a quality paint job can easily last 10 years or more without showing signs of failure. Understanding the chemistry of adhesion and the impact of the environment allows for a home that remains vibrant and well-maintained for years to come.

