
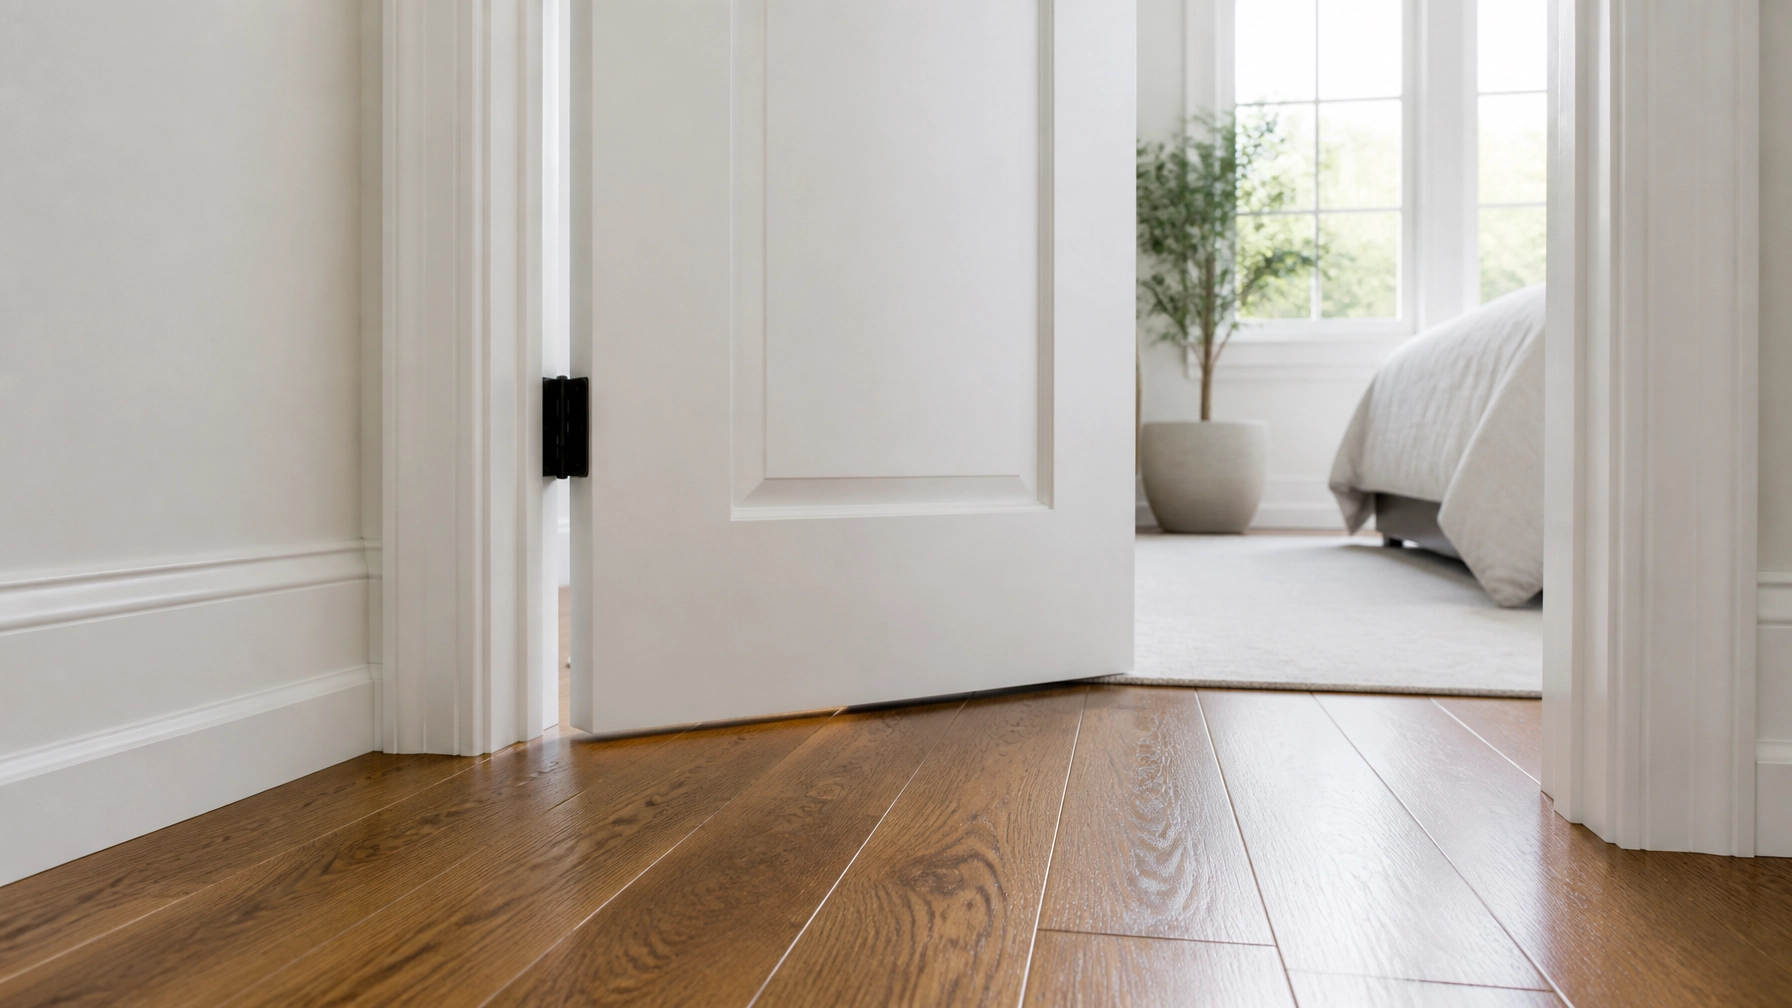
Maintaining a home involves more than just cleaning and decorating; it requires a basic understanding of how the various components of a house function together. Over time, every home will experience minor wear and tear. Two of the most common: and often most annoying: issues are squeaky floors and sticky doors. These problems are rarely structural threats, but they can significantly impact the comfort and functionality of a living space.
Learning how to address these issues independently can save time and the expense of hiring a professional. Most minor home repairs require only a few basic tools and a bit of patience. This guide provides a comprehensive, step-by-step approach to diagnosing and fixing common household nuisances, from floorboards that protest every step to doors that refuse to close smoothly.
Understanding Squeaky Floors
A squeaky floor is usually the result of two components rubbing together. In most wooden floor systems, the “squeak” occurs when the flooring material (hardwood, laminate, or subfloor) moves against another piece of wood or a metal fastener like a nail. This movement is often caused by the wood drying out and shrinking over time, or by the natural settling of the house.
Identifying the Source
The first step in any repair is pinpointing the exact location of the sound. This is best done with two people: one person walks slowly across the floor to trigger the squeak while the second person marks the spot. Small pieces of painter’s tape are ideal for marking these areas without damaging the finish.
There are generally three types of squeaks:
- Board-to-board friction: Occurs when two floorboards rub against each other.
- Subfloor movement: Occurs when the plywood subfloor has pulled away from the floor joists (the large beams supporting the floor).
- Finish-to-subfloor friction: Occurs when the top layer of flooring is not securely fastened to the layer beneath it.

Fixes from Above the Floor
When access to the underside of the floor (the basement or crawlspace) is unavailable, repairs must be made from the surface.
Using Dry Lubricants
For minor board-to-board squeaks in hardwood or laminate floors, a dry lubricant can often solve the problem without any drilling. Products like powdered graphite or talcum powder work by reducing the friction between the wood surfaces.
To apply, sprinkle a small amount of the powder into the gaps between the boards in the squeaky area. Place a cloth over the spot and walk on it several times to help the powder work its way deep into the joints. Once the squeaking stops, vacuum up the excess powder. Avoid using oils or wet lubricants, as these can stain the wood and attract dirt over time.
Specialized Squeak-Fixing Kits
For more persistent squeaks caused by a loose subfloor, specialized repair kits are available. These kits include screws designed to snap off below the surface of the wood or carpet.
On hardwood floors, a small pilot hole is drilled, and the screw is driven through the flooring into the joist. Using a special tool provided in the kit, the head of the screw is snapped off, leaving the remaining portion hidden below the surface. The small hole can then be filled with a matching wood putty.
Fixes from Below the Floor
If the squeaky area is located above an unfinished basement or crawlspace, fixing it from below is often more effective and permanent.
Using Wood Shims
While a helper walks on the floor above, look for gaps between the floor joist and the subfloor. If a small gap is visible, a wood shim can be used to fill the space. Apply a small amount of wood glue to a thin shim and gently tap it into the gap with a hammer. It is important not to force the shim too far, as this can lift the floor and create a hump or a new squeak elsewhere.
Construction Adhesive
For long-term stability, a bead of construction adhesive can be applied along the seam where the joist meets the subfloor. This fills small voids and prevents the wood from moving when stepped on. For larger gaps, a “sister” block (a short piece of 2×4 lumber) can be screwed into the side of the joist and pushed tight against the subfloor to provide additional support.
Addressing Sticky Doors
A door that sticks, drags, or fails to latch properly is often the result of seasonal changes or loose hardware. Wood is a natural material that expands and contracts with changes in humidity. In the summer, high humidity can cause a door to swell, making it too large for its frame. In the winter, the wood shrinks, which might resolve the sticking but could cause the door to rattle.
Checking the Hinges
Before reaching for a saw or sandpaper, always check the hinges. Most sticky doors are caused by the weight of the door pulling the top hinge away from the frame.
Open the door and use a manual screwdriver to check every screw on both the door side and the frame side of the hinges. If a screw spins without tightening, the wood inside the hole is likely stripped.
The Toothpick Trick
A common fix for stripped screw holes involves using wooden toothpicks and wood glue. Remove the loose screw, dip several toothpicks in glue, and jam them into the hole. Once the glue dries, cut the toothpicks flush with the surface and drive the screw back in. The new wood provides the screw with the grip it needs to stay tight.

Adjusting the Strike Plate
If a door closes but doesn’t stay latched, the latch bolt is likely misaligned with the strike plate on the door frame. Look closely at the plate to see where the bolt is hitting. If the misalignment is minor (less than 1/8 inch), a metal file can be used to enlarge the opening in the strike plate.
If the misalignment is more significant, the strike plate may need to be moved. This involves unscrewing the plate, chiseling out a small amount of wood from the frame to accommodate the new position, and re-attaching the plate. Old screw holes should be filled with wood plugs or toothpicks before redrilling.
Sanding and Planing
If the door still sticks after the hinges have been tightened and the frame is confirmed to be square, the wood may need to be trimmed. This should be a last resort, especially since wood changes shape with the seasons.
- Mark the spot: Close the door until it sticks and rub a pencil along the edge where it contacts the frame.
- Remove the door: Use a hammer and a large nail to tap the hinge pins out, then lift the door away.
- Sand the edge: Use a sanding block or a hand plane to remove a small amount of wood from the marked area.
- Seal the wood: It is crucial to paint or seal the freshly sanded edge. Unfinished wood absorbs moisture more quickly, which could lead to more swelling in the future.
For those organizing their repair supplies, using a car trunk storage bag can be an effective way to keep tools like screwdrivers, sandpaper, and lubricants in one portable location.
Fixing Common Minor Eyesores
Beyond squeaks and sticks, homeowners often face minor cosmetic issues like stains and small wall damages. Addressing these promptly prevents them from becoming larger, more expensive problems.
Stain Removal Basics
Stains on carpets or walls can be frustrating, but many can be removed with common household items. The golden rule of stain removal is to act quickly and never rub. Rubbing a stain pushes it deeper into the fibers or the paint.
Carpet Stains
For most water-based stains (like juice or mud), a mixture of one teaspoon of mild dish soap and one cup of warm water is effective.
- Blotting: Use a clean white cloth to blot the stain, working from the outside toward the center to prevent spreading.
- Rinsing: After the stain is gone, blot the area with clean water to remove any soap residue, which can attract dirt if left behind.
For tougher oily stains, a small amount of rubbing alcohol on a cloth can help dissolve the oils. Always test any cleaning solution in an inconspicuous area (like inside a closet) first to ensure it won’t discolor the carpet.

Wall Scuffs and Marks
“Magic” erasers or melamine sponges are highly effective at removing scuffs, crayon marks, and fingerprints from painted walls. However, they are abrasive, so they should be used gently to avoid rubbing off the paint’s finish. For walls with a flat or matte finish, a damp cloth with a little baking soda can often lift marks without creating a shiny spot.
Minor Drywall Repair
Small holes from nails or minor dents from furniture are inevitable. Repairing them is a straightforward process that requires spackle, a putty knife, and fine-grit sandpaper.
- Clean the hole: Use a utility knife to remove any loose paper or crumbling plaster from the edges of the hole.
- Apply spackle: Use a small putty knife to press spackle into the hole. Swipe the knife across the surface to leave the patch slightly higher than the surrounding wall, as spackle tends to shrink as it dries.
- Sand flush: Once completely dry, use a fine-grit sandpaper (around 220 grit) to sand the patch smooth and flush with the wall.
- Paint: Apply a small amount of matching paint to hide the repair.

Essential Tools for the Beginner
Building a basic home repair kit doesn’t have to be expensive. Most of the repairs discussed here can be completed with a small set of versatile tools. Having these on hand allows for quick responses to problems as they arise.
- Multi-bit Screwdriver: A single tool with interchangeable heads (Phillips and Flathead) covers most household fasteners.
- Hammer: A standard 16-ounce claw hammer is useful for everything from tapping hinge pins to hanging pictures.
- Tape Measure: Essential for checking door alignments and measuring for replacement parts.
- Utility Knife: Useful for cleaning up drywall holes and opening packages.
- Level: A small torpedo level helps ensure that shelves and doors are straight.
- Putty Knife: Necessary for applying spackle or scraping away old paint.
- Safety Gear: Always wear safety glasses when drilling or hammering, and use a dust mask when sanding.
For those who enjoy reading about home maintenance in the evening, a portable bookmark light can be a handy companion for studying repair manuals or guides.
Preventive Maintenance Tips
The best way to handle home repairs is to prevent them from becoming necessary in the first place. Regular maintenance can extend the life of your home’s components.
- Monitor Humidity: Keeping indoor humidity between 30% and 50% helps prevent wood from swelling or shrinking excessively. Using a dehumidifier in the basement can protect the subfloor and joists.
- Lubricate Moving Parts: Apply a silicone-based lubricant to door hinges and sliding window tracks once a year to keep them moving smoothly.
- Inspect Regularly: Every few months, walk through the house and check for loose screws, new squeaks, or signs of moisture near windows and doors.
- Address Issues Early: A small squeak is easier to fix than a loose floorboard that has been allowed to rub for years, potentially damaging the wood grain.
Conclusion
Home repair is a skill that grows with experience. By starting with simple tasks like silencing a squeaky floor or adjusting a sticky door, one gains the confidence to tackle more complex projects. These repairs are not just about fixing a nuisance; they are about taking care of the environment in which you live. With a few basic tools and the right information, maintaining a comfortable and functional home is well within reach for any beginner.
For more practical guidance on daily routines and home organization, exploring general lifestyle resources can provide further inspiration for maintaining an efficient household.

