
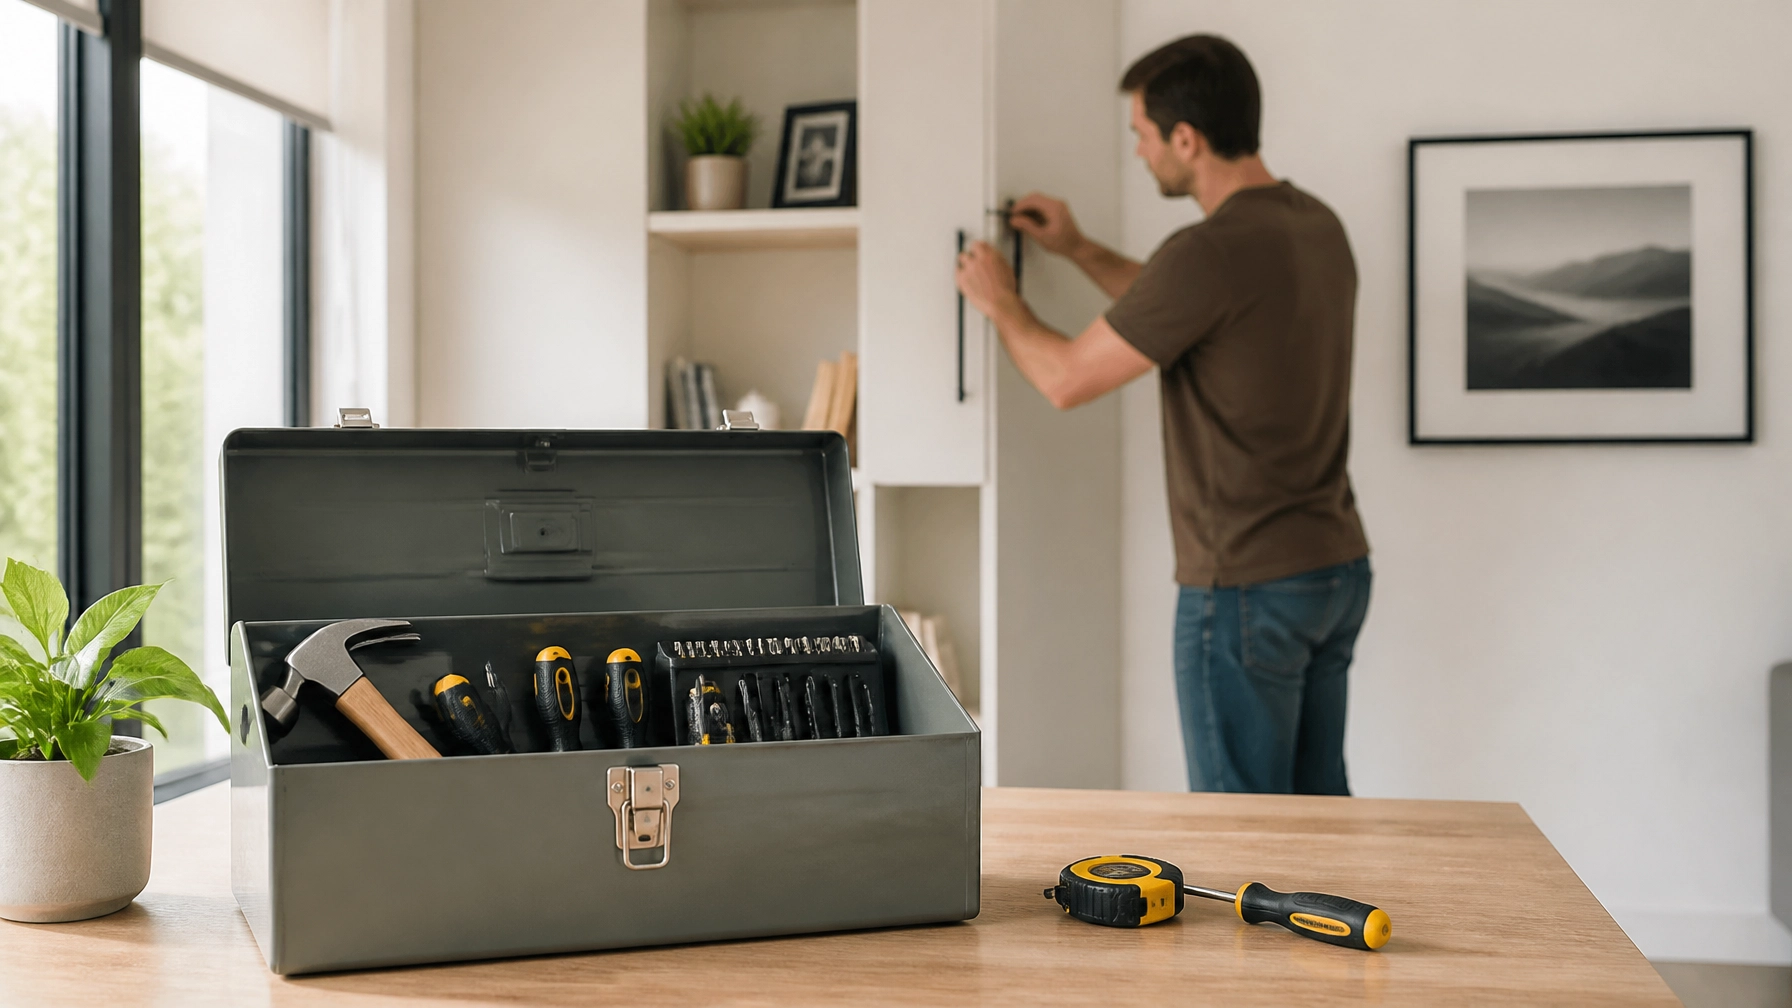
Maintaining a home involves a never-ending list of small tasks. From a flickering light bulb to a squeaky door, these minor issues often seem simple enough to handle without professional help. However, what starts as a five-minute fix can quickly spiral into a weekend-long project if the wrong approach is taken. Minor repairs are the foundation of home maintenance, and getting them right prevents larger, more expensive problems down the road.
Many homeowners fall into common traps: rushing through preparation, using the wrong materials, or ignoring the root cause of a problem. These errors not only lead to aesthetic flaws but can also compromise the structural integrity or safety of a home. Understanding the nuances of these small tasks is essential for anyone looking to keep their living space in top condition.
This guide explores seven of the most common mistakes made during minor home repairs and provides practical, step-by-step solutions to ensure every fix is a success.
1. The “Mud and Pray” Drywall Patch
Drywall damage is one of the most frequent issues in any household. Whether it is a hole left by a picture hook or a dent from a moving piece of furniture, the urge to simply smear some joint compound over the gap and call it a day is strong. This is often referred to as the “mud and pray” method, and it almost always results in a visible bump or a patch that eventually cracks.
The Mistake: Over-application and Poor Prep
The most common error is applying one thick layer of spackle or joint compound. Because these materials shrink as they dry, a thick application will inevitably pull away from the edges or develop deep cracks. Furthermore, many people fail to remove the plastic wall anchors or frayed edges of the drywall before patching, leading to a surface that can never truly be flat.
How to Fix It
To achieve a professional, invisible finish, follow these steps:
- Remove the Anchor: If a plastic anchor is still in the wall, do not try to paint over it. Either pull it out with pliers or, if it is stuck, use a Phillips-head screwdriver to drive it slightly below the surface of the wall.
- Clear the Edges: Use a utility knife to trim away any loose paper or drywall bits around the hole. A clean, slightly recessed edge allows the compound to bond better.
- Apply in Thin Layers: Instead of one thick blob, apply a thin layer of joint compound using a putty knife. “Feather” the edges by spreading the compound outward from the hole, thinning it as you go.
- Sand and Repeat: Once the first layer is dry, sand it lightly with fine-grit sandpaper. Apply a second, wider layer to level the surface completely.
For those looking to keep their repair area tidy, utilizing proper storage and organization for tools ensures that sandpaper and putty knives are always within reach when the next layer is ready.

2. The Caulking Overdrive
Caulking is the unsung hero of the bathroom and kitchen. it prevents water from seeping into walls and floors, which protects against rot and mold. However, many homeowners view caulking as a “more is better” task, leading to messy, ineffective seals.
The Mistake: Caulking Over Old Material
The single biggest mistake is applying a fresh bead of caulk over old, peeling, or moldy caulk. New caulk will not bond to old silicone, meaning the seal will fail almost immediately. Additionally, using the wrong type of caulk: such as using interior painter’s caulk in a shower: is a recipe for rapid mildew growth and water damage.
How to Fix It
A long-lasting caulk joint requires a clean slate:
- Total Removal: Use a caulk removal tool or a utility knife to scrape away every bit of the old material. For stubborn residue, a specialized caulk remover gel can soften the bond.
- Disinfect and Dry: Clean the area with a mixture of bleach and water or a commercial mold killer. Ensure the joint is bone-dry before proceeding; moisture trapped behind new caulk is a leading cause of failure.
- Choose Silicone for Wet Areas: In bathrooms and kitchens, always use 100% silicone or a high-quality siliconized acrylic that is labeled as “mildew resistant.”
- The Smoothing Secret: Cut the tip of the caulk tube at a 45-degree angle. Apply a steady, thin bead. Wet your finger with a little soapy water and run it along the bead to smooth it into a concave shape. This ensures the caulk is pressed firmly into the gap.

3. The Plumbing Power-Move (Over-tightening)
When a faucet drips or a pipe leaks, the natural instinct is to grab a wrench and tighten everything as hard as possible. This “brute force” approach is one of the most common causes of catastrophic plumbing failures in minor repairs.
The Mistake: Stripping Threads and Cracking Fixtures
Modern plumbing fixtures, especially those involving plastic, copper, or chrome-plated brass, are not designed to be torqued with extreme force. Over-tightening can strip the threads, crush rubber washers (causing even more leaks), or even crack the body of a porcelain sink or a plastic nut.
How to Fix It
Plumbing repairs require a “snug but not tight” philosophy:
- Hand-Tighten First: Most nuts and connections should be tightened by hand as much as possible.
- The Quarter-Turn Rule: After hand-tightening, use a wrench to give the nut a quarter to a half-turn. This is usually enough to create a seal without damaging the components.
- Replace, Don’t Force: If a connection still leaks after a moderate turn, the problem is likely a worn-out washer or a faulty O-ring rather than a loose nut. Disassemble the connection and replace the internal seals.
- Use Thread Tape Correctly: When using PTFE (Teflon) tape on threaded metal pipes, wrap it clockwise around the threads so it doesn’t unravel when you screw the parts together.

4. The “Screw and Spin” Hinge Fix
Loose cabinet doors or sagging entry doors are often caused by loose hinges. When homeowners try to tighten the screws, they often find that the screw simply spins in the hole without ever grabbing the wood.
The Mistake: Using the Wrong Fasteners
Trying to force a larger screw into a stripped hole often splits the wood of the door frame. Conversely, simply putting the old screw back in with a bit of glue rarely holds for more than a few days of use. This is particularly relevant when dealing with heavy doors or those equipped with complex door locks, as the weight and mechanical stress require a solid foundation.
How to Fix It
The goal is to restore the wood inside the hole so the screw has something to bite into:
- The Toothpick Trick: This is a classic, effective fix. Dip a few wooden toothpicks or a small wooden dowel in wood glue and jam them into the stripped hole.
- Flush Cut: Once the glue has dried for a few minutes, use a utility knife to cut the toothpicks flush with the frame.
- Re-drill and Drive: Drill a small pilot hole into your new wooden “plug” and then drive the original screw back in. The screw will now grip the new wood firmly.
- Longer Screws for Entry Doors: For heavy exterior doors, replace one of the short hinge screws with a 3-inch wood screw. This reaches past the door jamb and into the wall stud, providing significantly more support.

5. The Chemical Drain Avalanche
A clogged sink is a major inconvenience, and the easiest “fix” is often perceived to be a bottle of caustic drain cleaner. However, relying on chemicals is frequently a mistake that masks a bigger problem and damages the home’s infrastructure.
The Mistake: Corroding Pipes and Masking Clogs
Chemical drain cleaners are extremely harsh. If they do not clear the clog, they sit in the pipes, generating heat and eating away at plastic (PVC) or older metal pipes. Furthermore, these chemicals are dangerous for the person who eventually has to take the pipes apart to fix the clog manually.
How to Fix It
Mechanical methods are safer for the plumbing and more effective at removing the actual blockage:
- The Plunger: Use a cup plunger for sinks and a flange plunger for toilets. Ensure there is enough water to cover the head of the plunger to create a vacuum.
- Clean the P-Trap: Most sink clogs happen in the U-shaped pipe under the sink. Place a bucket underneath, unscrew the slip nuts, and physically remove the debris. This is often a five-minute fix that solves the problem permanently.
- Use a Zip-Tool: For hair clogs in bathroom sinks or showers, a plastic “zip-it” tool (a thin strip of plastic with barbs) can pull out hair clogs without any chemicals.
- Boiling Water: For grease-based clogs in kitchen sinks, a kettle of boiling water can often melt the blockage and clear the line naturally.
6. The “Close Enough” Paint Match
Scuffs on walls are inevitable, but “fixing” them with the wrong paint can make a room look worse than the original damage. Many homeowners assume that “white” is a universal color, only to find that their walls are actually an off-white, eggshell, or cream.
The Mistake: Ignoring Sheen and Aging
Paint consists of both color and sheen (flat, eggshell, satin, semi-gloss). Even if the color is a perfect match, using a semi-gloss paint on a flat wall will create a shiny spot that stands out in the light. Additionally, paint on walls fades over time due to UV exposure, meaning paint from the original can may no longer match the wall perfectly.
How to Fix It
- Check the Sheen: Always verify the finish of the paint. If the original can is unavailable, take a small flake of the existing paint (about the size of a quarter) to a paint store for professional matching.
- The “Dab, Don’t Brush” Method: When touching up a small area, do not use a large brush. Use a small foam brush or even a cotton swab to dab the paint onto the scuff. This mimics the texture of the surrounding wall better than long brush strokes.
- Feather the Edges: Lightly blend the edges of your touch-up into the existing paint to prevent a hard “border” from forming.
- Clean First: Paint will not stick to oils or dust. Wipe the wall with a damp cloth and a drop of dish soap before applying any touch-up paint.
7. Skipping the Prep (The Foundation of Failure)
The most universal mistake in minor home repairs is the desire to get to the “visible” part of the job while skipping the preparation. Whether it is painting, gluing, or mounting a shelf, preparation is 80% of the work.
The Mistake: Working on Dirty or Uneven Surfaces
Glue won’t stick to dust. Paint won’t adhere to grease. Screws won’t hold in crumbling plaster. Rushing into the “fun” part of the repair without cleaning and stabilizing the area leads to repairs that fail within weeks.
How to Fix It
Adopting a “prep-first” mindset ensures that every repair lasts:
- Degrease and Dust: Always wipe down surfaces. In kitchens, use a degreaser to remove invisible cooking oils. In other areas, a microfiber cloth is sufficient to remove dust.
- Sand Glossy Surfaces: If you are painting or gluing over a glossy finish, lightly sand it with 220-grit sandpaper. This creates “teeth” for the new material to grip.
- Gather All Tools: Before starting, lay out everything you need. This prevents the “rushed fix” mentality that happens when you realize halfway through that you’re missing a specific screwdriver or a rag.
- Read the Label: Manufacturers spend millions on testing. If a glue bottle says it needs 24 hours to cure, do not test the bond after two hours. Patience is a tool just as much as a hammer is.
When to Call a Professional
While most minor repairs are manageable for the average homeowner, it is crucial to recognize when a task exceeds DIY safety limits. Attempting these repairs without the proper training can lead to injury or significant property damage:
- Electrical Work: Replacing a light fixture or a faceplate is generally safe if the breaker is off. However, if you see charred wires, flickering lights throughout the house, or need to work inside the main breaker panel, call a licensed electrician.
- Gas Lines: Never attempt to repair or move a gas line. If you smell gas (a “rotten egg” odor), leave the house immediately and call the gas company.
- Structural Changes: If a minor repair reveals a cracked foundation or a sagging load-bearing beam, this is no longer a minor fix. Consult a structural engineer.
- Roofing: Walking on a roof is inherently dangerous. While replacing one shingle might seem simple, the risk of a fall or improper sealing (leading to a massive leak) makes roofing a job for professionals.
Summary of Best Practices
Successful home repair is less about having expensive tools and more about following a disciplined process. By avoiding the common pitfalls of rushing, over-tightening, and skipping preparation, any homeowner can maintain their property effectively.
| Task | Common Mistake | The Proper Fix |
|---|---|---|
| Drywall | One thick layer of mud | Multiple thin layers; sand between. |
| Caulking | Layering over old caulk | Full removal; clean and dry first. |
| Plumbing | Over-tightening joints | Hand-tight plus a quarter turn. |
| Hinges | Tightening stripped holes | Use wood plugs (toothpicks) and glue. |
| Drains | Caustic chemical cleaners | Use plungers, zip-tools, or clear the P-trap. |
| Painting | Mismatched sheen | Match color and finish; dab to blend. |
| General | Skipping preparation | Clean, sand, and gather tools first. |
Maintaining a home is a journey of continuous learning. Each minor repair is an opportunity to better understand the systems that keep a household running smoothly. With the right approach, a patient mindset, and attention to detail, these “small” tasks can lead to a more comfortable and well-maintained living environment.

